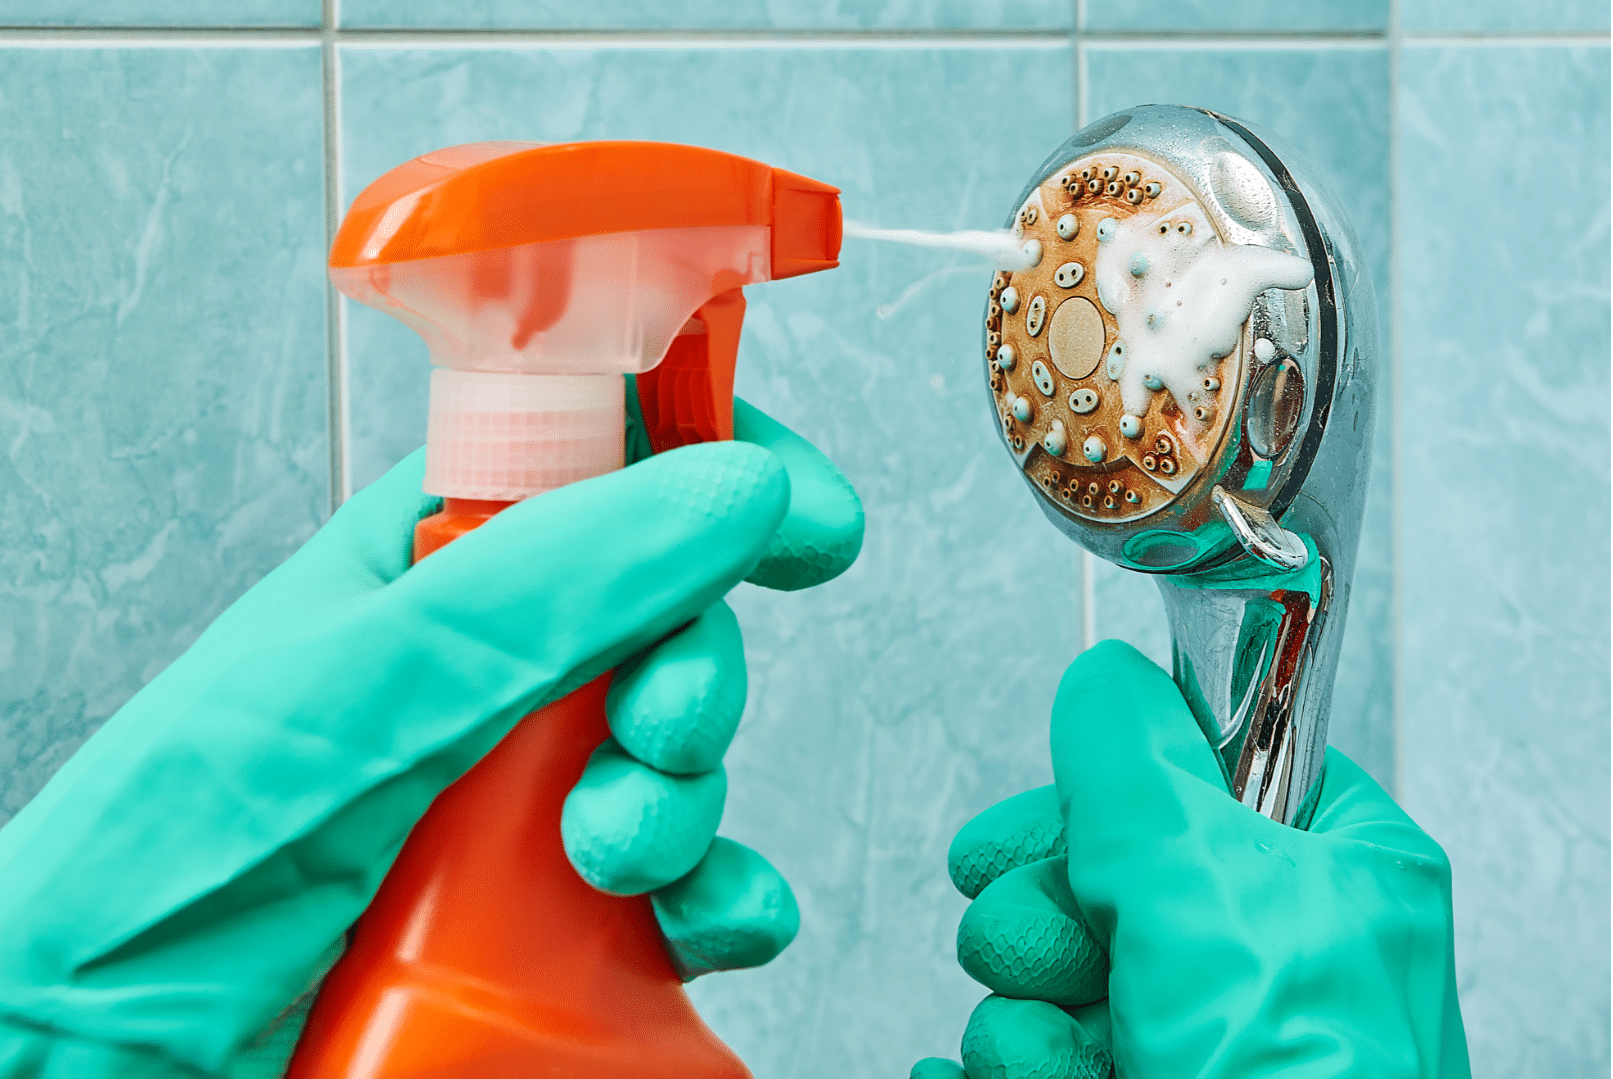
I’ve never really been able to wrap my head around all manner of dirt showing up in places where you clean things like hands, dishes, clothes, body, and hair. I mean, these places are usually full of hot or warm water and some kind of soap. So what’s with the dirt, soap scum, mold, mildew, and unidentifiable muck? According to Apartment Therapy, the black stuff is probably oxidized manganese, an element present in most water that tarnishes when exposed to air. Regular tap water can contain this mineral and faucets, toilets, or showerheads might accumulate some deposits. Ah, okay. But it’s still gross. And ultimately, in the case of our showerheads, it will cause the delightful forceful water spray of your shower become more like a trickle. Let’s get rid of the muck and get your showerhead sparkling clean!
Many folks delay cleaning showerheads because they just don’t realize how easy it is to clean them or just don’t think about it. As a result, over time, showerheads become clogged with deposits, making them harder to clean. The minerals in water can build up and block the openings just as they buildup on shower doors. The blockage can even prevent the interior of the showerhead from drying completely between uses, encouraging mold and mildew to grow. Plus, bacteria of all sorts thrive in showerheads, and thorough cleaning can help remove potentially harmful ones. More eww.
To save future you from an unpleasant and unnecessary ordeal, clean your showerhead routinely each week and deep clean a maximum of quarterly or at least twice a year. Why the variation in timing? It depends on how your water is, as hard water results in more mineral buildup.
Weekly Clean
- Run a scrub brush across the shower nozzles to loosen and free any buildup.
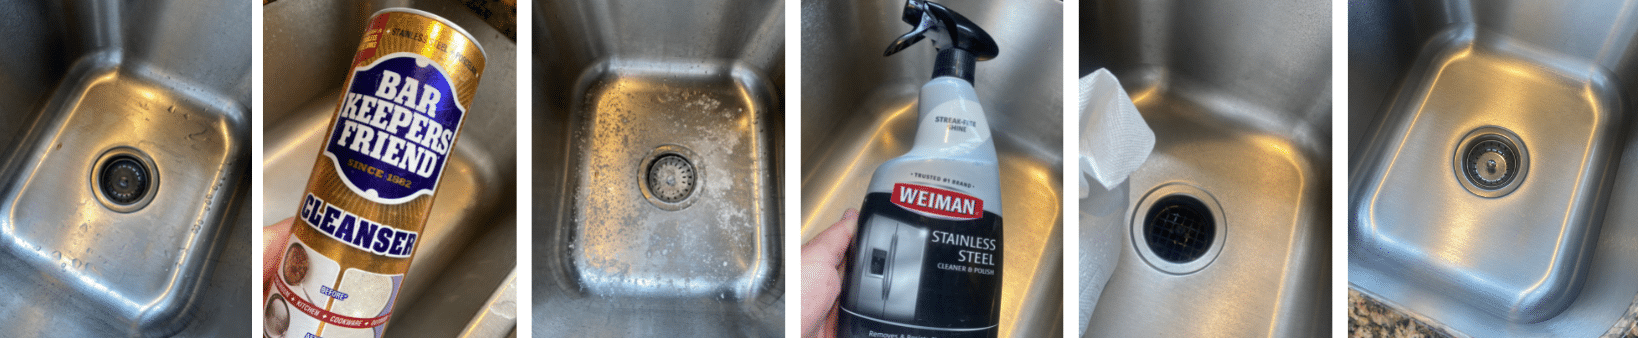
- Wipe down the entire shower head with your favorite all-purpose cleaner and a paper towel (or these cool reusable paper towels).
- Follow with a spritz of stainless steel polish spray and buff with a microfiber cloth for extra shine.
Achieving a clean, shiny shower head can be both fast and easy!
Deep Clean
Every few months, do a more thorough clean to remove mineral deposits and stave off germs from the head.
Timing
How long will the cleaning process take? It depends on the level of hard-water stains, how bad the mold is, and the severity of the clog in your shower head. Expect to spend anywhere from 10 to 20 minutes actually cleaning. But if you’re dealing with a particularly dirty or clogged model, factor in roughly six to eight hours of waiting time while your shower head soaks (so be sure to take a shower first).
The job is easier than you think, but you’ll need to adjust the process depending on what type of showerhead you’re working with.
For a regular, smaller, showerhead:
Supplies
- a sturdy plastic bag
- a rubber band or zip tie
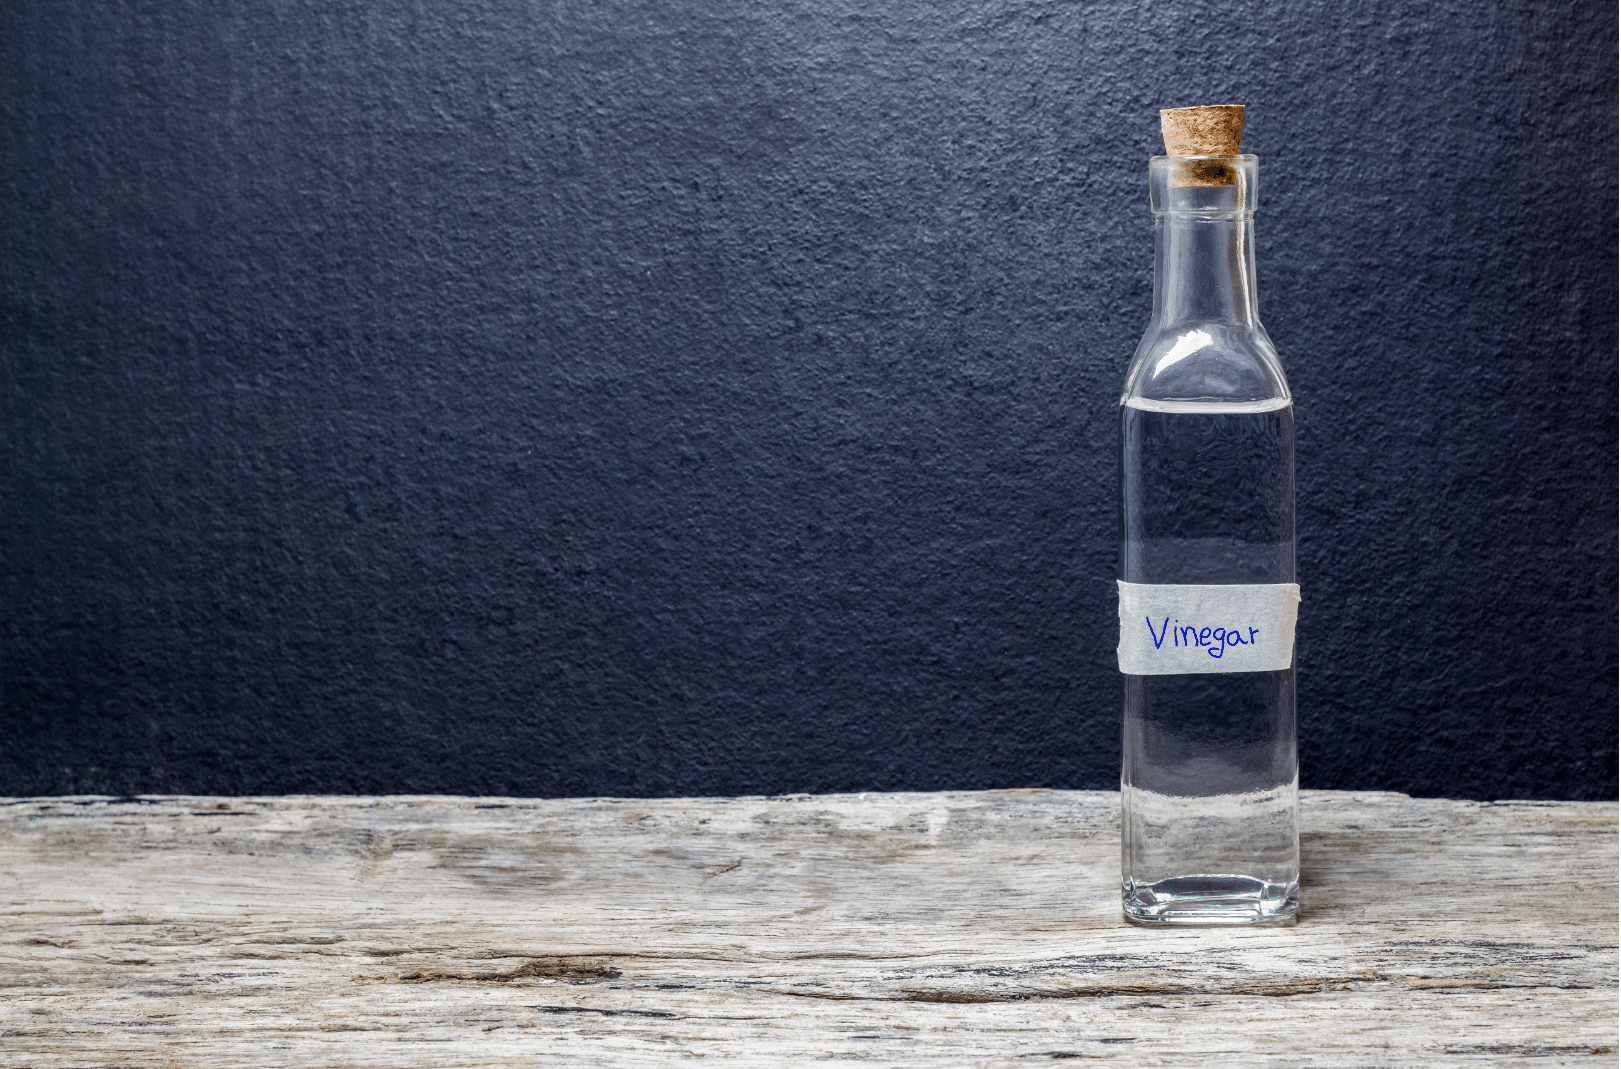
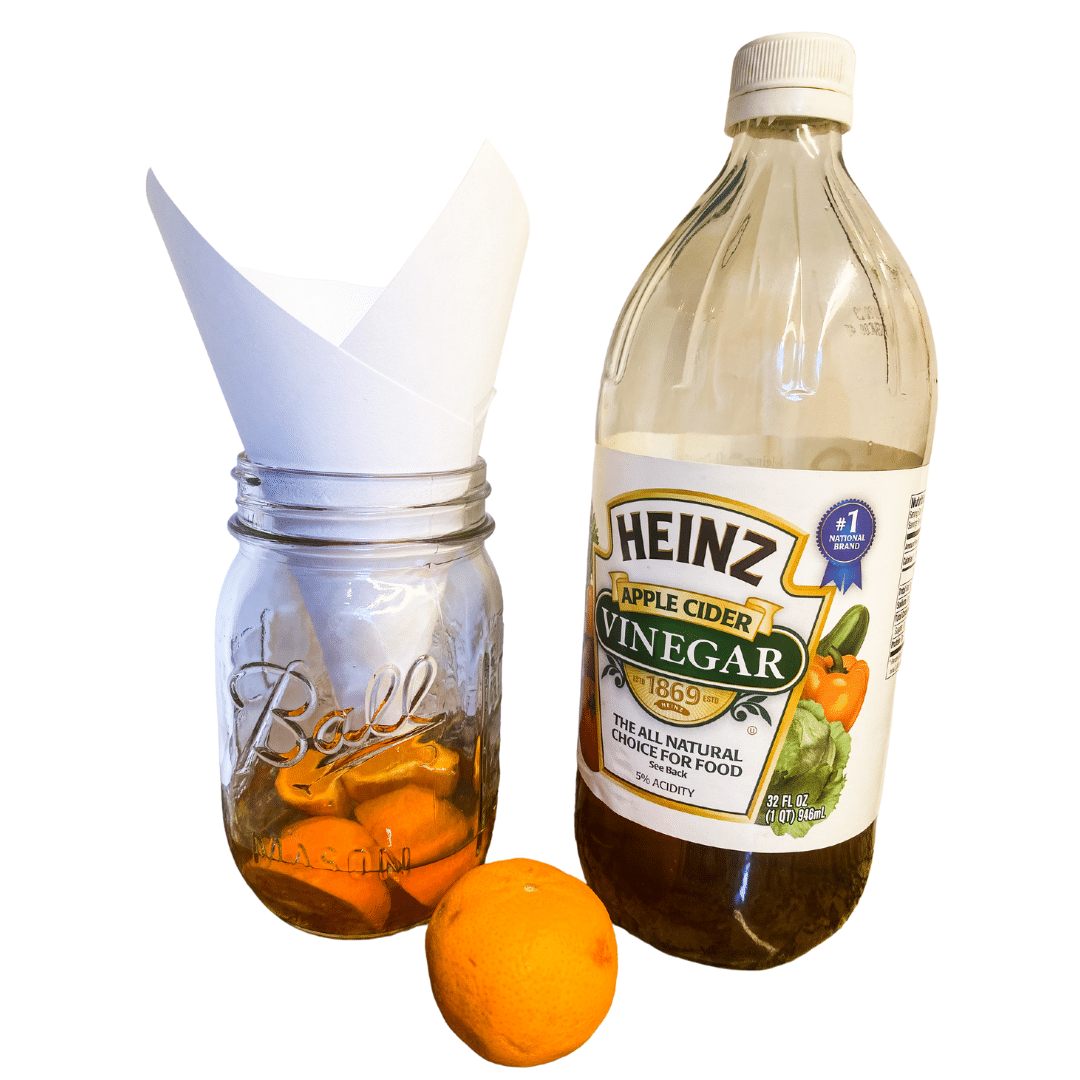
- a few cups of white vinegar
Process
- Take a couple of thick rubber bands and slide them over the shower arm or loosely attach a zip tie.
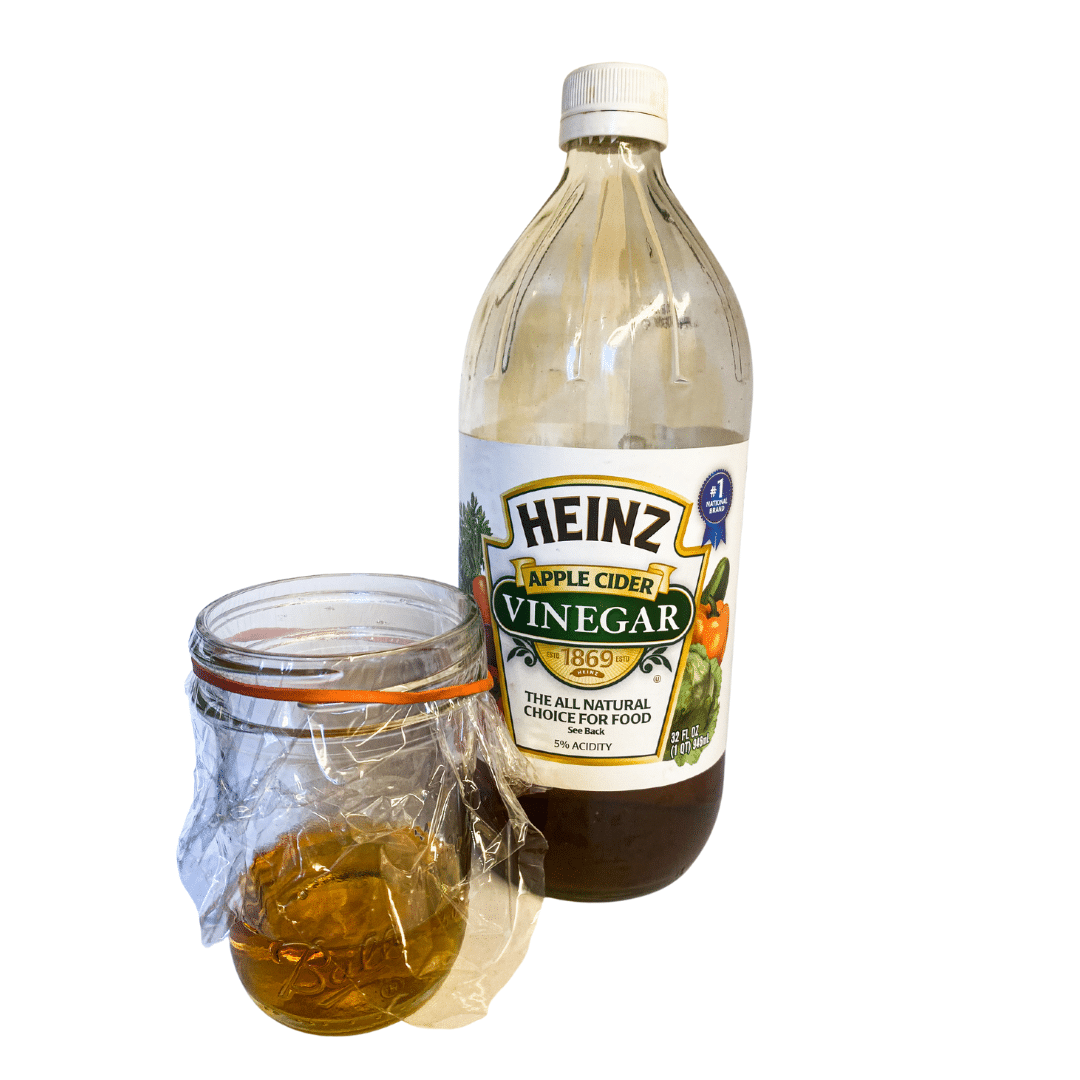
- Fill a durable plastic bag (like a freezer or gallon zip-top bag) with white vinegar and place over the showerhead.
- Secure rubber band or zip tie around the bag.
- Leave overnight.
- Wipe off the showerhead in the morning.
PRO TIP: Use the same vinegar-and-baggie method for any faucet in your home.
Did you know? Vinegar has descaling superpowers (translation: It easily removes mineral buildup from your water).
For a larger, rainfall-style showerhead you may need to detach it to clean it:
Supplies
- Large bowl: Make sure it’s big enough to submerge your showerhead
- Distilled white vinegar
- Wrench
- Needle-nose pliers
- Microfiber cloth
- A mild bathroom cleanser
- Toothpicks
- Metal polish: Brasso can help with stubborn hard-water stains on metal showerheads.
- Sealant tape: Also known as plumbers tape, this thin wrapping helps prevent water from seeping out when you screw a showerhead back onto the arm.
Optional supplies
- Safety glasses to help protect your eyes from errant splashes of vinegar or cleanser.
- Step stool if you can’t easily reach the showerhead.
Process
- Use the adjustable wrench to unfasten your showerhead at the base of the arm.
- Remove any loose debris from the outside by running your hands or a soft cloth across the entire surface.
- Pull out any sealant tape that might be stuck to the internal threading.
- Remove any large pieces of debris from the small screen and/or flow restrictor just inside the showerhead with needle-nose pliers.
- Use a toothpick to poke any especially stubborn gunk out of the screen, but be very careful: You don’t want to widen the small gaps in the screen; that would allow larger bits of debris to get inside. When you’re done, place the screen and/or gasket back inside the showerhead.
- Rinse the showerhead.
- Place the showerhead in a large bowl, nozzle side up or sideways.
- Fill the bowl with equal parts distilled white vinegar and water, until the showerhead is completely submerged and swirl to help the solution run through the inside.
- Soak overnight.
- Remove from bowl and rinse thoroughly.
- Polish with cleaner of Brasso.
- Reattach using plumbers tape.
PRO TIP: Avoid using any cleaners that are abrasive or contain bleach, cleaners formulated for toilets or acids targeted to remove rust, and abrasive brushes and sponges, like the Magic Eraser.
Now that your showerhead is clean, gunk-free, and clog-free, reward your efforts with a nice long shower. Ahhhhhhh.