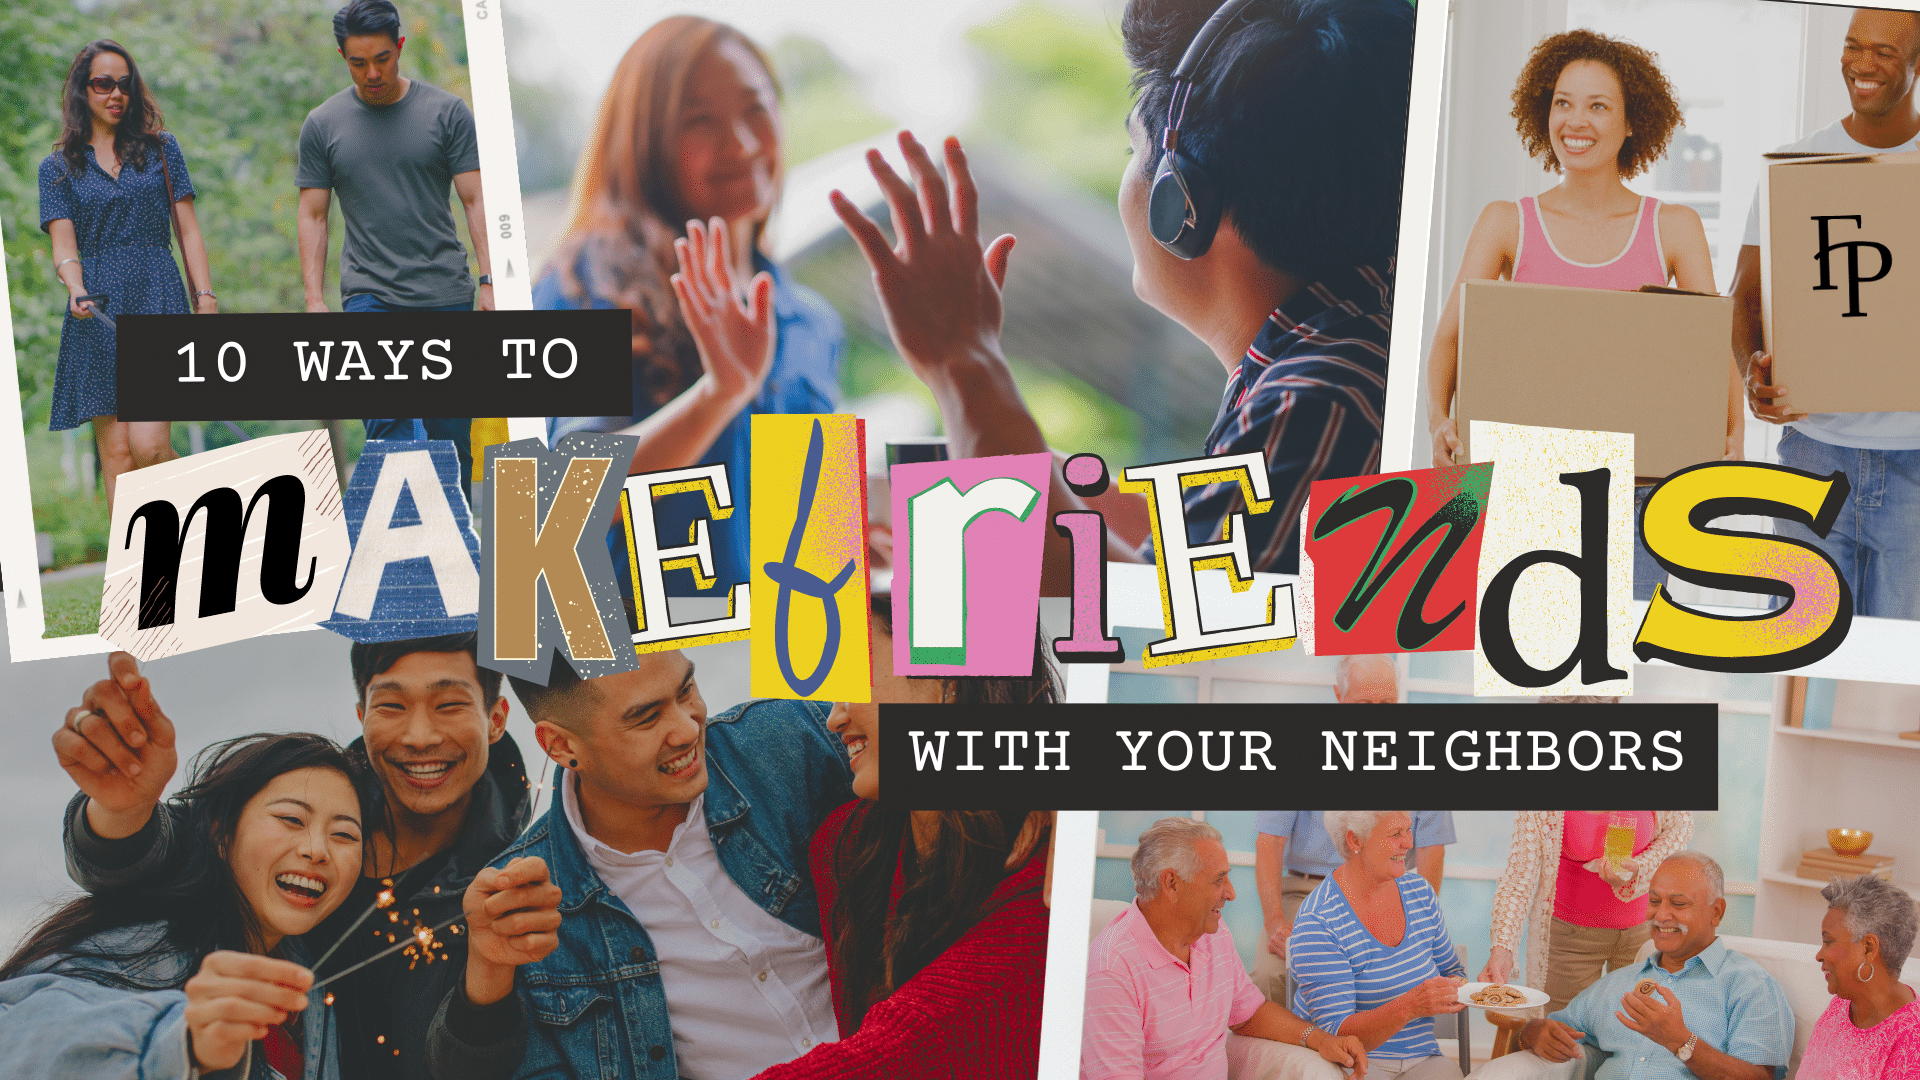
10 Ways To Make Friends With Your Neighbors
You’re moving to a new place. A new home, a new town, perhaps a new job, new people.
New can be nerve-racking as most folks take comfort in the familiar. So how do you find ways to feel at home? Settle in. Settle in to your new home by unpacking and surrounding yourself with the things you love. Settle into your new neighborhood by familiarizing yourself with the area and finding new favorite shops, restaurants, and entertainment venues. Settle in to work by getting to the commute route, your job functions, your boss, and coworkers. Settle in by making new friends. All these steps will lessen the disorientation you’ll feel when moving into a new apartment home. In our Neighborly Neighbors post, we chatted about the whys of making friends with neighbors. Today we’ll help by sharing the hows in 10 ways to make friends with your neighbors.
If the thought of introducing yourself to strangers breaks you out in a cold sweat like it does me, rest assured are ways to ease into it without feeling super awkward. Neighbors are plentiful in an apartment community and there are many ways to connect with them. Check out these easy ways to turn saying, “Hi!” to neighbors to making friends with them.
1. Get Noticed
If your community allows it, let your neighbors know there’s a new kid on the block. Add a fun doormat, hang a wreath, place a pretty pot of flowers or a small bench by the door so they’ll notice a fresh change. Now this may sound unusual – but it’s so fun – hang cute (legible!) note on your door inviting your neighbors to knock. “Just moved in! Stop by to say hi!” Many people want to become friends with their neighbors too, so this can be the bit of encouragement they need. And most folks will want to befriend someone who obviously cares about their place.
2. Host A Meet & Greet Party
Even though you won’t (obviously) know your apartment neighbors yet, it’s quite possible that they don’t know each other either. A welcome party is a great way to not only meet them but to provide opportunities for them to connect with each other. Drop off an invitation at the door of each neighbor in your entryway, building, or on your floor. Call it a Meet & Greet. Have it for just a couple of hours and provide snacks. Ask everyone to bring their own beverages if you want to keep costs down. This is such an easy way to entertain and start down the path of making new friends!
3. Get Social (Media)
Many apartment communities will have Facebook groups for their residents or a Facebook page for the community itself. If you can’t find one, start by joining neighborhood groups. Chances are there are at least one or two of your apartment neighbors in those groups as well. Sometimes it’s easier to strike up a conversation naturally online.
4. Chit-Chat In Passing
A bit cliché, but making small talk while you are coming and going to your door or your car can open doors to new friendships. Saying hi to neighbors is quick, easy, and gets the ball rolling. If you don’t know how to start a conversation with a stranger, try asking a question about the building and let them know you’re new. If you’d prefer a different approach, try complimenting them! Everyone responds well to a genuine compliment. Once, when moving to a new place, a neighbor approached as I was walking to the trash corral. He said, “Hi, I’m Jesse. Welcome to the building. I live in apartment 2. You just knock on my door if you ever need a cup of sugar!” Jesse is from South Carolina, so his offer in that sweet southern accent just made my day. Even without an accent, it’s a really nice way to say hello.
5. Use The Amenities
If your apartment community has a gym, pool, business center, walking trail, or bark park, use it! This is a great way to meet folk with whom you share a common interest and makes starting a conversation pretty darn easy. Plus you’ll quickly learn who the regulars are. Start by waving or saying hello to the people you recognize. Then, whenever the chance presents itself, strike up a conversation. If you’re not sure what to talk about, make a comment or ask a question about the amenity you’re both using.
6. Show Your Face
Attend events hosted by your apartment community. Many communities host events or mixers to help residents connect with each other. For anyone trying to figure out how to meet friends in a new city, this is a great way to meet people in similar situations or with similar interests! Keep in mind that there are probably others looking to make friends, too. If the building itself doesn’t host events, that doesn’t mean others can’t. Many communities have digital bulletin boards within their online resident portals. Don’t ignore them – check frequently to see if anything catches your eye.
7. Bring Fido
Dogs are the perfect icebreaker – almost everyone want to pet a pup, and it’s easier for most folks to say, “hi” to a dog than a person. So if you have a dog, bring him or her with you when you go out. So many places are dog friendly these days. We’ve made a note of these places in Greater Cincinnati / Northern Kentucky, Dallas, and Dayton for you. Let them get the ball rolling in making new friendships. When I moved to a new state, I was fortunate to have a dog park near my apartment. My pup loved going there with me after work and soon we knew every dog and pet parent in the neighborhood.
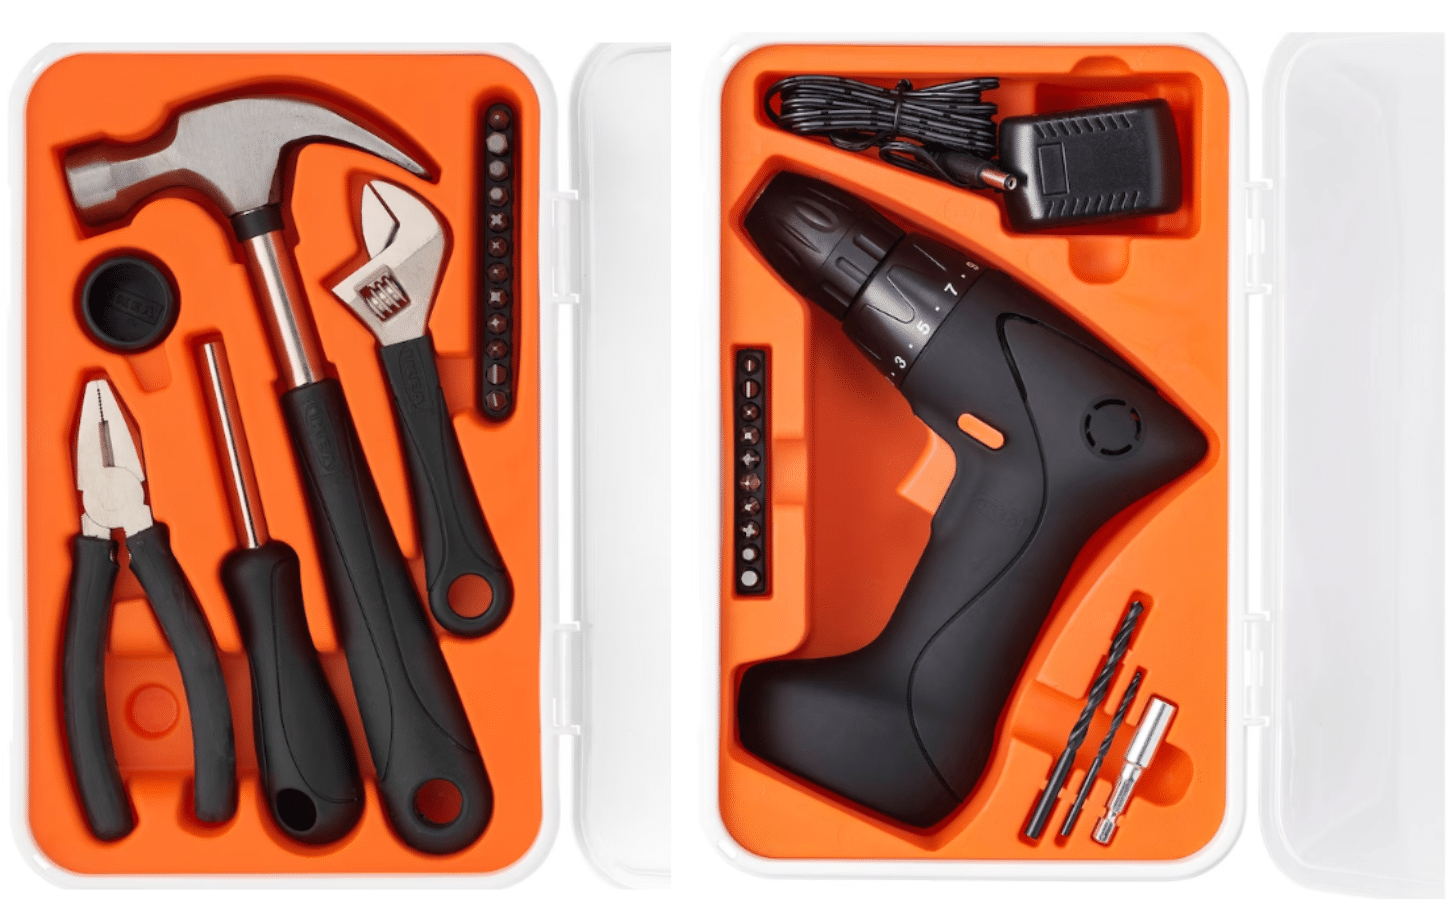
8. Help
When you see new neighbors moving into your apartment community, introduce yourself and let them know that you’re there to help if anything comes up. This could be something small, like borrowing a cooking ingredient or a tool, or something bigger, like running an errand, picking up a package, or carrying in a new sofa. Even though they may not take you up on it, this gesture of goodwill can go a long way toward helping you make friends. People almost always respond positively to kindness.
9. Ask A Question
Asking someone about themselves is one of the best ways to get a conversation flowing and avoid an awkward silence. Prepare a few questions to ask when you meet your neighbors – it could be something as simple as, “How long have you lived here?”, “Do you work around here?”, What’s the best place to get breakfast nearby?”
10. Go Outside
Get outside for fresh air, hopefully some sunshine, and perhaps a bit off exercise. Just being outdoors can be one of the easiest ways to meet your neighbors. If your apartment community has a rooftop deck, a pool, Bark Park, or a playground, you’ll be sure to find some of your neighbors there. If your apartment doesn’t have these things, go for a walk around the neighborhood or hang out at the nearest public park. You could meet others from your building there. While outside, wash your car windshield or plant a flower in the garden. Again, just being out of your apartment has the potential to expose you to many more people than if you just sit indoors and binge watch.
Welcome to your new home! Hope you’re settling in comfortably and on your way to making friends with your neighbors. If you have any great tips on making friends in an new town, share them in the comments!