Après-Holiday Decluttering

Après-Holiday Decluttering

I don’t know about you, but for me January came with a big sigh of relief. While I love the holidays and everything that comes with holiday celebrations: all the shopping, wrapping, decorating, cooking, entertaining, parties, traveling to visit family, traveling to visit friends, arranging for pet care, dressing up, being social, eating, drinking, and cleaning up is exhausting. Then the bills come in and the exhaustion is not only physical, but also mental. When I am bone tired, I cannot settle down and decompress when things around me are messy, and all this holiday fun does have a tendency to leave a path of chaos in its wake.  So to rest long and well, there are a dozen messes to address. Join me for holiday decluttering 12 things after the season vanishes.

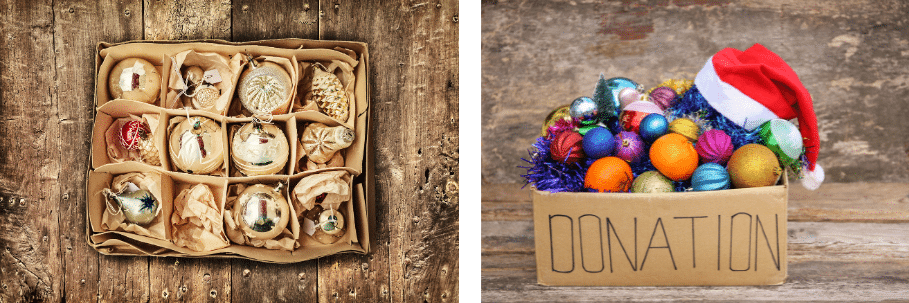
1. Holiday Decorations

Holiday decorating is so much fun, isn’t it? But I notice every year that there are inevitably a few items that stay in the box.  Décor I once loved has lost its magic. As you strip the tree of ornaments, garlands, ribbons, bows, and lights and clear away your other holiday swag, evaluate your stash before you box everything up. If there are decorations that didn’t make the initial cut, ones you don’t have room for, or ones that are damaged, bite the bullet and toss them.
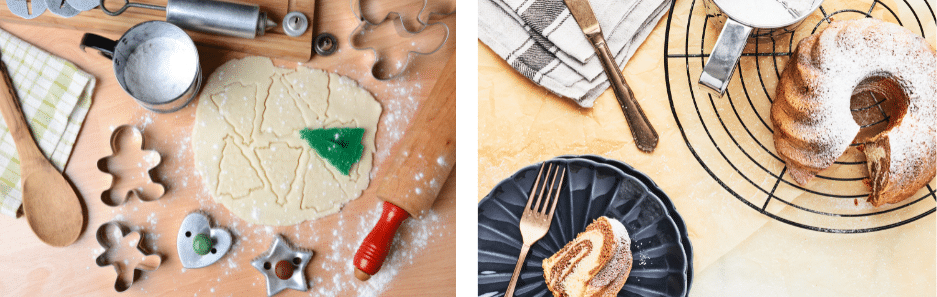
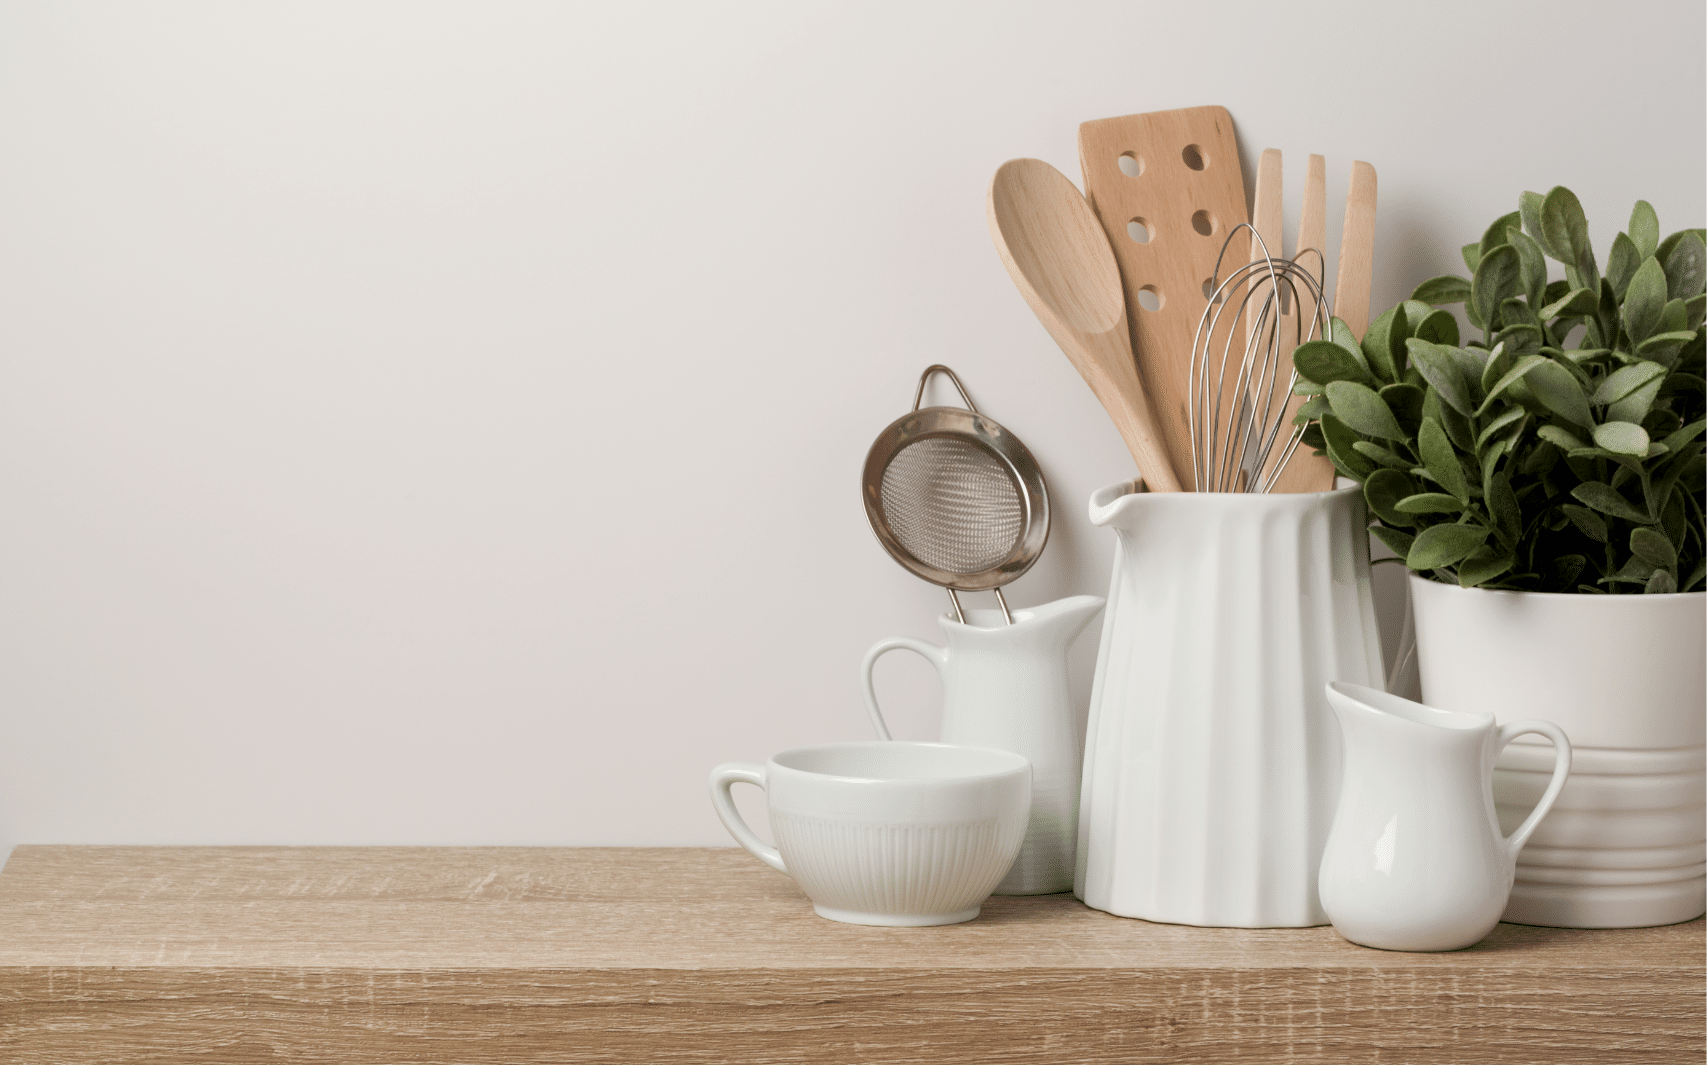
2. Baking Supplies

Baking can be a big and traditional part of the holidays, and baking supplies can use up valuable cabinet space. If the supplies are seasonal, like cookie cutters, store them with your Christmas décor. If your Bundt pans, pie plates, serve ware and cookie cutters are taking over your kitchen storage or were unused this season, purge. Sort through your baking collection and declutter what you don’t need. Either donate what you no longer use, or sell it.

3. Email Inbox

There’s nothing like the holiday season to make you realize just how many email lists you’re on. Every time you buy something on line, merchants pretend you want to hear from them again and again and again. If your inbox received a barrage of sales notifications this winter, take a look at which ones you never open or which stores you’re unlikely to shop from again. Take a moment to click “unsubscribe” or send them to junk (because sometimes that unsubscribe request seems to get lost in the mail) and your inbox will be lighter all year long. Find Gmail unsubscribe tips here.
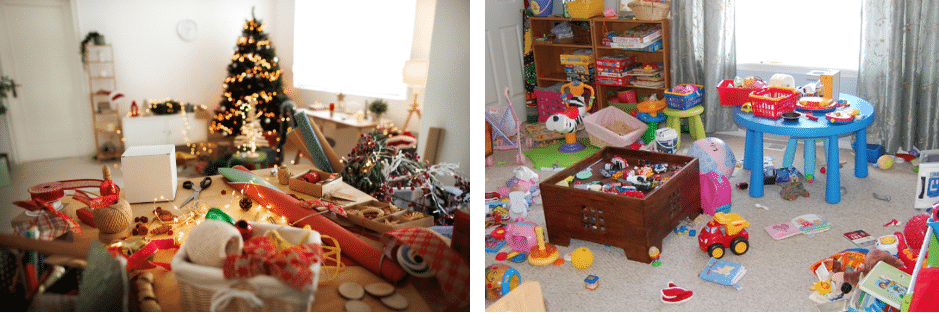
4. Toys

I left my sweet pup with a Rover sitter on New Year’s Eve in a town close to our party destination but about an hour away from home. Her listing indicated she had two dogs and two little kids. When we arrived at the home, what was mean to be her living room was turned into a playroom with low shelves all around the perimeter filled with – literally – hundreds of toys shoved into whatever space was available.  And that’s not counting the toys and playsets on the floor.  I seriously wanted to Marie Condo-ize the space, but managed to keep that thought to myself. A good rule of thumb is when you can no longer see the floor in your child’s room or playroom because it’s covered in toys, it’s time to declutter. When kids are old enough, they can be part of the decision-making process and learn a valuable life lesson along the way. Institute a rule — each toy they keep, they donate one — and help them sort through the collection. Find a step-by-step purge process here.

If the toys are in good condition, letting your child know it will go to another kid who could really use them, and will love them, may make letting go easier. Before donating, wash the toys, make sure they are in good repair, and check any safety guidelines. Be sure to check with the charitable organization you’re donating to for any rules governing their acceptance of toys.
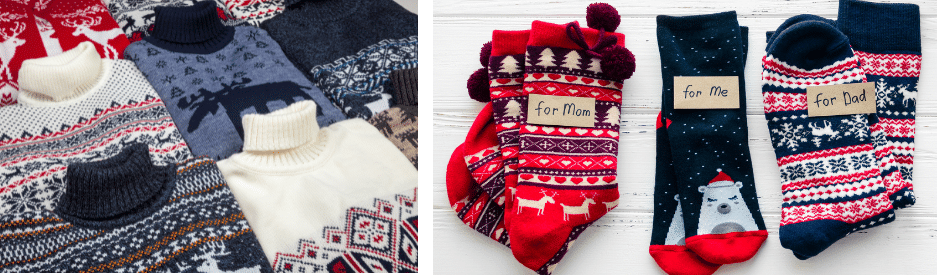
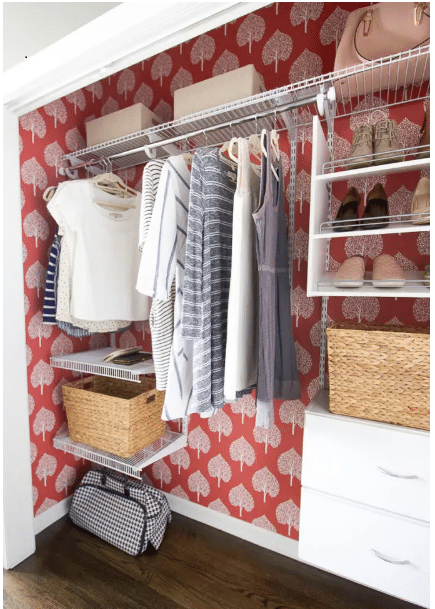
5. Holiday Duds

Do you have holiday clothing – seasonal tops, fancy dresses, “ugly” sweaters – that haven’t been worn in recent years? Sometimes it can be hard to part with clothing that’s “still good”.  Determine if you’ll likely ever really wear it again. If the answer is “no” donate it or if it’s as ugly as my Aunt Helen’s Christmas sweater, toss it.

If you have garments that are in great condition, do like my sister and sell them on Poshmark, ThredUp, or Facebook Marketplace. Ditto for fancy holiday shoes you’re unlikely to wear in day-to-day life. I mean how many pair of dressy black shoes does a girl need (this is a rhetorical question – she needs them all).

For more help cleaning out your closet, click here.

6. Outdoor Gear

By now, at the beginning of January with the winter in full swing, we all have a good sense of what winter gear we’ll actually wear and which coats, hats, and mittens no one in your household hasn’t (or won’t!) touch. Go through all of it and donate any coats, scarves, hats, boots, and gloves that are still in good condition. Somebody out there will be grateful. I have a friend who keeps a bag of hats, gloves, scarves, and socks to give to the homeless. It’s a thoughtful way to make sure needed items get into the right hands.

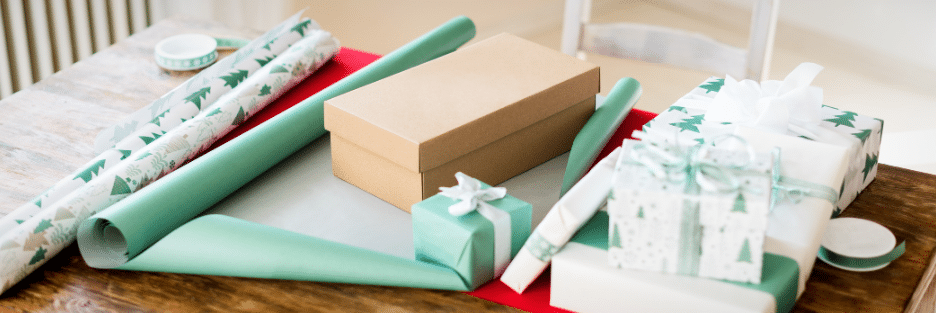
7. Cards, Boxes, Ribbons, and Bows

Hold onto only the most important cards you’d like to keep for sentimental reasons, then recycle the rest. When I was a kid, we’d make custom gift tags with last year’s cards. It was always a fun project mom gave us to keep us out of her hair, and a great way to recycle them before recycling was even a thing. Here’s how. Decide just how many cardboard boxes you’ll need for returns and/or storage, and recycle the rest. Will you really reuse those gift bags, ribbons, and bows? If they will easily get smashed before next year, may as well toss them now.

8. The Awful Gifts

I have a friend that brings me a goodie bag each time he visits. So very thoughtful – and appreciated! – but sometimes that lovely gift contains items that just “aren’t me”. Then there’s the mother-in-law that gives you a floral, flouncy blouse when you only ever wear plain solids. Or perhaps you’ve received the dreaded fruitcake. We may hold onto a gift we know we’ll likely never use out of guilt. It’s okay to donate or re-gift these items. If you do re-gift something, do so in a thoughtful way that won’t hurt anyone’s feelings, and certainly don’t re-gift amongst your family or circle of friends. Remember, it’s the thought that counts. It’s possible to be grateful for a gift without keeping it.
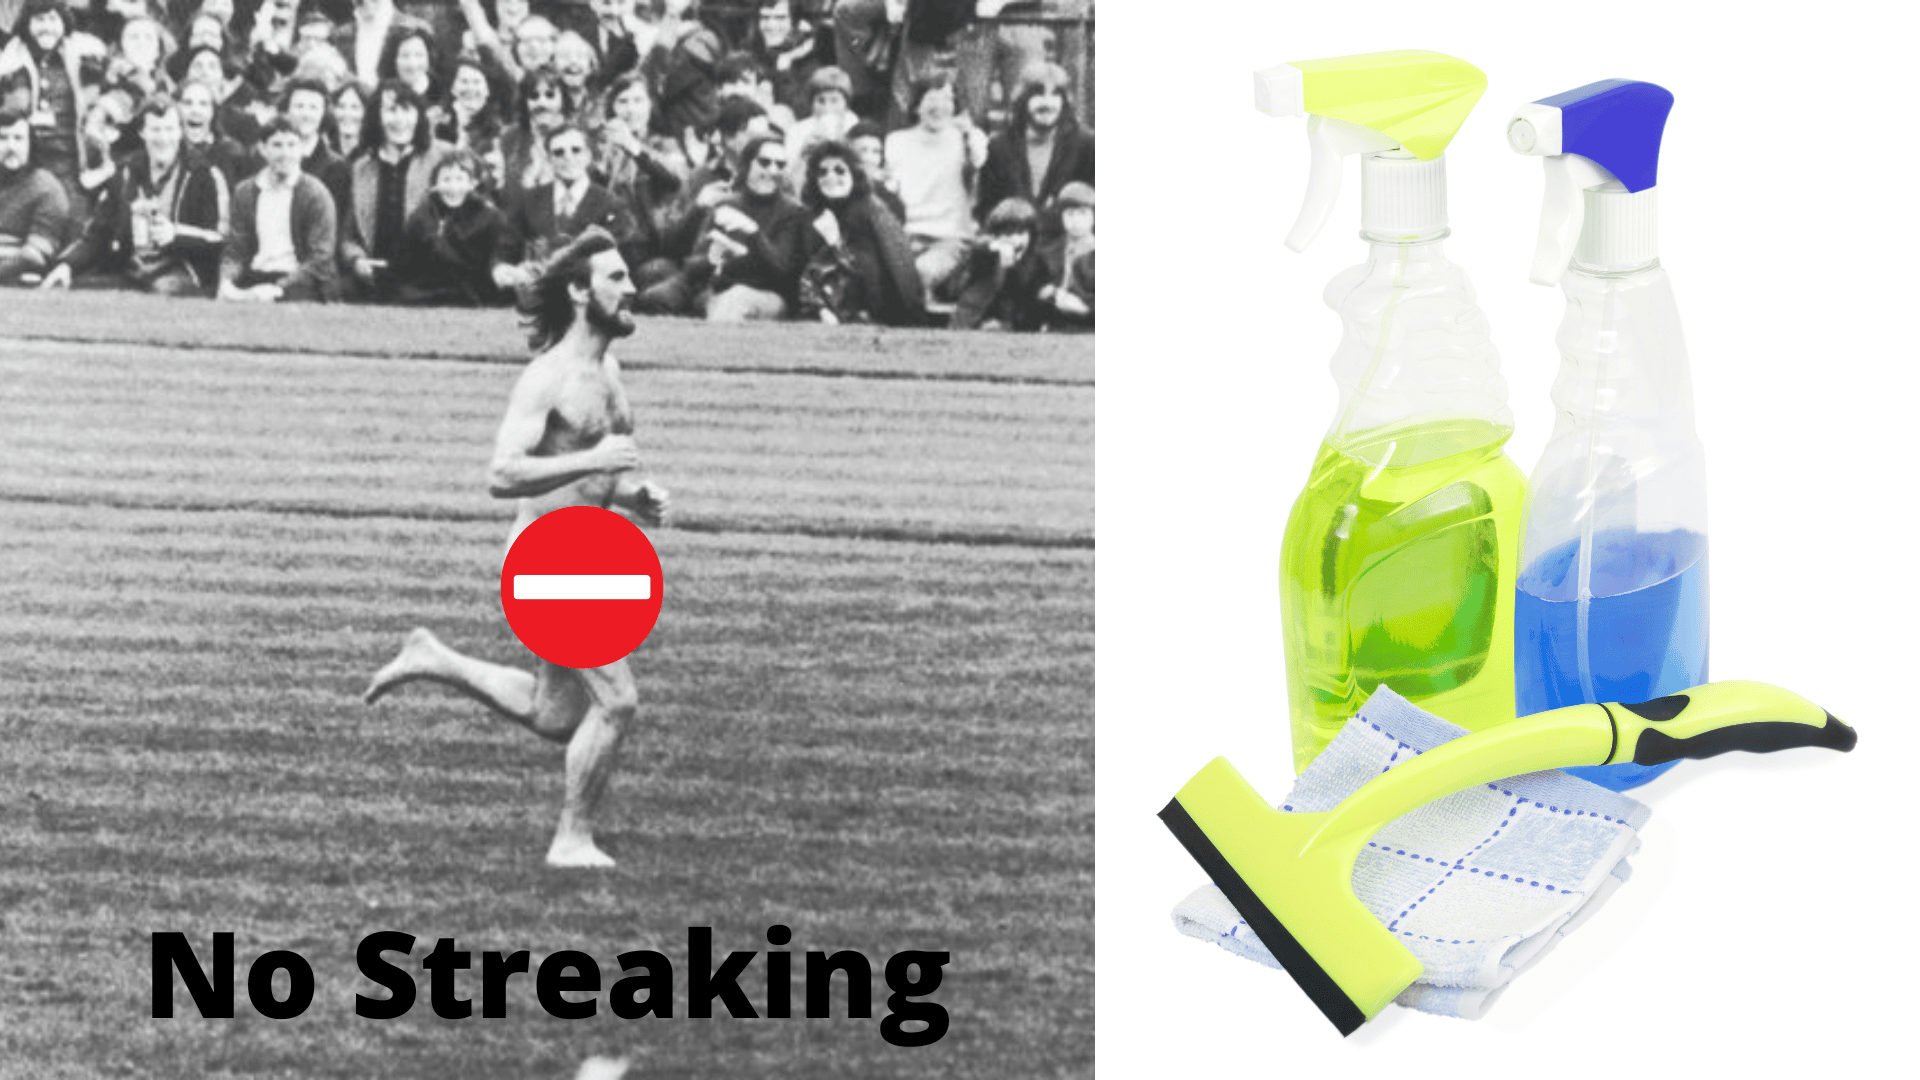
9. Leftovers

I had 12 people for a holiday dinner, and in my inevitable way of over-estimating how much people will actually eat, made two lasagnas and 30 meatballs. Even after forcing my guests to take home a doggie bag, we’re still eating leftovers days later. Not to mention the leftover cheese, fatty meats, crackers, olives, and nuts from the charcuterie board. If the holidays left your fridge a little more stuffed than usual like mine, let’s clean it out. Start by removing everything and wiping down the shelves. Freeze items that you’re sick of but are still good. Toss out leftovers that are past their prime (the USDA recommends after three to five days), before replacing everything. For tips on giving your fridge a deep clean, click here.

In the pantry, consider donating any shelf-stable foods you didn’t use during the holiday season, such as canned cranberry sauce or extra canned vegetables. Find a place to donate food here.

10. Linens

Maybe when you hosted holiday guests overnight, you realized that your spare set of sheets has seen better days. Or maybe you invested in a new set of sheets and are ready to part with the old ones. Either way, the post-holiday period is the perfect time to declutter your linen closet to determine which bedding and towels need to go. And, if this is the case, your must have missed our Hosting Overnight Guests post. (BTW, if you’re in the market for some fresh sheets, January is historically a time for bedding sales.)

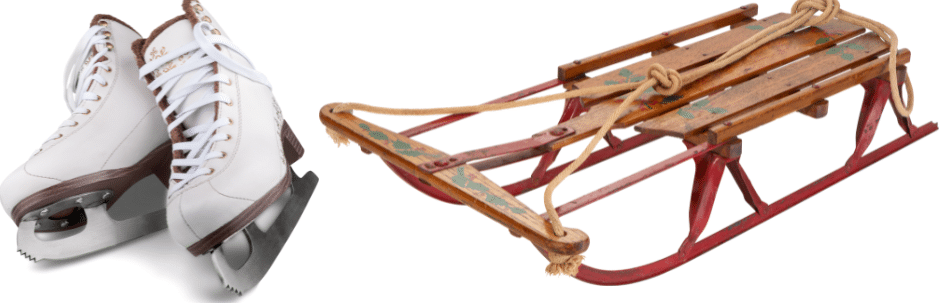
11. Winter Sports Gear

I am not a winter sports person, unless riding in a horse-drawn carriage counts. But if you are and have things like skis or snowshoes, ice skates, or a sled or saucer, now’s a good time to check on your winter activity gear. Do those skates still fit? Do they need sharpening? Do your kids have skates they’ve outgrown? Donate any gear that no longer works for you but might be of use to someone else, then schedule any maintenance that your gear might need.
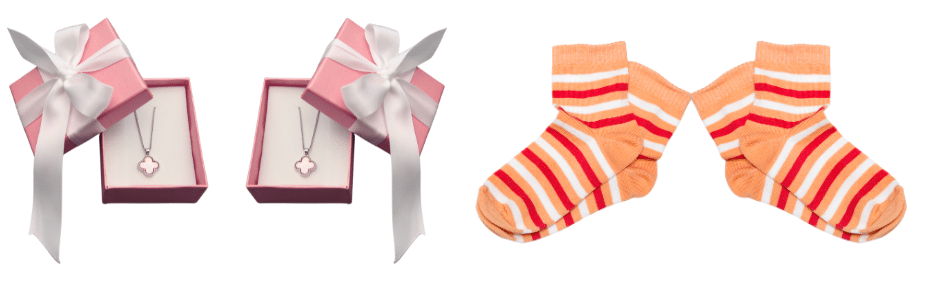
12. Duplicates

My fella gave me a lovely pair of earrings for Christmas this year. They were identical to the ones he’d given me two years prior and were actually on my ears the night before. LOL. If loved ones were extra-generous with the holiday gifts this year, or forgot what they’d given you previously, you may find you now have duplicative belongings. What to do? Exchange, donate, trade, sell. And let it be guilt-free.


Just making this “To Do” list gives me some piece of mind knowing that in the next weekend or two the holiday clutter will be gone. I’ll be able to enjoy calm and relaxing time at home knowing I’ve decluttered, cleaned up, and cleared out. Plus I now have a leg up for when spring cleaning season arrives, and next holiday season there just might be enough room to buy some new holiday stuff. Love the Place You Live even more after après-holiday decluttering. Happy New Year!

Clean Clothes Closets Are A Beautiful Thing


I have a [rich] friend with an absolutely dreamy closet. It’s an entire room! The décor is all fresh, bright white and features a beautiful chandelier, make up table with a mirror featuring multiple light settings,  comfy side chair, elegant floor-length mirror, shoe shelves, purse cubbies, and even a dress form to display her wedding gown. Did I mention the wine fridge stocked with bubbly? Like I said, dreamy. Living in a significantly more modest home, mine is just a wall closet with less-than elegant bi-fold doors which sometime jump off track. So dreamy is a bit out of reach. However, that doesn’t mean my closet can’t be beautiful – as in beautifully organized.  Here’s how I turned my smallish, modest, messy closet into a clean clothes closet — beautiful, tidy, and well-organized storage for my clothes and shoes.

Remove Everything

I know what you’re thinking…..aaarrrggghhh!!! Same here. Took me a few weekends to work up the courage to turn a small messy closet into a huge messy pile of STUFF.

A good idea is to follow the advise of Sarah Giller Nelson, Professional Organizer and Owner of Less is More:

“Work in smaller blocks of time. Set a timer for 30 minutes to two hours, select a clothing type to go through and declutter until the time is up.”

Try it, it works (thank heavens).

Take out EVERYTHING, including hangers, and put it all on your bed. Now you can’t go to sleep until you finish the project, giving you no excuse to stop until you’re done. This will also give you a visual of the space available in your closet so you can see what will fit comfortably as you put back pieces you want to keep.

Vacuum and Dust

Tackle your now vacant closet with your vacuum and utilize its attachment to clean up dust webs and that black hole between the carpet and the wall where all manner of stuff collects. Then use your Swiffer duster to clean those top corners and the shelves. Leave the door open so the closet can air out.

If you want to kick it up a notch, consider some beautiful peel and stick wallpaper and/or some motion-sensor strip lights. Here are the 10 best peel and stick papers and below is an example of a wallpapered closet.

Sort The Pile Into Four Groups

Once you’ve put an item into a pile, don’t second guess yourself! Keep going so you don’t lose momentum.

  1. Items you love and wear all the time. Again quoting Sarah Giller Nelson, Professional Organizer and Owner of Less is More:

“Hold your wardrobe to a very high standard. When we look good, we feel good, and you deserve to always feel your best. When decluttering, be very picky and honest.”

Try to avoid the temptation keep everything and thoughts like, “but it’s still good”! Here are some ideas to help you figure out what should stay in your closet.

  • Layering pieces that are good for any season.
  • Things you want and have actually worn in the last year.
  • Clothing and accessories you can incorporate with any trend.
  • Staple and everyday pieces that you wear seasonally.

How to Decide Which Clothes to Keep

If you’re still wondering, “what should I keep in my closet?” then answer the following questions:

  • Would I buy this, or wear this, today?
  • Does this fit my lifestyle?
  • When was the last time I wore this?
  • When will I wear this in the next few months?

Try the Marie Kondo Method. She asks:

“Does this item bring me joy?”

That’s the main question famous Japanese organizing consultant Kondo says to ask yourself when decluttering your closet. So, as you’re cleaning out your clothes, think about each item. Does a certain top make you feel less than your best? If it doesn’t make you feel good, you’re not going to wear it. There’s no point in letting it take up space in your closet.

Kondo also says to think about what you want to keep, not what you want to get rid of. Shift your thoughts to focus on items you truly love instead of worrying about some old clothes you don’t want.

  1. Damaged items. If you’re like me, you have a few garments in your closet that you’re hesitant to discard because you once loved them. But now you can’t wear them because they’ve shrunk, are pilled, torn, or faded. The zipper no longer works. A button is missing. There’s a food stain that just won’t wash out. These items can’t be donated because of their condition. Be brave and toss. All is not lost for these old faves though! Think recycle/reuse! Turn soft t-shirts in to polishing cloths, turn fleecy items into dust cloths.


  1. Maybe items. Try these on. So they look great on you? Do they still fit? Have you worn them in the last year? Put these clothes aside for two weeks. As Kristen Ziegler, Organizing Expert from Minima suggests:

“Be bold. Most people wear the same few items over and over, so just let the rest go.”

  1. Donate / Sell pile. Clothes in this pile should be in good, clean condition. There are many place where you can donate clothes, like Goodwill or Vincent DePaul. If the garments are work clothes, consider Dress For Success. Some organizations will even pick up donations from your home like Volunteers of America, and here are eight more! If you’d like to cash in on some of these clothes, you can bring them to a local consignment shop or sell online at a number of different places. For a how-to along with the five best online shops, visit NerdWallet.

Uniform Hangers

Not only will uniform hangers make your closet look uber organized,  and become a clean clothes closet, they can also save space! And, new hangers don’t need to break the bank. I like flocked hangers as clothing doesn’t slip off. Think lightweight hangers for shirts, heavier for hang-able sweaters and blazers, skirt and pants hangers, and heavy duty hangers for jackets and coats. If space is at a premium, consider hangers that hold multiple pieces.

Sort by Category

Put all your shirts, pants, skirts, dresses, jackets together in groups. You can even sort by color so it becomes super-easy to locate particular garments. Store your clothes in a way that compliments your daily routine.

For example, if you work out every day, try putting athletic wear near the front of your closet with the items you regularly wear to work. Your more casual weekend clothes don’t need prime real estate because you won’t need to access them quickly as you’re rushing out the door during the week.

Five Fast Tips

Need more help creating a clean clothes closet? Still have questions about making decisions about the items you’re still unsure about?

  1. The One-Year Rule

Has it been more than a year since you’ve worn it? Then you probably won’t ever wear it. Don’t hold onto a T-shirt or a pair of shoes hoping you’ll use it again and don’t try to convince yourself you will someday. It’s time to let it go. Stop letting it take up valuable space.

  1. Force Yourself to Wear the Maybes

Wear clothes that you’re still on the fence about. How do you feel in them? Do they make you feel good? Will you ever wear it again? Can you find a way to style it?

  1. One Thing In, One Thing Out

From clean closet forward, get rid of something every time you bring something new home to help you prevent future clutter.

  1. The Hanger Trick

When you’re putting your clothes back in your closet, make sure all your hangers are facing the same way. After you wear an item, turn the hanger around when you put it back. Wait a month, then take note of which hangers are still facing the original way. Reevaluate your need for these clothes and consider donating them. This will help you keep your closet clutter in check.

  1. Slow and Steady

If the idea of spending several hours cleaning out your closet  to make a beautifully clean clothes closet is just too overwhelming, try making it part of your daily routine. Set up a donation box in or near your closet and aim to put five items in every day.

Hopefully, this leads you to a less cluttered and more organized closet. Hoping it leads me to getting rid of “good” suits I bought for work years ago that haven’t been out of the closet in ages. I am most certainly afflicted with the “but it’s still good!” mentality. Working on changing that to “it’s still good – for someone else.”

Now back to dreaming of a beautiful, clean clothes closet large enough to hold a wine cabinet full of bubbly…

Your Local Hero

Distilled White Vinegar. Your New Local Hero.

Trending: ecofriendly everything.

Are your social media feeds brimming with ads for new products designed to do a better job of cleaning all kinds of specific items with minimal packaging waste? I know mine are. We could all spend a fortune and clutter up our storage spaces with products galore. Seems counterintuitive, doesn’t it?

How about an alternative? It’s nothing new, newfangled, expensive, or “only available on line”. In fact, I’d be willing to bet you have a bottle in your cupboard. Let me reintroduce you to your new local hero: distilled white vinegar.

My admittedly dusty bottle of white vinegar sat in the back of my cabinet unused for ages. Not quite sure why I bought it; it just seemed like one of those must-have pantry staples.  But then when I moved into an old (circa 1896) apartment in the historic district of Newport, KY and my bathtub drain ran super slow, Google taught me that white vinegar would keep my drain running clear. More on that later.  That Google search opened my eyes to the almost magic trickery of distilled white vinegar which, as it turns out, is a workhorse in the kitchen, bathroom, garden, and more! Bonus: it’s cheap.

Here are just a few of the tricks white vinegar has up its sleeves:

All-Purpose Cleaning Solution. In a spray bottle, combine 1 cup of distilled white vinegar with 3 cups of water and use on just about everything. Don’t love the smell of vinegar? Let vinegar sit in a jar with strips of lemon zest and a spring of fresh thyme for a week or two in a sunny spot, then strain. Mix with water as described above. This can be done with any herb or fragrant plant like lavender or eucalyptus, just avoid anything that colors the vinegar if you plan on using it on a white carpet.

IN THE KITCHEN

Stinky Sink Drain. To keep kitchen drains fresh, pour 1 cup of distilled white vinegar down the drain once a week. Let it sit for 30 minutes and then rinse with cold water. Ahhh, fresh!

Dishwasher. Pour a small amount of white vinegar into the rinse-aid dispenser of your dishwasher. This will help prevent a cloudy residue on your glasses and keep cutlery-free of smears and streaks. And, once a year or so, more often if you have hard water, pour a cup of vinegar into an empty dishwasher and run it on a short cycle to remove lime and soap build-up.

Stainless Steel Cookware. Scrub with a mixture of white vinegar and salt.

Cutting Boards. Undiluted white vinegar cleans and disinfects cutting boards, especially those made of wood.

Microwave. To remove smells or cooked on food, combine ¼ cup of distilled white vinegar and 1 cup of water in a microwave-safe container. A slice of lemon will add a fresh, clean scent. Microwave on high until the mixture comes to a boil and steam forms on the window. Let cool slightly, then wipe away any food residue.

IN THE LAUNDRY

Stain Treatment.  For removing stains like mustard, ketchup, tomato sauce, grass, and underarm deodorants, spray a little white vinegar onto the stain before laundering. Soaking whites in vinegar will help bring back their whiteness.

And just like in your dishwasher, vinegar helps to break down detergent when added to the rinse cycle, making clothes fresher, more colorful—and it gets rid of funky towel mildew. One cup should be plenty; add less when using a front-loading washing machine.

WARNING: Never add vinegar when using chlorine bleach; it will create noxious chlorine gas, a potentially deadly compound.

Laundry Softener. If you’ve run out of fabric softener, simply add about three tablespoons (or a scant ¼ cup) to your washing machine dispenser. Your clothing will be softer, but won’t smell like vinegar because of the limited measurement.

IN THE BATHROOM

Window/Mirror/Shower Door Wash.  Spray the all-purpose solution on the glass surface and wipe it off with a clean, lint-free cloth or a balled-up piece of newspaper (does anyone still read the newspaper?).

Clean Faucets & Showerheads. White vinegar is effective in removing lime scale especially when mixed with hot water. Wrap your showerhead in a plastic bag of warm, white vinegar and secure it with a rubber band. Let it soak for an hour before rinsing it clean. Spray faucets, let sit for a bit, then wipe clean. If your toilet bowl, bathtub, or sink has lime deposits from hard water, soak or spray vinegar onto the grit. It should loosen the deposits enough to remove them easily.

Tile & Grout. Spray full strength white vinegar on mildewed or scummy grout and tile. Wait for about an hour, and scrub with a soft bathroom scrub brush.

Keep Drains Clear. To keep your sink or bathtub drain running clear, use a funnel to pour a half cup of baking soda down the drain followed by one cup of white vinegar. The concoction will foam up like crazy, so this can be a fun “science experiment” with the kids. Let sit until the foaming action stops, then rinse with hot water (this step should be kid-free). Not only will it clear your slow running drain, but it will also destroy any odor-causing bacteria.

IN OTHER PLACES

Pet Potty Accidents. Clean and refresh the soiled area by spraying vinegar. This may also deter your pet from soiling the same area. Read more in our blog post about cleaning carpet stains here.

Remove Stickers. Who hates price tag stickers??  They are a pet peeve of mine. I especially hate it when a price sticker is placed on the glass of a picture frame or in a very conspicuous place on a pretty vase. Dab white vinegar on the spot and let it sit for a minute or two. Afterward, it will be easy for you to scrape away the excess paper and gunk. And much less expensive than Goo Gone.

Relieve Sunburn Pain. No one ever plans a sun burn, so aloe is usually not close at hand. Instead, soak a washcloth in a 50/50 solution of distilled white vinegar and water and dab on your sunburn. Reapply as the washcloth warms. Or, add 2 cups to your bathwater.

Fresh Flowers. Add a few tablespoons of vinegar to your flower water to make your flowers last longer. When the water gets cloudy, dump it out and repeat.

So there you have it. Well not all of it, because the uses for white vinegar go on and on!

In closing, I’ll mention that vinegar is an acidic liquid originally created from wine gone bad. Wine gone bad is a very, very sad thought until you think of all the easy, effective, and inexpensive things that can be done with it.

Now go buy a gallon. Who doesn’t need a hero right now?

Resources: https://facty.com, www.foodandwine.com, www.thespruce.com


Spring Cleaning Extravaganza – Kitchens

Spring Cleaning Extravaganza – Kitchen

We’ve sped through the backstretch and are rounding the corner to the finish line in this final edition of our Spring Cleaning Extravaganza! We’re oh-so-close to a tidy, spotless, well-organized home that will allow us to embrace the spring season and be well-prepared for summer fun. Thus far our journey has made our windows and blinds sparkling and dust free, dust has been removed from every nook and cranny in our home, and our bedrooms have become beautiful, calm, clean, and relaxing havens, and our bathrooms are gleaming. Next, we’ll tackle what is arguably the most time consuming room in the house to clean – the kitchen – with our spring cleaning extravaganza – kitchen edition.

As always we’ll begin by assuming the usual suspects aka cleaning supplies.

SUPPLIES

THE CABINETS

  • Empty cabinets and drawers. Do one section at a time.
  • Vacuum accumulated dust, and dirt from the shelves and drawers.
  • Dab a microfiber cloth with a mild cleanser. Wipe down the shelves and the inside and outside of the door. Use a clean toothbrush to treat the corners and other small crevices. Let dry completely before restocking.
  • Wipe down cabinet hardware or remove knobs/handles and wash in hot, soapy water.
  • Wash any storage bins, silverware trays, and drawer dividers and thoroughly dry.
  • As you restock shelves and drawers, consider tossing any chipped or cracked items. Organize everything neatly. Toss any pantry goods, spices, and other foodstuffs that have expired or exceeded their shelf life.

THE BACKSPLASH

Some of us have some kind of tile between the counter and upper shelves; others have wall surface. Whatever you have, this space can get grimy and greasy from cooking and splattered during food preparations. Cooking is messy!

  • Remove outlet- and switch-plate covers and place in hot soapy water. Wash, rinse, set aside to dry. If the covers aren’t too dirty/greasy, use an all-purpose cleaner and paper towel.
  • Soften grease and grime with warm water, then clean with a sponge soaked in warm, soapy water, and finally dry with a dishtowel to avoid any leftover residue that would attract dirt and grime. For stubborn stains, use a baking soda spot treatment or a spritz of distilled white vinegar.

THE STOVE AND OVEN

Stovetop

  1. Remove control knobs and drip pans and soak in hot sudsy water.
  2. Use hot, soapy water to clean the stovetop and control panel. If your stove has a glass top, apply glass top cleaner with a soft cloth or sponge. Buff with a clean, dry, microfiber cloth.
  3. Shine all surfaces with Windex and a clean paper towel.
  4. Rinse and dry knobs and replace them on the control panel.

Oven

  1. Mix about 3 tablespoons of baking soda, a bit of water, and some white vinegar in an oven-safe dish until it forms a paste.
  2. Dab the dirtiest areas with the mixture.
  3. Place the remaining mixture in the center of your center oven rack.
  4. Turn the oven to around 212 degrees Fahrenheit.
  5. Leave the mix in for around 45 minutes.
  6. Turn the oven off and allow it to cool for a bit.
  7. Wipe down the oven with a wet sponge to easily remove build up. Rinse the sponge frequently.
  8. With a freshly rinsed sponge, use clean water to give the oven interior a final rinse.

Oven door glass

  1. Mix a paste of baking soda and water and apply a thick layer to the glass.
  2. Allow to sit for 20 minutes.
  3. Use a scraper to remove the crud.
  4. Wipe the glass with white vinegar to neutralize any remaining baking soda.
  5. With a freshly rinsed sponge, use clean water to give the oven interior a final rinse.

Oven drawer

  1. Empty the drawer and vacuum away all loose dirt and crumbs.
  2. Wipe clean with all-purpose cleaner and a paper towel.

Vent hood

  1. Wipe it down with an all-purpose cleaner or hot soapy water.
  2. Remove vent filters and wash in hot soapy water. Rinse well. Allow to air dry before reinstalling.

Microwave

  • Fill a microwave-safe bowl with two cups of water and two tablespoons of vinegar or freshly squeezed lemon juice.

Tip: Add a small wooden spoon to the bowl or place a toothpick in the mixture. This will allow bubbles to form against the wood as the water heats up, preventing the water from becoming superheated and “exploding” into a boil.

  • Place the mixture in the microwave, close the door, and microwave on high for three minutes. Wait an additional 15 minutes without opening the door.
  • Using potholders carefully remove the bowl from the microwave and set it aside—don’t pour it out just yet.
  • Remove the turntable tray to wash it in hot soapy water in the sink.
  • Dampen a clean microfiber cloth with the vinegar mixture and wipe down the interior of your microwave. Use a non-scratch scrubbing pad for any stubborn spots or hard-to-reach crevices.
  • Spray an all-purpose cleaner onto a clean cloth and wipe down the control panel, sides, top, and bottom. (Never spray directly onto the control panel.)

THE FRIDGE

For a complete, in-depth how-to for cleaning your fridge, please visit to our blog post dedicated to that subject here.  In a nutshell:

  • Start at the top.
  • Remove everything from a shelf and see just how messy you (blame the kids! Blame your S.O. Blame the dog!) have been.
  • If there are spills, carefully remove the glass from the frame (or brackets, depending on your fridge) and clean both sides, as well as the edges, with the vinegar solution.
  • Dry with paper or microfiber towels.
  • Wash the frame that holds the glass before replacing the entire shelf. For that, I usually head to the sink and use dish soap and hot water.
  • If there aren’t any caked-on spills that require shelf removal, simply run a scrubby sponge under hot water. Give the shelf and fridge walls an initial scrub to loosen any gunk. Then, spray it all down with cleaner and give it another scrub, before wiping everything clean with a microfiber cloth.

NOTE: When you’re not actively working in the fridge, close the door to keep everything as cool as you can.

  • Remove the drawers and wash them in the kitchen sink with soap and water. If they won’t fit in your sink, spray them down, wipe them clean, and dry them before putting them back. While the drawers are removed, wipe down the walls and “floor” of the fridge with the vinegar cleaner. Use the same method for the shelves inside the doors.
  • Wash down all items you removed from the fridge to clean it. Check all expiration dates and toss anything that’s expired.
  • Use a clean microfiber cloth and vinegar spray to wipe down the outside of the doors, including the edges and seals, and don’t forget the handles! The worst area will undoubtedly be to top of the fridge as it tends to collect greasy residue from cooking and dust. I like keeping a kitchen towel on top that can just be thrown in the wash.
  • Clean under the fridge.
  • Vacuum the coils on the back of the fridge.


THE DISHWASHER

Filters

  • If you have a removable filter, make a habit of regularly checking the cover at the bottom, underneath the twirling spray arm. Although the holes let food through, the filter is designed to block larger, harder debris. Cleaning is easy: just pick the pieces out by hand.
  • If you have a removable filter, there is generally a circular piece at the bottom that can be turned when you want to clean the fine-mesh basket strainer underneath. The circular piece often fits into a flat piece of metal mesh with coarser holes that lifts out for cleaning.
  • Clean each part by rinsing it out in the opposite direction from the way the water flows when the dishwasher is running. An old toothbrush or sponge can loosen debris, along with soaking in soapy water or vinegar. Once you’ve removed the mesh, clean the area underneath.

Air Gap

  • The air gap is next to the sink, higher than the dishwasher, and has a liftoff cover. Below that is a part that’s plumbed to both the drain line from the dishwasher and a drain line that connects to the sink.
  • Remove the cover and clean debris from the plastic part underneath.

Nozzles

  • Clean nozzles on the spray arms by removing each arm (most dishwashers have upper and lower ones). Use a narrow wire, a pick, or sturdy needle to clean out the holes while running water thought the central opening on the arm.

Exterior

  • A dishwasher usually cleans the interior on its own, but the exterior is up to you. You can never go wrong by simply wiping away food spatters with a soft, slightly damp cloth, then drying the surface with a second soft cloth.

GARBAGE DISPOSAL

The easiest job you’ll do all day!

  • Sprinkle a half-cup of baking soda into the opening of the garbage disposal.
  • Pour in a cup of white vinegar and allow it to sit for 10 minutes.
  • Turn on the garbage disposal and allow hot water to rinse away the baking soda mixture.
  • As an alternative to baking soda and vinegar, use chopped citrus peels.
  • Pour in two cups of ice and a cup of salt, and then run the disposal to clean the blades.
  • Using a soapy sponge, wash the disposal’s rubber splashguard (also known as a gasket or baffle).

THE SINK

I always do the sink last as you’ll need it for every other step of the kitchen spring cleaning.  There’s a clean sink and then there’s a sparkling clean sink. To me, the kitchen is not really clean unless the sink is gleaming. Follow these steps once a month to keep your sink looking like you have a maid. Before you get started, clean your dish drying rack. Place it in a sink full of hot, soapy water and give it a good scrub with your scrub brush.

  • Generously sprinkle Bar Keepers Friend across the bottom of the sink(s).
  • Use a sponge to scrub the walls and bottom of the sink, and the faucet. Get in the tiny space between the sink and the counter and in the openings to the drain and garbage disposal. Don’t forget to wash the sink drainer and disposal cover.
  • Rinse with clear water.
  • Use your sponge to blot up the water until the sink and faucet are just about dry.
  • Spray with stainless steel cleaner.
  • Polish with a dry paper towel or microfiber cloth.

process for cleaning a stainless steel sink

COUNTERS

  • Wash counters with hot soapy water or all-purpose cleaner. Then dry with a paper or cloth towel.

FLOORS

  • If you have a washable rug, now is the time to wash and dry according to manufacturer’s instructions.
  • Vacuum or sweep floors.
  • Clean baseboards and any quarter round trim. A used dryer sheet works great in removing dust. Use soapy water and a sponge to remove any built-up dirt.
  • Damp mop with Swiffer Wet or your mop and cleaning solution of choice.


And that, ladies and gents is that. We’ve crossed the finish line of our spring cleaning extravaganza with this kitchens edition. At least until the next person comes home with dirty shoes, leaves toothpaste residue in the bathroom sink, or is less than neat while making dinner. But that’s our wonderful, messy lives with the people we care about. At least deep down our home is clean – and with that – our minds clear of “must-clean clutter”.

Thanks for sharing this spring cleaning journey with me!


Streak-free Glass

Unlike the streaking fad of the 1970’s, streaky glass has never been in vogue. Rather, streaky windows, glass tabletops, and mirrors is a frustrating result when cleaning your home. So often, no matter how much cleaner you spray on the surface and how you wipe it away, it seems almost impossible to leave a streak-free, shining surface in place. But guess what? Streak-free glass is possible and using the proper method will even take you less time to achieve the results you desire. Cleaning glass without leaving streaks and doing so efficiently? Win, win!

The Cleaner

Most commercial glass cleaners will do the trick when it comes to cleaning glass mirrors. One of the most effective and popular options is Windex glass cleaner, but you can also use Method if you want a natural and non-toxic formula.

Another option is to make your own glass cleaner. All you need is distilled water, distilled white vinegar, and a spray bottle. Learn to make your own distilled water here. Use distilled rather than tap or filtered water as hard water could be the cause of the streaks and grime left behind. Hard water has an accumulation of dissolved minerals such as calcium and magnesium that are culprits when it comes to streaks. Mix the distilled water and distilled white vinegar in a 50/50 ratio for a non-toxic and antibacterial cleaner for a fraction of the price of store-bought cleaners.

The Wipe

When cleaning windows, mirrors, and other glass surfaces, paper towels – while convenient – are not your friend. Most paper towels leave behind lint that becomes obvious on shiny surfaces like mirrors and glass top tables. Trying using a microfiber cloth or a squeegee instead. Neither leave behind lint, and you can toss the t-shirt in the wash when you’re done, and both are reusable making them more environmentally-friendly. Old newspapers, if you can find them, will also provide you with a lint-free experience. Newspaper doesn’t hold up well against the wet cleaner for very long, so have plenty on hand.

The Technique

Before you begin, make sure your surface is free of dirt, dust, crumbs, and goo. Vacuum or dust around window and mirror frames as you don’t want dirt mixing with your cleaner. Got sticky substances clinging to your glass? Don’t try and clean these up with glass cleaner, because they can smear and create even more of a mess. Instead, use plastic to scrape off any substances before you start cleaning. A plastic utensil, card, or a plastic paint scraper should do the trick and won’t scratch the glass. For especially stubborn areas, dab with a bit of liquid dish soap. Let it sit for bit, then wipe the dish soap and the goo away.

A good glass cleaning tip is to start at the top of the mirror or window and work your way down. This way, when the cleaner drips, you’ll be able to wipe it up efficiently as you work your way down.

Did you know that when you spray cleaner directly on the glass, you use more product than you actually need? And, if your cleaner produces too many suds while cleaning your glass, you’re more prone to leave behind streaks.  Spray the window cleaner directly on your microfiber cloth, newspaper, or t-shirt instead of the glass. This helps avoid drips that can leave streaks. Plus, you’ll find that you actually need less cleaner than you think you’ll need for a streak-free shine.

Be careful not to get cleaner on window and/or mirror wood frames, as it can damage or warp the wood over time.

When it comes to cleaning windows, mirrors, and glass tabletops effectively and achieving the ultimate streak-free glass , remember that it’s not always going to come out perfectly. (Nothing is ever perfect, right?) Even if you’ve used a microfiber cloth, distilled water, and a small amount of product, there could still be streaks left behind.

The good news is that these streaks can be removed by using a dry cloth and and buffing them out. Streaks disappear quickly when you use light, fast strokes over the span of the table, mirror, or window. Microfiber cloths work like magic! Best of all, this takes only a few seconds.

The Result

Clean, streak-free glass while fully clothed.