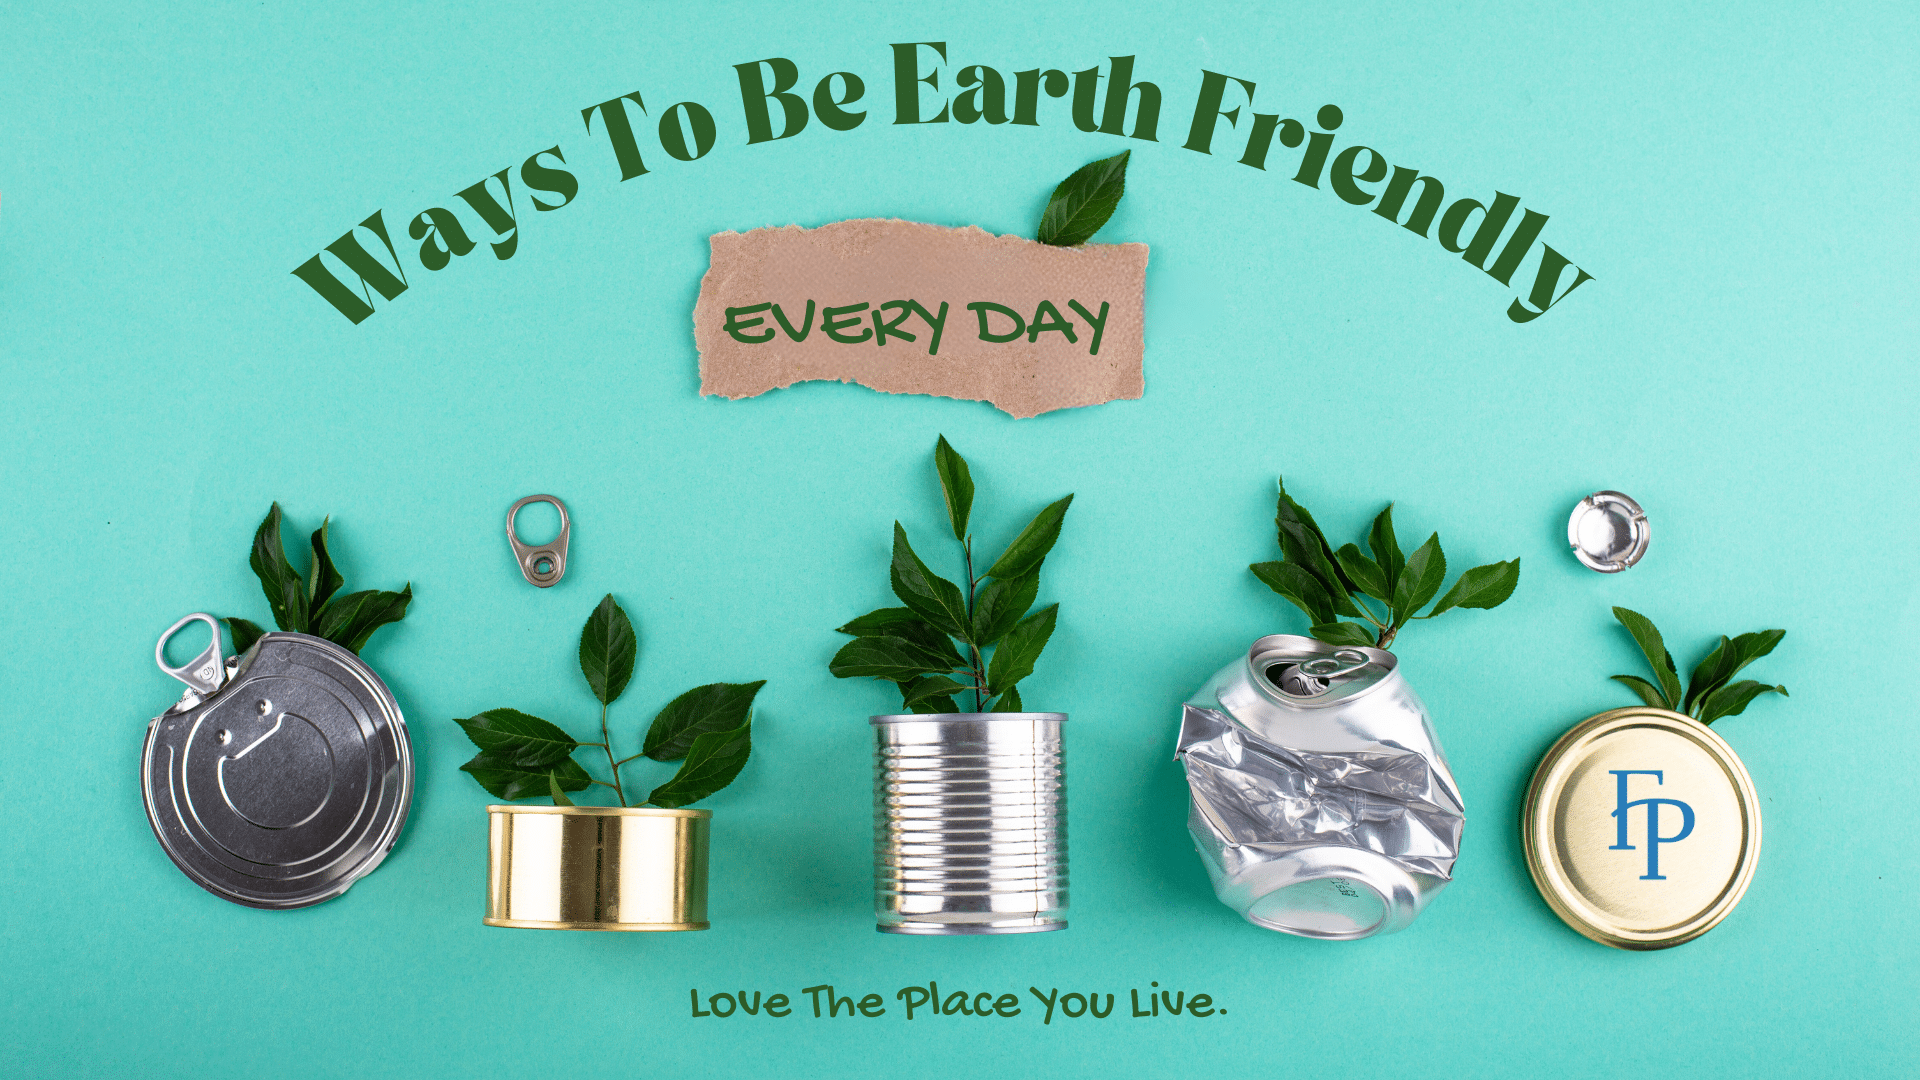
Ways To Be Earth Friendly Every Day
Earth Day, always celebrated on April 22 each year, is meant to increase awareness of environmental problems, but it is also becoming a popular time for many communities to gather together to clean up litter, plant trees, or simply reflect on the beauty of nature. But protecting the earth is more important than just a day’s activities. Perhaps you think that, as an apartment resident, there’s not a lot you can do since you don’t have a yard or garden of your own. You can make an impact in many other ways! Here’s some inspiration for things you can do to improve your local environment, be Earth friendly every day, and do your bit to save Planet Earth.
10 Earth Friendly Contributions
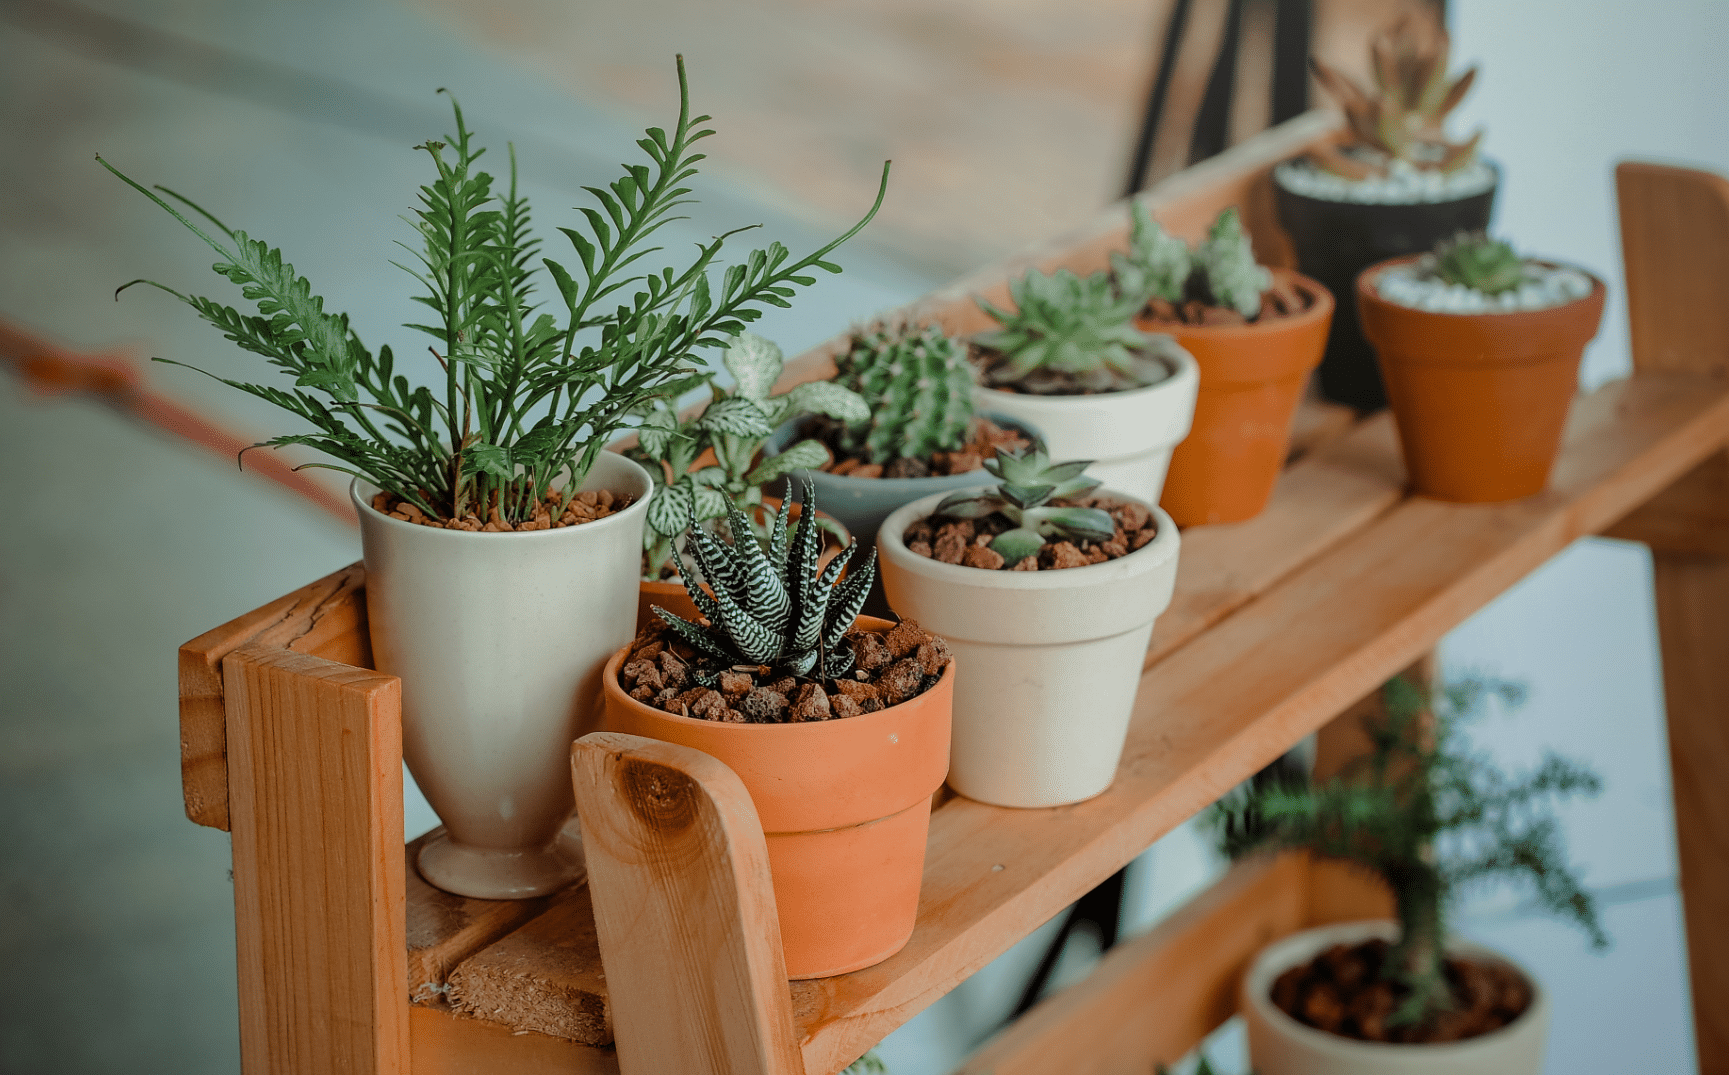
- Support Pollinators
Did you realize you can bring native bees and other pollinating creatures to your patio or balcony? Even when you are container gardening, you can select pollinator-friendly plants and flowers that attract butterflies, hummingbirds, and pollinating bees.
- A Bee House is a bundle of bamboo tubes that provides a place for bees to reproduce and gather pollen and nectar for their young. After laying eggs, the adults die, leaving a new generation to take over. Place the Bee House against a flat surface in an area protected from high winds. The front of the house should have a south or southwest exposure where it will get the most sun in winter to keep bees warm.
- Hummingbirds are primarily attracted to long tubular flowers that are red, but are frequently seen visiting other flowers with bright colors that are orange, yellow, purple, or even blue, giving you plenty to choose from. Keep in mind that many double-flowered forms aren’t accessible to pollinators. Fuchsias and nasturtiums are a great choice for hanging baskets.
- Butterflies are attracted to pink, orange, purple, red, and yellow flowers. Here are a few good choices for your container garden: aster, bee balm, cosmos, lantana, black-eyed Susan, zinnias, red salvia, pentas, verbena, and snapdragon.
- Annual flowers provide color and interest in a landscape and are some of the easiest plants to grow. Pollinators are attracted to these flowers because of their bright colors and ease of finding nectar and pollen. Torch lily, bee balm, lavender, spider flower, salvia, cat mint, fuchsia, and thyme are some good choices.
- Clean Up Plastic in Your Neighborhood
Connect with the Earth and your neighborhood through cleanups. Go on a walk with a trash bag and pick up any plastic that you find. So easy when you’re taking your pup for a walk or going for a stroll after dinner. You may want to bring along a pair of rubber glove. Just sayin’. Pay special attention to intersections, drainage ditch or wooded area that seems to collect plastic trash and litter. Recycle what plastic you can.
- Visit a Park
Find a green space and walk through it. Really look at the plants and trees, and listen for birdcalls. There are great physical and psychological benefits to spending time outdoors; getting outside is good for your body and your mind.
This summer, try getting places on foot, a scooter, or on a bike, not only for visiting a local park, but also for running errands, visiting family and friends, or even commuting to work. It’s good for your body and your mind. Plus you’ll set a great example for others.
- Plant a Tree | Save a Tree
Trees capture carbon, cool overheated places, benefit agriculture, support pollinators, reduce the risk of disease transmission, and boost local economies. One oak tree brings in more insect and bird species than an entire yard of plants. Talk to your local government about planting more trees and native garden beds in public spaces. Be proactive about getting your name off mailing lists for printed catalogues. Register at the Direct Marketing Association’s (DMA) consumer website or sign up for Catalog Choice, and choose what catalogs, magazine offers, and other mail you want to get. These organizations will stop most, but not all, promotional mail.
- Plant Natives
Use native flowers in your container garden. They are not only beautiful but also attract native and beneficial insects that improve both pest control and pollination—meaning bigger flowers and better harvests. You can reach out to your local county extension office to learn more.
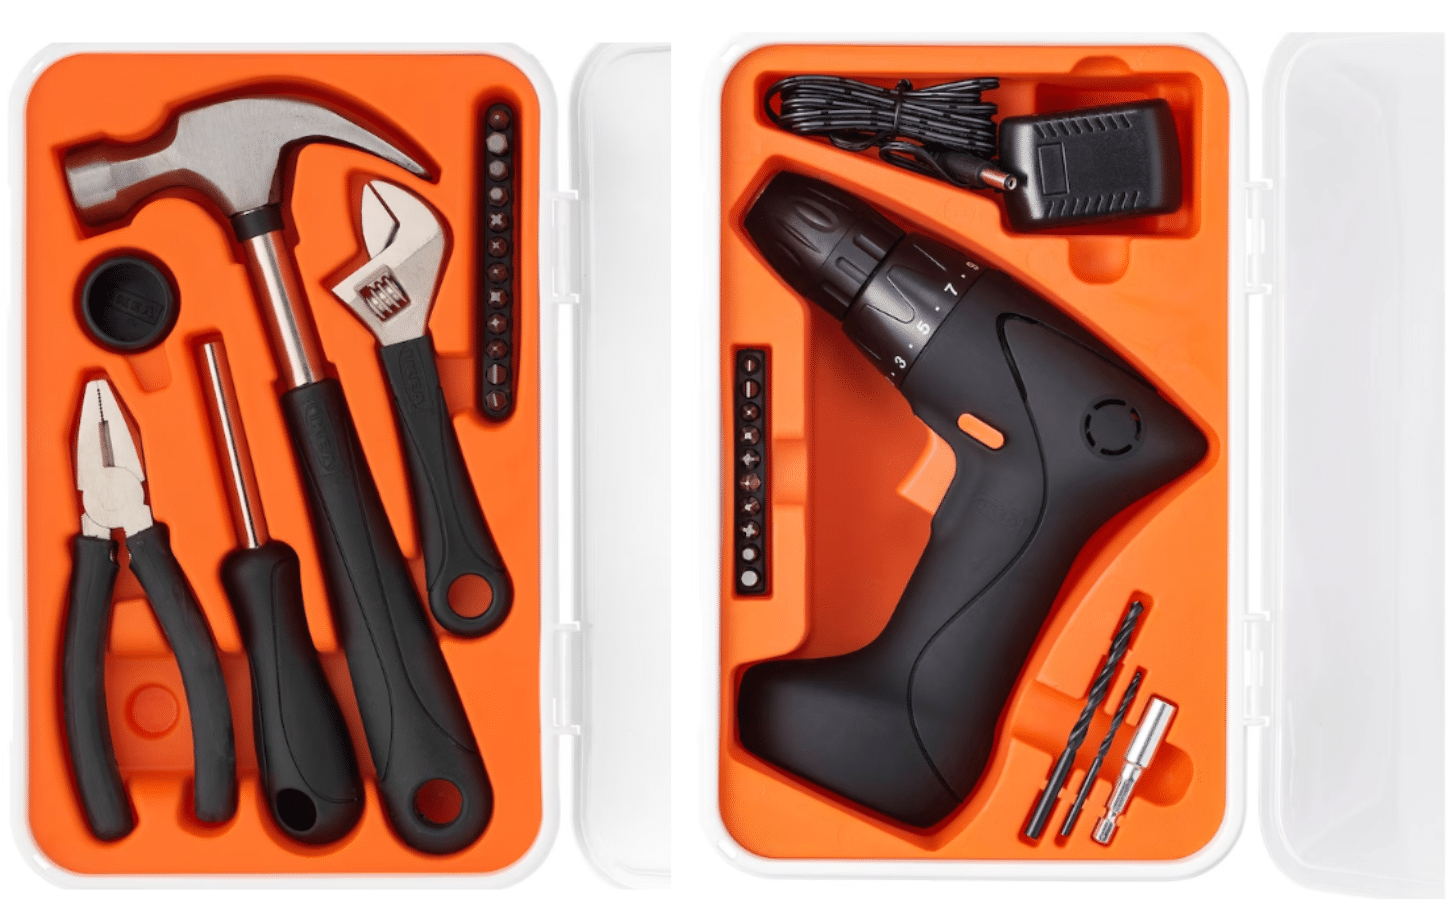
- Reduce, Reuse, and Recycle
- Turn off or unplug lights during the day. Doing so will save energy and help your lights last longer. And use energy saving LED bulbs where ever possible. Learn more here.
- Storms can cause power outages. Prevent waste by keeping rechargeable batteries for your flashlights. If you do use disposable batteries, reduce hazardous waste by buying ones with low mercury content.
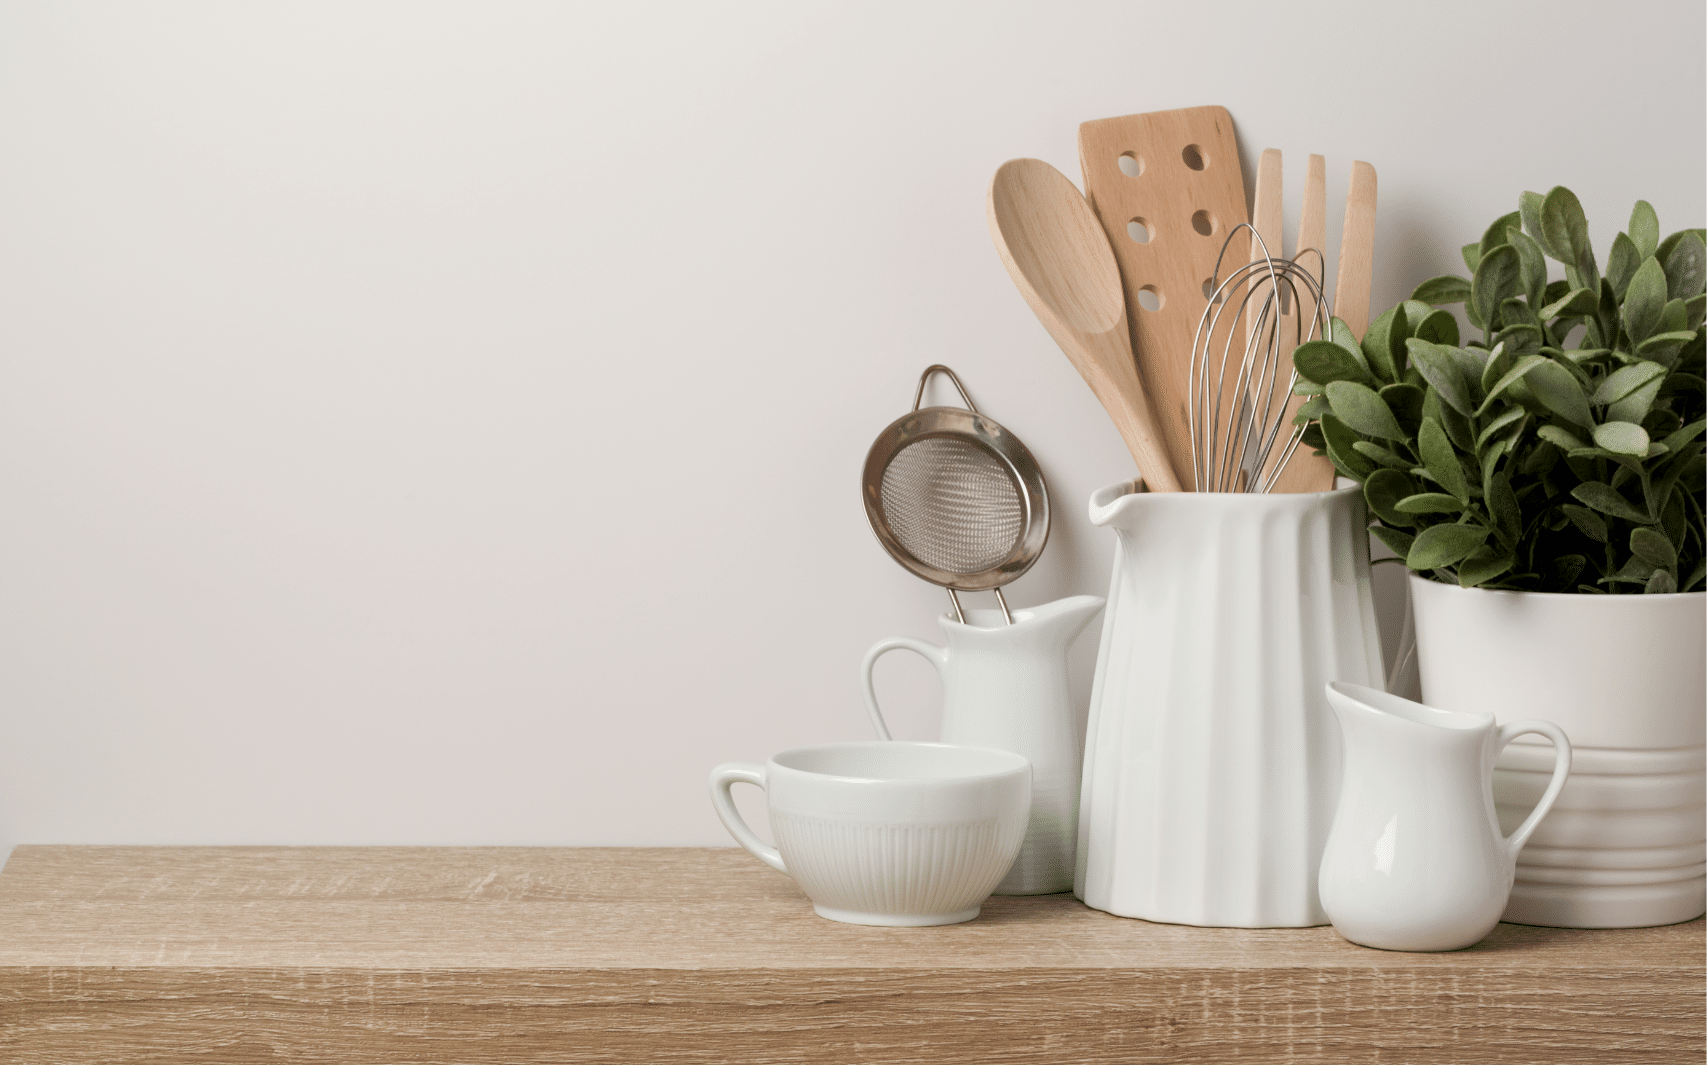
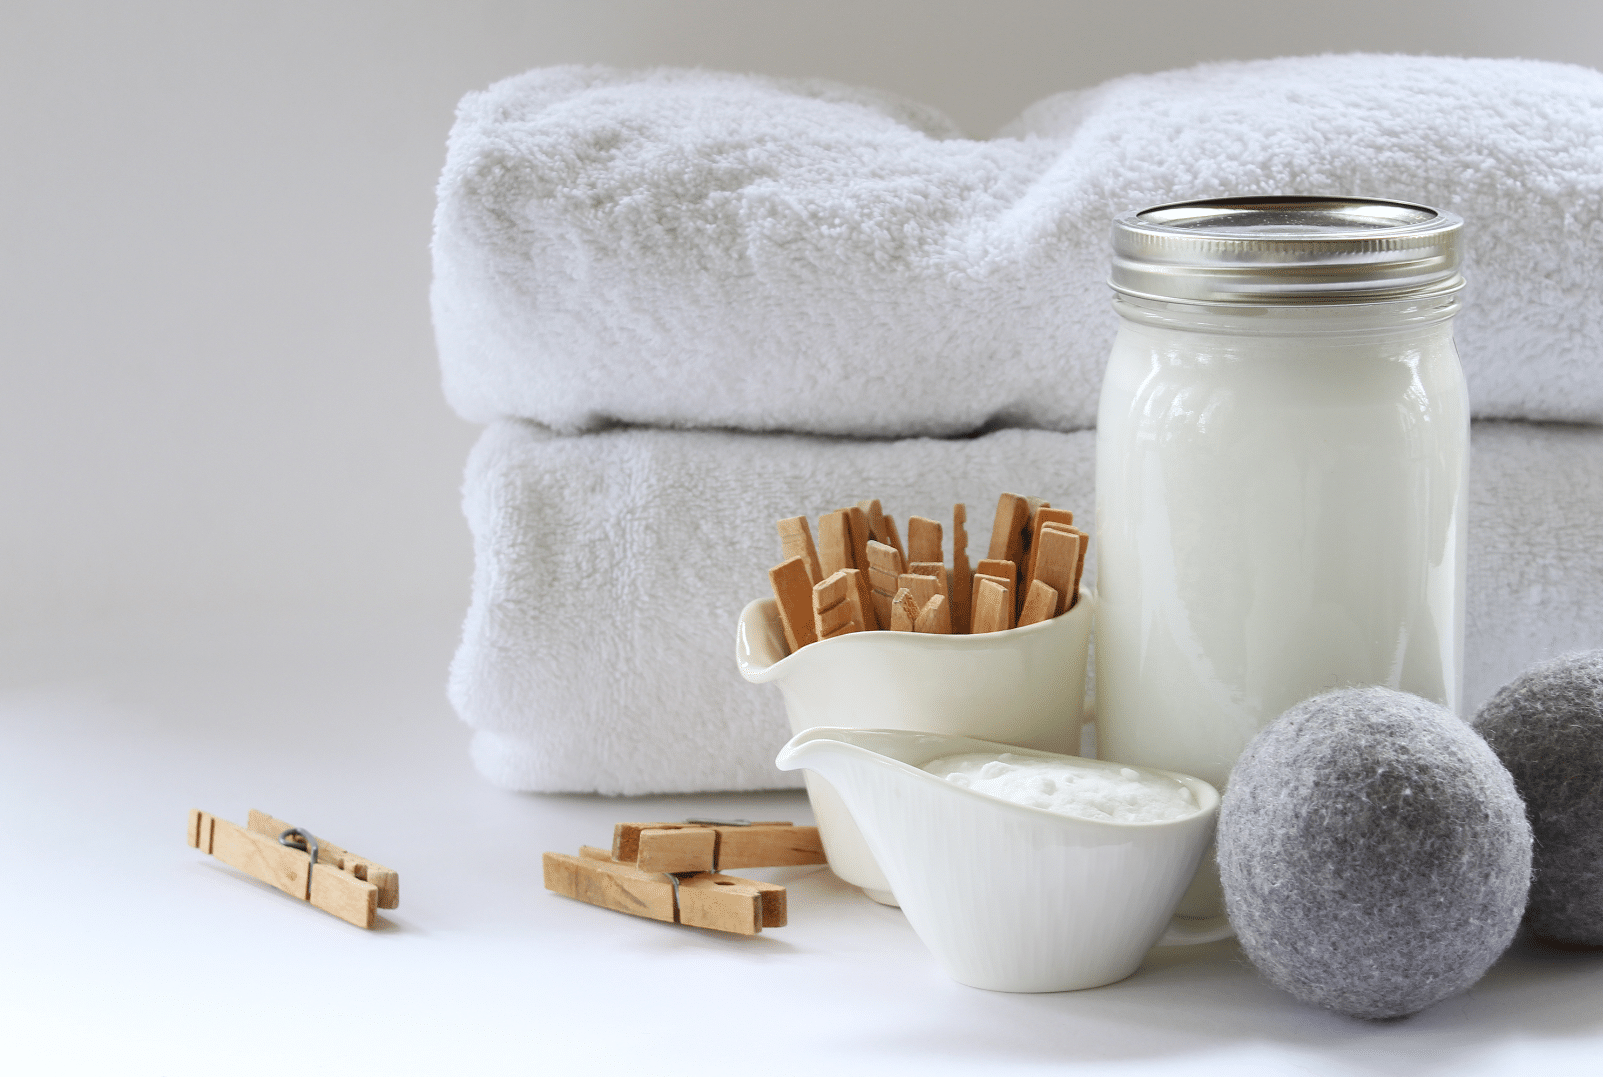
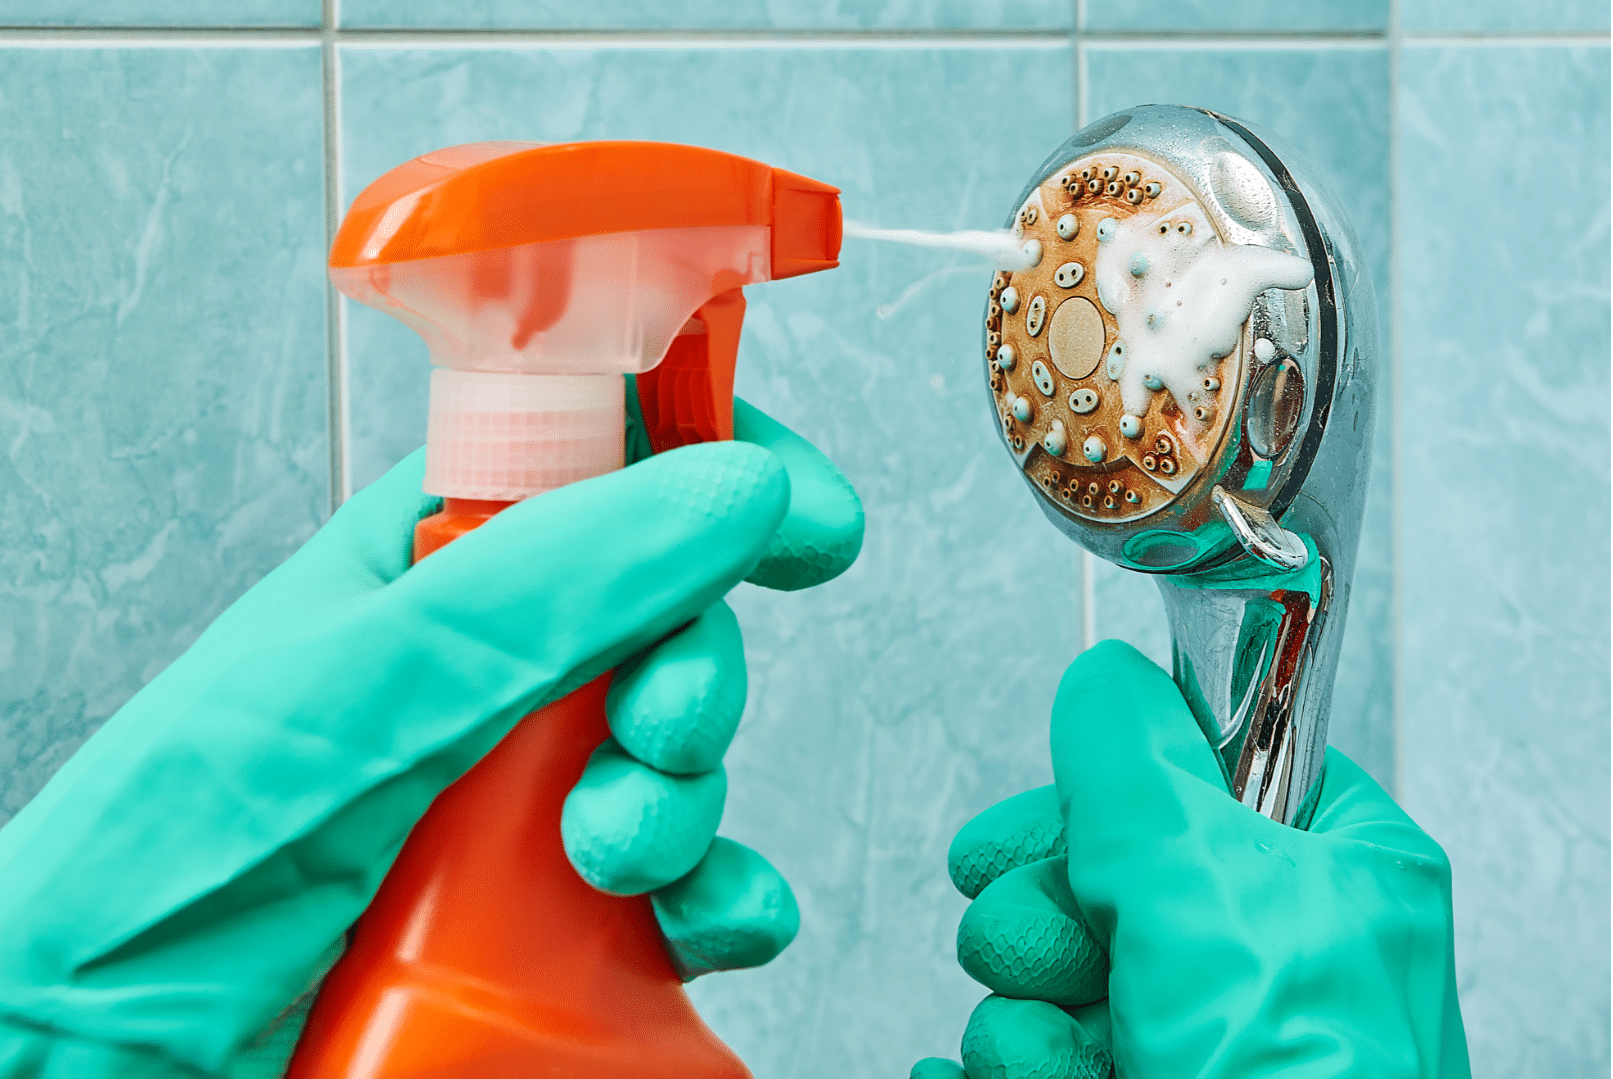
- For cleaning chores, buy reusable mops, rags and sponges. Find the best products here. When using cleaning products, use only the amount you need and follow the bottle’s directions for use and disposal.
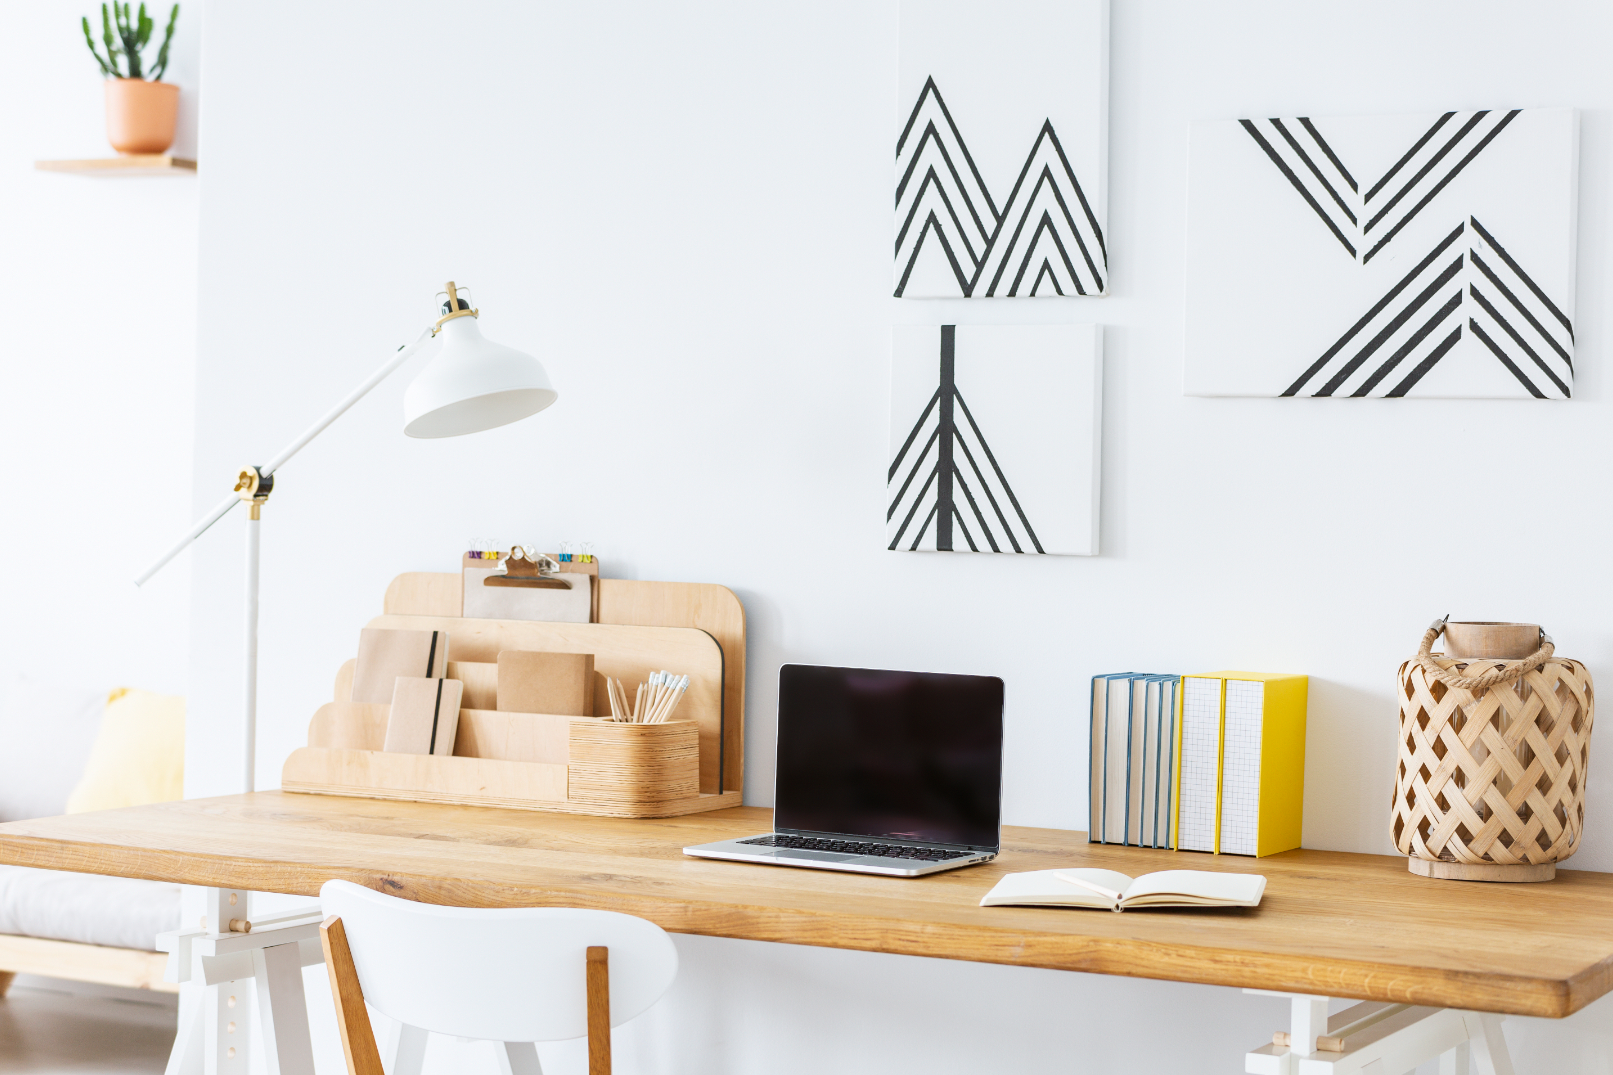
- Instead of printing hard copies of your documents, save them to your hard drive or email them to yourself to save paper.
- Make your printer environmentally friendly. Change your printer settings to make double-sided pages. Use small point fonts when possible and use the “fast draft” setting when possible to save ink.
- Pay your bills via e-billing programs when possible to save paper.
- Use paperclips instead of staples when possible.
- Reuse envelopes with metal clasps and reuse file folders by sticking a new label over the previous one.
- Conserve Water
Humans waste a lot of water! Here are ways you can conserve water at home and maybe even reduce your water bill:
- Report toilet, faucet and shower issues to your property management office as soon as you see or hear a leak.
- Take shorter showers. Alternatively, shower with a friend. LOL.
- Take a bath instead of a shower.
- Turn off the water while brushing your teeth.
- Turn off the water while shaving.
- Use the dishwasher for full loads only.
- Don’t let the faucet run while cleaning fruits and vegetables.
- Don’t leave water running for rinsing while washing dishes.
- Eat For the Planet
About one-third of the food that we produce every year goes to waste! Usually, this happens after we buy the food. UGH. How do we avoid waste in our lives (and save money)? Also, how can we improve our diet to be healthier for ourselves (and the planet)?
- Buy local and seasonal produce.
- Eat more plants and less meat. Try meatless Mondays or cut your serving size of meat in half and double your vegetable portion. You’ll find ways to make your veggies taste great here.
- Drink more water from a re-washable water bottle. Find the best ones here.
- Avoid single-use containers, bags and Styrofoam, and excess packaging. Did you know there are some states that no longer allow single-use bags be provided in stores? Just ask me. Just went to Home Depot in New Jersey for my mom and walked out with all my purchases in my arms.
- Instill a Love of Nature and Plants to Kids
There are lots of opportunities for hands-on learning experiences indoors and outside for children, whether they are your own kids, nieces, nephews, or grandkids. Find some great places in the Cincinnati area here.
- Take them on an exploratory walk in a park with bird or plant books or apps and binoculars. Help them to look closely at the work around them and appreciate its beauty and diversity.
- Go to a natural history museum.
- Take a kid along while you police the neighborhood for plastic litter.
- Bring your child to the farmer’s market.
- Plant a container garden with a child.
- Never Litter
Never ever. Clean up after yourself, you animal.
If we all do our part, we can make the world a better place for us and for future generations not just on Earth Day but every day. And give ourselves the warm fuzzies while we’re at it. Win, win.