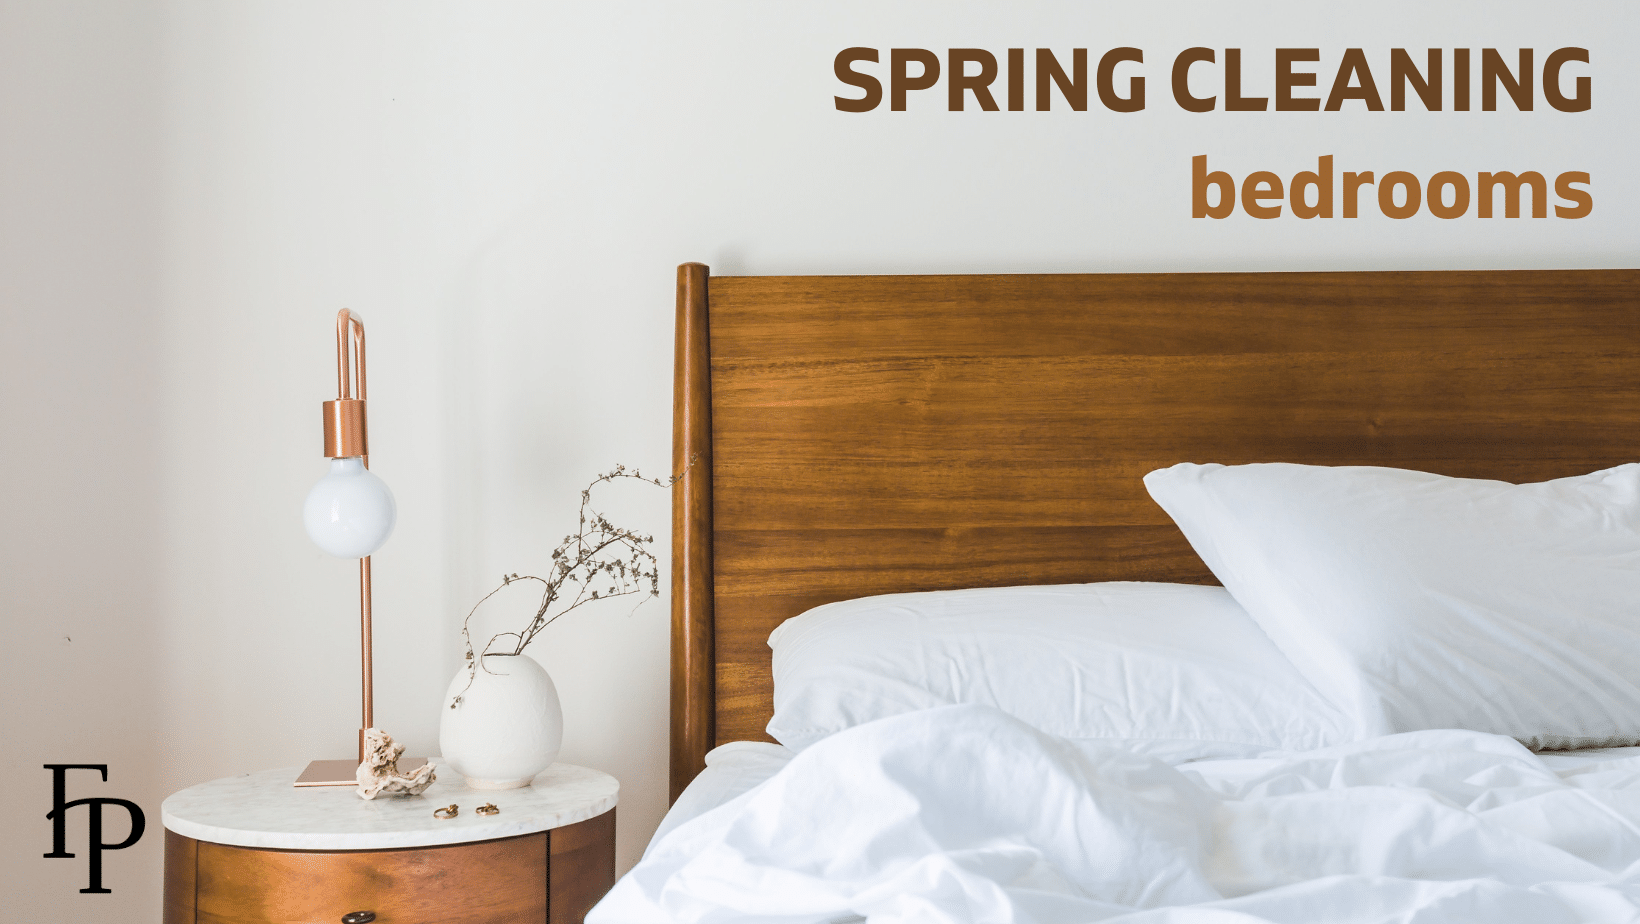
Our Spring Cleaning Extravaganza Continues With Bedrooms
So far on our spring cleaning journey we’ve made our windows and blinds sparkling and dust free, and dust has been removed from every nook and cranny in our home. Next, we’ll tackle each room one at a time starting with a deep cleaning of the place where we spend a third of our life – the bedroom. Today we’ll make our bedroom beautiful.
Just as with our dusting segment, we’ll be cleaning top to bottom in our bedroom/s. Let’s get started!
Step 1. GATHER SUPPLIES
- Trash can or bag
- Basket for decluttering such as a laundry basket or cloth basket with handles
- Swiffer wet and dry mop; dry for dusting the ceiling and walls, and wet for washing them
- Swiffer duster with extendable handle
- Microfiber cloths (3); use the 3 colors for processes: blue for washing, green for glass, yellow for polishing
- Lint roller
- Used dryer sheets
- All purpose cleaner or homemade cleaning solution (see below)
Combine these ingredients and pour them in a spray bottle:
-
- 2 cups water.
- 1/2 cup white or cider vinegar.
- 1/4 cup rubbing alcohol 70% concentration.
- 1 to 2 drops of orange essential oil for smell (optional)
- Glass Cleaner
- Baking Soda
- Essential Oils Did you know? Lavender oil is a sleep aid. Read more here.
- Furniture polish Be sure to read labels and use one appropriate for your furniture.
- Depending on the type of floors you have, a vacuum or Swiffer wet and dry.
- Clothing donation bags or storage boxes
Step 2. CLEAR ANY CLUTTER
- Gather and toss any trash into the trash bag/can.
- Remove clutter on all visible surfaces, including shelves, dresser top, night stands, floor, bed, chair, desk. Put anything that’s just out of place away. If items belong in another room, place them in the basket to address later.
- Organize drawers and closets removing any items ready to donate, store, sell, or toss. Place those items in donation bags, storage boxes, and/or your trash as appropriate. A good rule of thumb for most items: if you haven’t worn it in the last year, get rid of it.
Step 3. DUST
- If you’ve already completed the Great Dusting segment of our Spring Cleaning Extravaganza, lightly dust any accumulation since then (and good for you!).
- If you’re just now dusting, use your Swiffer to dust the ceiling, walls, and doors (both sides, top, and trim). Remember to start at the top an work your way down.
Step 3. WASH
- Wash down walls with your Swiffer Wet.
- Wash your doors, doorknobs, and light switches using a damp microfiber cloth.
Step 4. CLEAN LIGHT FIXTURES
- Dust lampshades with the lint roller.
- Clean lightbulbs, lamps, and any light fixture with the Swiffer duster or microfiber cloth. Be sure light bulbs are cool before cleaning. If bulbs are especially grimy, use a bit of your household cleaner and wipe with a paper towel or microfiber cloth.
- Wash any glass globes in hot soapy water and hand dry to avoid spots.
Step 5. CLEAN WINDOWS AND WINDOW COVERINGS
- If you’ve already completed the Windows and Blinds segment of our Spring Cleaning Extravaganza, you can skip this step. YAY!
- If not, follow the above link for tips and tricks on achieving sparkling clean windows.
Step 6. THE BED
Of course, the point of our spring cleaning extravaganza is a beautiful bedroom! The bed is key. See inspiration for your beautiful bedroom at the end of this post.
- Remove and wash all bed linens, including pillows, mattress toppers, blankets, comforters, and bed skirts. Be sure to check tags to make sure everything is washable. You may need to set some items aside for dry cleaning or to take to the laundry where there are jumbo washers and dryers. Did you know that some of these places will do the laundry for you for a per pound fee?
- Sprinkle your mattress with baking soda and let it sit for 10 minutes, then vacuum it up.
- Rotate and flip your mattress. Note that you may not be able to flip a pillow-top mattress. It’s a real rip as being able to flip gives the mattress a longer life (but the luxury of the pillow-top may be worth it).
- Dust the bedframe and headboard, including the backside. Use the vacuum and upholstery brush if it’s super dusty or if your headboard is upholstered.
Step 7. SHINY THINGS
- Polish any mirrors or glass, including glass on picture frames. Polish any glass decorative items.
Step 8. GO LOW
- Dust baseboards using the used dryer sheets, and wash if needed.
- Vacuum underneath/behind your furniture.
Step 9. POLISH
- Polish all furniture pieces as appropriate. Follow the instructions for the type of furniture polish/ furniture you have. You can ruin the furniture’s finish by using the wrong cleaning product on it. When in doubt, consult the furniture manufacturer or Google it.
Step 10. FLOORS
- Sweep, vacuum, shampoo, or mop your floors depending on the type of floor you have. If you have carpet that has wine stains, read our Out, Damned Spot post for removal tips.
- Don’t forget to get underneath the bed and any other furniture with legs.
Step 11. RELOCATION
- Take trash to the bin.
- Relocate basket of runaway clutter to the room/s where the items belong.
Step 12. THE FROSTING ON THE CAKE
- Make the bed with your fresh, clean linens. I love to iron the sheets (or maybe just the pillowcases) because it makes the bed look so pretty and makes the pillowcases feel softer next to my face.
- Consider a wee splurge to add a sweet finishing touch to your now spotless bedroom – a candle, scented diffuser, a pretty toss pillow (Because you can never have too many pillows. I gently remind my partner of this fact whenever he says, “We’re birthin’ pillows in here!!”)
Spring Cleaning Extravaganza Beautiful Bedroom Complete! Now look! We’ve a fresh clean bedroom just waiting for a night of sweet dreams (or other fun things.)
Looking for a bit of beautiful bedroom inspiration? We got you covered.