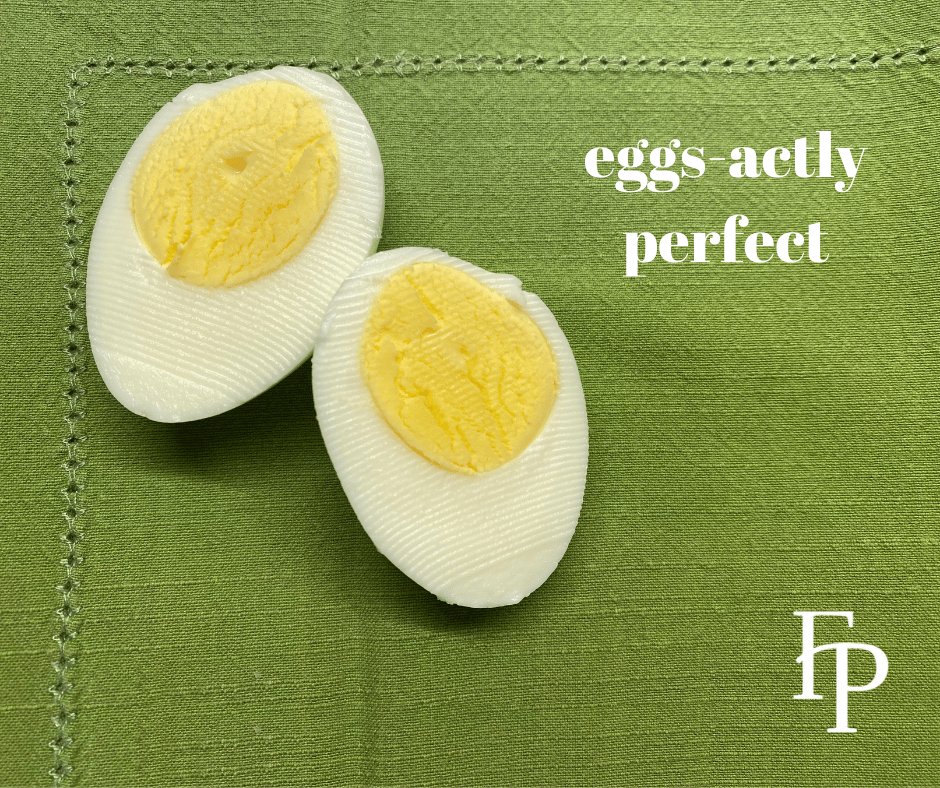
Eggs-actly Perfect Hard Boiled Eggs
Sure, sure hard boiling eggs seems like a fairly simple task. Boil, peel, and eat. Until, that is, you discover they are almost impossible to peel with the shell taking chunks of the white flesh with it. Or the yolk is unappetizingly undercooked or has an unsightly greenish edge. All equate to big fails when trying to make deviled eggs where the white is a beautiful vessel for luscious filling.
There are hard-boiled eggs in my house at all times. Not only do they make an easy (and transportable) quick breakfast, but they are also a healthy, low-calorie snack full of protein, and tasty addition to salads. (We eat a lot of salad in the summer when I just can’t bear heating up the kitchen.) Plus, whipping up a batch of deviled eggs to bring to a spontaneous picnic or cocktail party is a breeze.
After boiling literally hundreds of eggs over the years, I’ve [finally] found a method that produces eggs with perfectly firm whites, creamy yolks that are a lovely consistent shade of pale yellow and, most importantly, easy to peel.
You’ll need:
- six to 12 large eggs (older eggs ultimately peer better than fresh ones)
- a pot – large enough to hold a steamer basket – with a lid
- afore-mentioned steamer basket
- a large bowl filled with ice and water
- a timer
Pour and inch or two of water into the pot, insert the steamer, and add the eggs. Heat over high. When the water begins to boil, reduce to medium, cover, and cook for precisely 15 minutes.
While the eggs are steaming, fill your bowl with ice and add water. Your bowl should be large enough to hold all the eggs and allow them to be fully submerged in the ice water.
When the timer goes off, immediately transfer the eggs from the steamer basket to their ice water bath. Then walk away. Let the eggs soak for at least 15-20 minutes so they cool completely – right to their core. Once cool, drain and either refrigerate for later use or peel.
If you plan to use the eggs immediately, fill your now empty bowl with cool water. Peel the egg while it’s submerged. You can also peel under running water, but results are consistently better with the dunk. The shell should separate from the white of the egg in nice big pieces leaving the egg unblemished – perfect for your deviled eggs.
Deviled Eggs
Whether you choose a pretty platter (best for home use) or a practical platter with lid (best for transport and storage), choose the number of eggs right to fill your plate. Mine has 12 indentations, so this recipe will be for a half dozen eggs yielding a dozen deviled eggs.
Deviled eggs usually call for a dash of Tabasco sauce, but I prefer the less spicy, but zestier horseradish sauce. The addition of softened butter – thank you Julia Child – adds a wonderful, rich silkiness to the yolky filling.
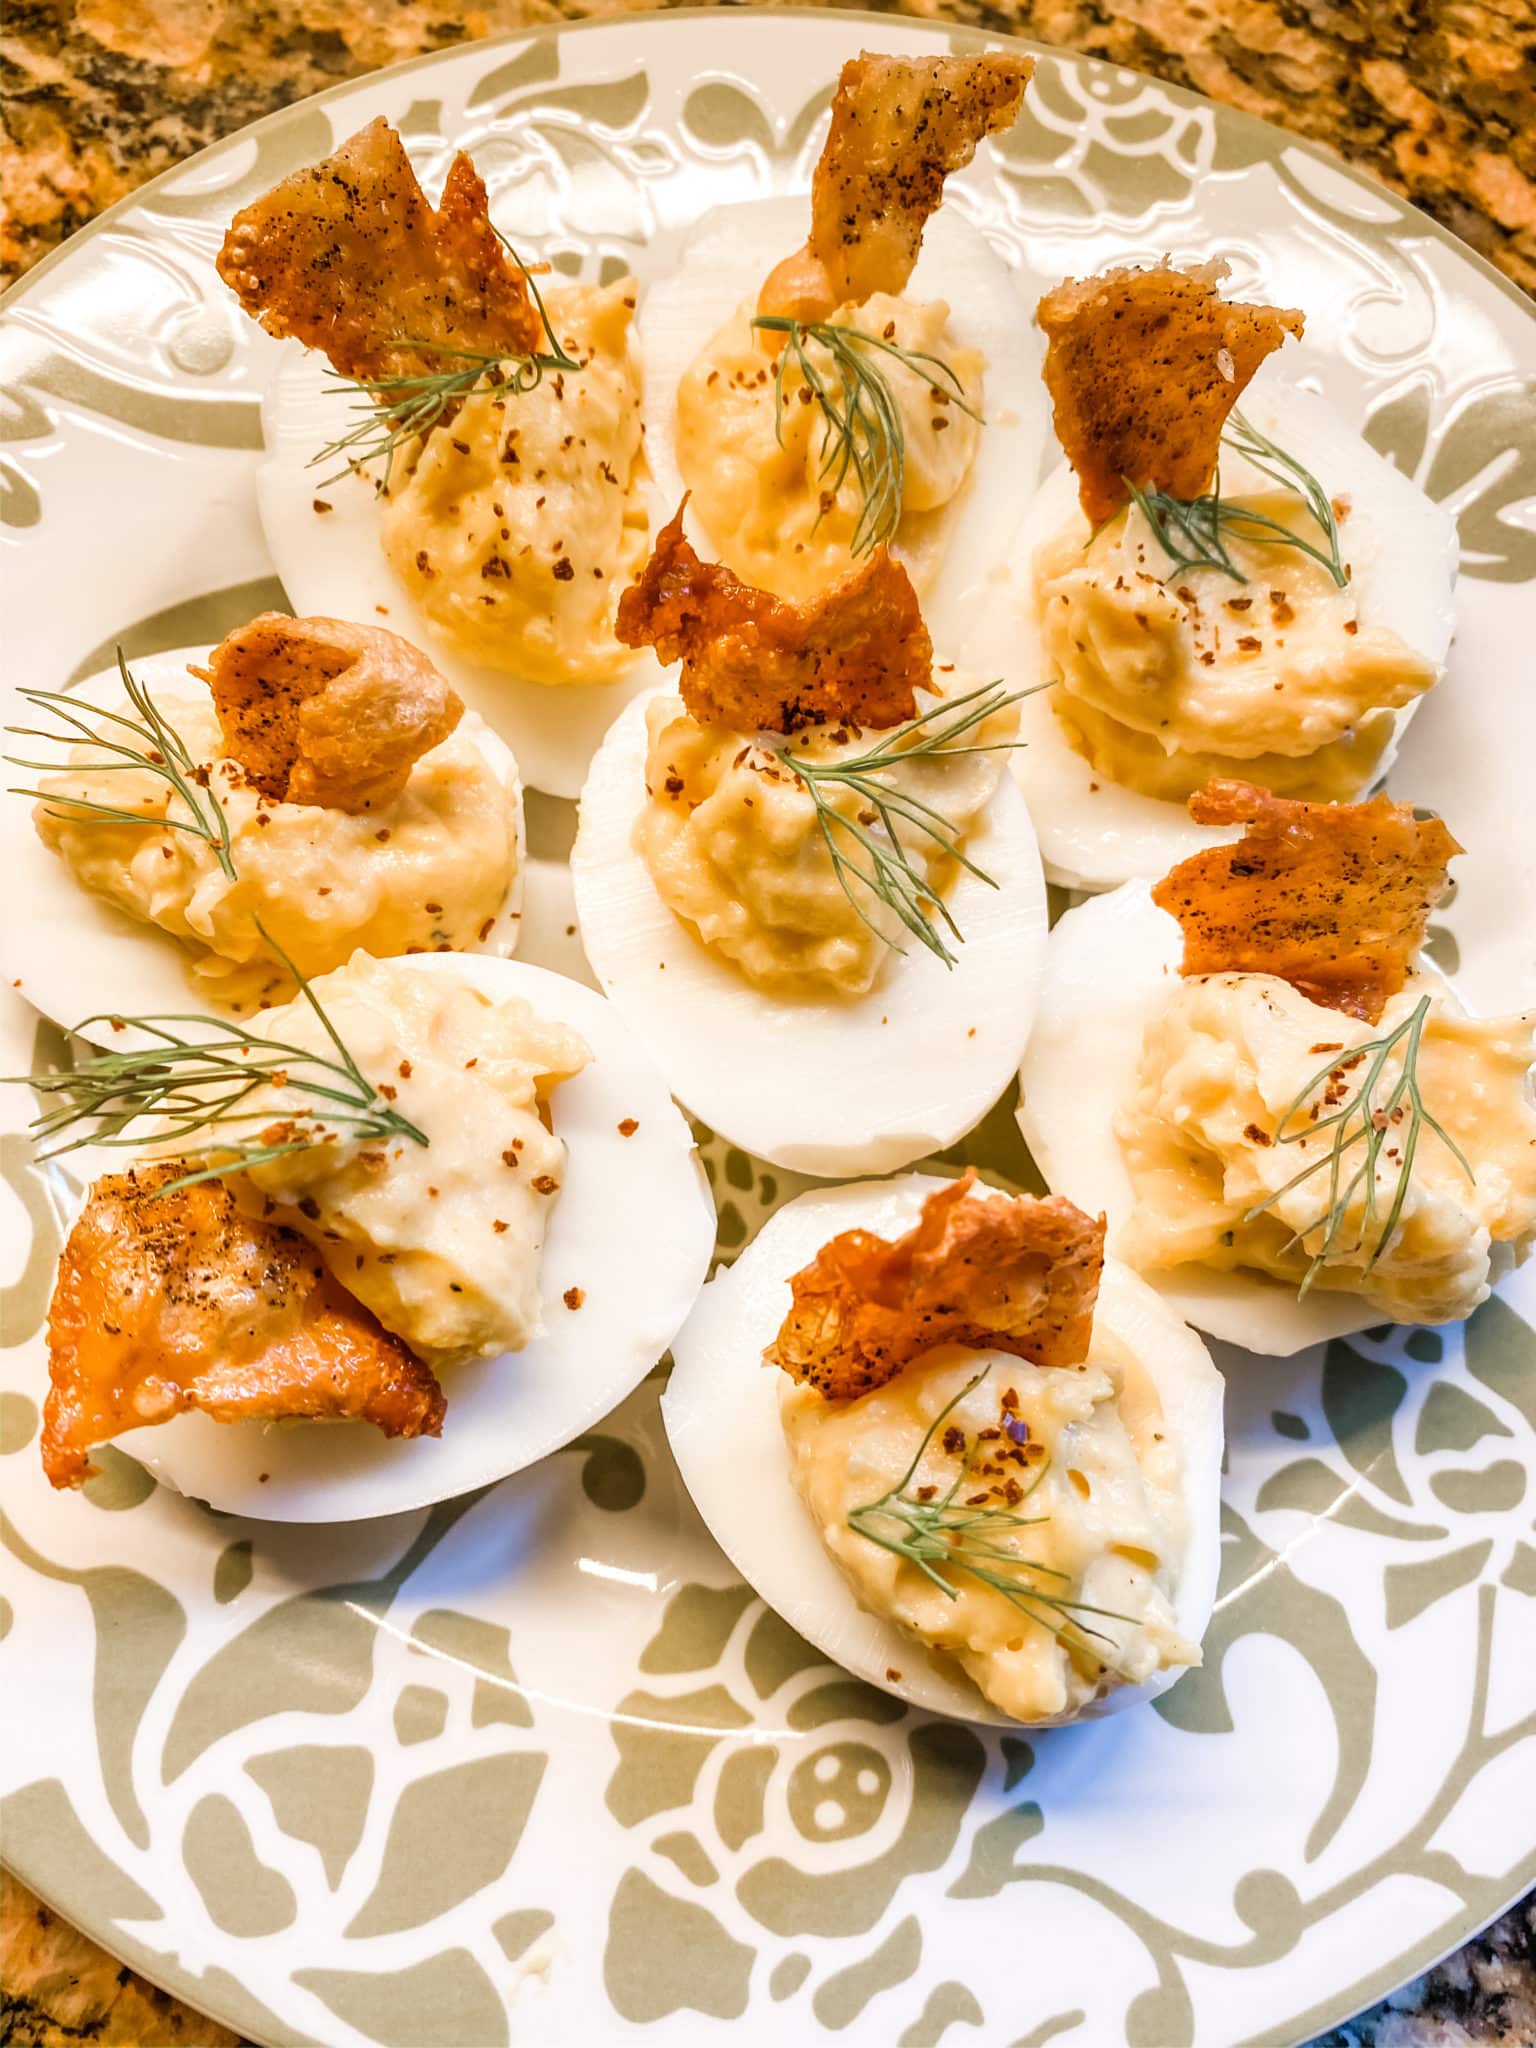
Traditional garnishes include a sprinkle of paprika, a slice of pimento-stuffed olive, chopped chives, or a sprig of dill, but you can kick your garnishes up to a whole new level by adding a small piece (about one inch or so) of crispy bacon, crisped prosciutto, or crisped chicken skin (pictured). These crispy bits add a lot of textural interest, flavor, and visual appeal to your eggs.
The Parts
- 6 perfectly hard boiled and peels eggs
- 1 teaspoon Dijon mustard
- 3 tablespoons mayonnaise (Duke’s if your local market carries it)
- 1 tablespoon prepared horseradish
- 1 tablespoon softened butter
- Salt to taste
- ¼ teaspoon ground black pepper
The Procedure
Cut the eggs in half length-wise and gently scoop the yolks into a bowl or a mini food processor. Place the whites on your platter. Blend the yolks with the remaining ingredients either in a small food processor, or mash together with a fork.
For a fancy finish, use a piping bag or a zip-lock bag with the corner cut out to pipe the yolk mixture into the whites. For a homemade look, simply spoon the filling into the egg whites. Garnish.
Don’t you just love it when things turn out eggs-actly perfect? And you can enjoy your hard-boiled ot deviled eggs without egg on your face.