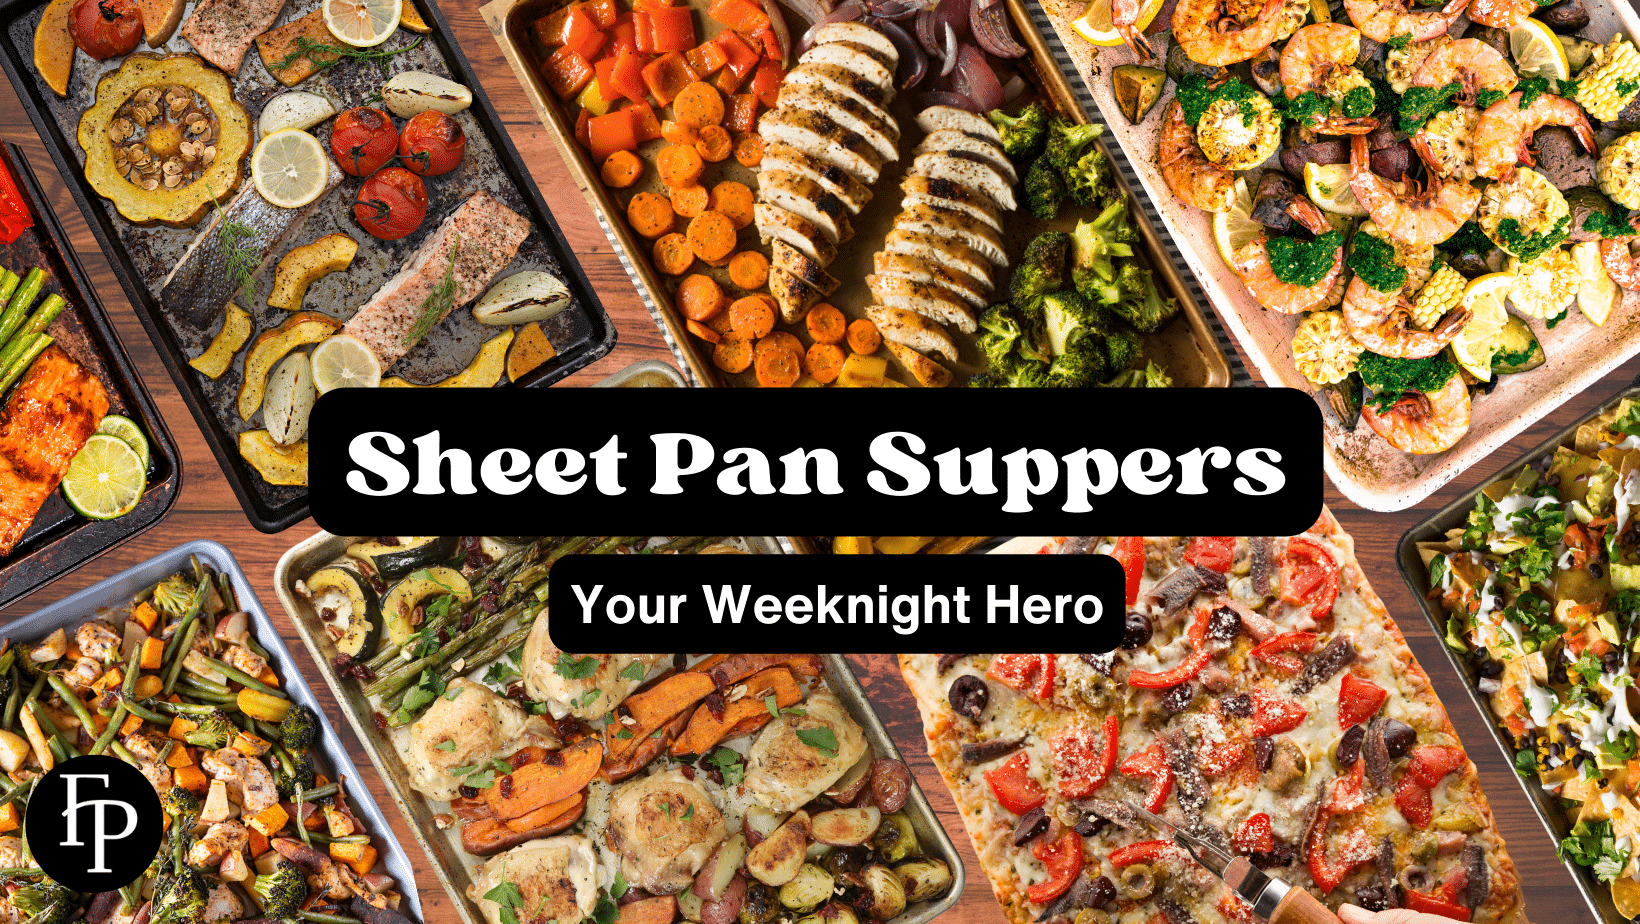
Sheet Pan Suppers – Your Weeknight Hero
Once upon a time, I was crazy enough to commute over an hour to work. Leaving home at 7:00 AM and arriving back at 6:30 PM left me little time to get a hot dinner on the table. Then one day, I learned of sheet pan suppers. They were and still are game-changers. Delicious, easy to prepare, easy to cook, and with easy clean up, sheet pan suppers quickly became my weeknight hero. If you have a busy schedule, try them out! I’ll bet they will become your weeknight hero as well.
Sheet Pan Supper Benefits
- Easy to prepare. Cut the veggies. Toss ingredients in a fat, like healthy olive oil. Preheat the oven. Place all ingredients on your sheet pan. A great way to use up leftovers.
- Easy to cook. Your oven does all the work. Place the sheet pan in the oven. Roast until done. Usually around 30 minutes.
- Easy to clean up. One pan to wash.
- Your favorite ingredients, all in one place.
The Basic Components
The basic components of sheet pan suppers are:
- a protein (about two pounds)
- 2 -3 cups of chopped vegetables
- 1-2 tablespoons oil (usually olive oil)
- a sauce or flavoring
The Sheet Pan
Use a half-sheet pan (13″ x 18″ with a one-inch lip) made of heavy-gauge metal. It’s sturdy enough to take high oven heat and broiler heat, if you give the meal a final browning under the broiler. The half-sheet pan is large enough to cook a meal for a family of four and allows for ingredients to be spread out so you don’t crowd the pan. (Crowded pans cause ingredients to steam instead of roast, which will make dinner mushy instead of crispy.) Plus, the rim is low enough for heat to move across the ingredients to give them a crisp, brown, caramelized finish. Jellyroll pans may look the same, but they’re generally smaller and flimsier than half-sheet pans. Half-sheet pans are not expensive, readily available in big box stores, and are multi-taskers that you’ll use again and again for a whole lot more than sheet pan suppers. The quarter sheet pan, measuring about 9” x 13”, is terrific for smaller ovens or kitchens as well as for cooking several ingredients in the oven at once without letting the flavors bleed into one another.
PRO TIP: Line the Pan for even easier cleanup.
Line your pan with heavy-duty foil or parchment paper (not waxed paper) to prevent ingredients from sticking to the pan. Kroger has pre-cut parchment paper that’s just the right size to make this process even easier! You will still have to wash the pan, but a well-lined pan cleans up in a jiffy.
The Rack
You’ll bake most sheet pan dinners directly on the pan; that’s how you get those tasty, caramelized surfaces. But if you want to bake breaded chicken or fish along with vegetables, use a wire rack to raise the breaded ingredients above the moisture in the pan. This technique will keep the crisp coating from getting soggy. You can use this same approach when you’re roasting a cut of beef or pork, so the juices baste the ingredients while the meat gets gloriously browned. It’s a win-win!
The Protein
Use up to 2 pounds of protein per half-sheet pan. At 425°, most proteins cook in 30 minutes or less. All times are approximate. Bone-in meats take the longest. Fish goes fastest. Shrimp takes less than 10 minutes. Know the doneness temps for your protein and check it often. See the guide below.
- Shrimp – Depending on size, 3-10 minutes
- Salmon and white fish – Depending on thickness 12-25 minutes
- Tofu – 20 minutes
- Lamb chops, 10- 20 minutes, depending on thickness
- Chicken, bone-in or boneless, 20 -30 minutes
- All types of whole sausages, about 25 minutes
The Veg
Sturdy vegetables like potatoes and carrots take much longer to cook than softer vegetables like green beans, asparagus, and tomatoes. Depending on what else you’re adding to the pan, you should roast the denser vegetables for 30 minutes or more before adding the other vegetables to the pan. Cut your vegetables about the same size to promote even cooking.
- Broccoli, cauliflower, Brussels sprouts, 25-30 minutes
- Cabbage, depending on the cut, 15-30 minutes
- Cherry tomatoes, 20-25 minutes until bursting
- Leafy vegetables, like kale, 10-20 minutes
- Onions, cut into wedges or thick slices, about 15-20 minutes
- Potatoes (small pieces and wedges), 25-30 minutes
- Root vegetables, carrots, 30 minutes
- Squash (soft, summer squash like zucchini or yellow), 15-20 minutes
- Squash (hard winter squash like butternut, acorn, or delicata ) in pieces, 30 minutes
The Fat
To prevent vegetables from drying out during the cooking process, completely coat them with oil. The best way to do this is to put them into a large bowl and add the oil and any other seasonings from your recipe. Then stir with a spoon or with your hands to cover everything thoroughly. I like to use disposable, latex-free gloves to keep my hands clean, especially when handling the protein. Roast the dense vegetables first and get them started in the oven. Then use the residual oil in the bowl to coat the softer vegetables that will be added to the pan later. Finally, use the same bowl (easy clean up!) to toss your protein with whatever fat or marinade your recipe calls for.
The Flavor Boosters
There are a myriad of ways to add flavor to your sheet pan supper! Try:
- Seasoning blends: jerk seasoning (learn more about jerk seasoning here), Old Bay, za’atar, Chinese five-spice powder, garam masala, Italian seasoning. Don’t forget salt and pepper!
- Spicy chiles: fresh jalapeños or serrano peppers, canned chipotles, crushed red pepper flakes, dried cayenne, or ancho powder.
- Sauces and drizzles: gochujang, wasabi sour cream, herbed aioli, maple syrup, olive oil, or balsamic vinegar.
- Nuts: pecans, almonds, cashews, peanuts, pine nuts, or walnuts.
- Citrus juice and/or zest: lemon, grapefruit, lime, or orange.
- Herbs: cilantro, parsley, oregano basil, green onion, or thyme.
If you don’t feel comfortable creating your own sheet pan supper food combinations, there are some outstanding online resources with tested recipes to ensure a successful meal. Here are a few to check out: Pioneer Woman, Food Network, NY Times Cooking (my personal favorite), Southern Living, and Food52 just to name a few!
Now you may have wondered why this post refers to this kind of meal as supper instead of dinner. For me, suppers are cozy, causal meals at home with the folks who are nearest and dearest to my heart. Dinners are at home, but more formal, or in a restaurant. Love both kinds of eating, but sheet pan suppers are my way to bring the ultimate in comfortable, easy, cozy eating to my home and my family every day. I’ll say it again, sheet pan suppers are a weeknight hero.