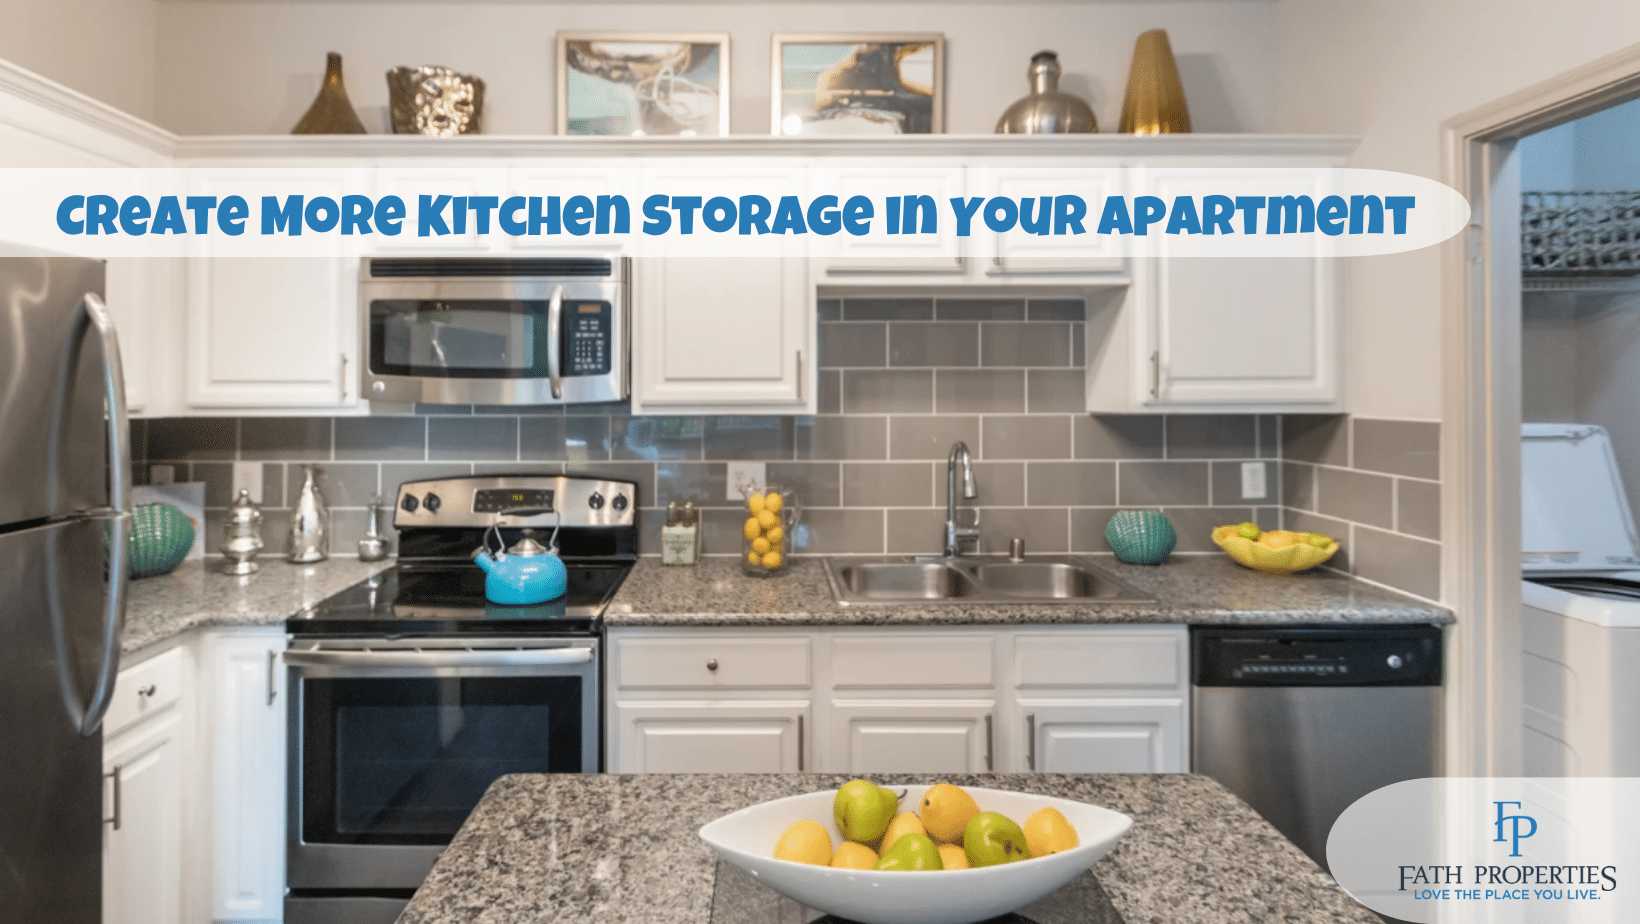
How To Host Thanksgiving In Your Apartment
The season of turkey, pumpkin pie, football, friends, family, and food baby is just around the corner. If you have more than a couple folks to celebrate with, but not a lot of space to celebrate in, we’re here to help. Hosting Thanksgiving in your apartment will take a bit of ingenuity and careful planning, but it’s certainly doable. Whether it’s Thanksgiving or Friendsgiving, you can keep your event from becoming a stress fest or a hot mess with good advance planning. Preparing a strategy ahead of time will allow you to relax when the big day arrives. Our recent How To Host A Potluck focused mainly on the eats, this How-To host Thanksgiving in your apartment guide will help you optimize seating, refrigerator storage, and more.
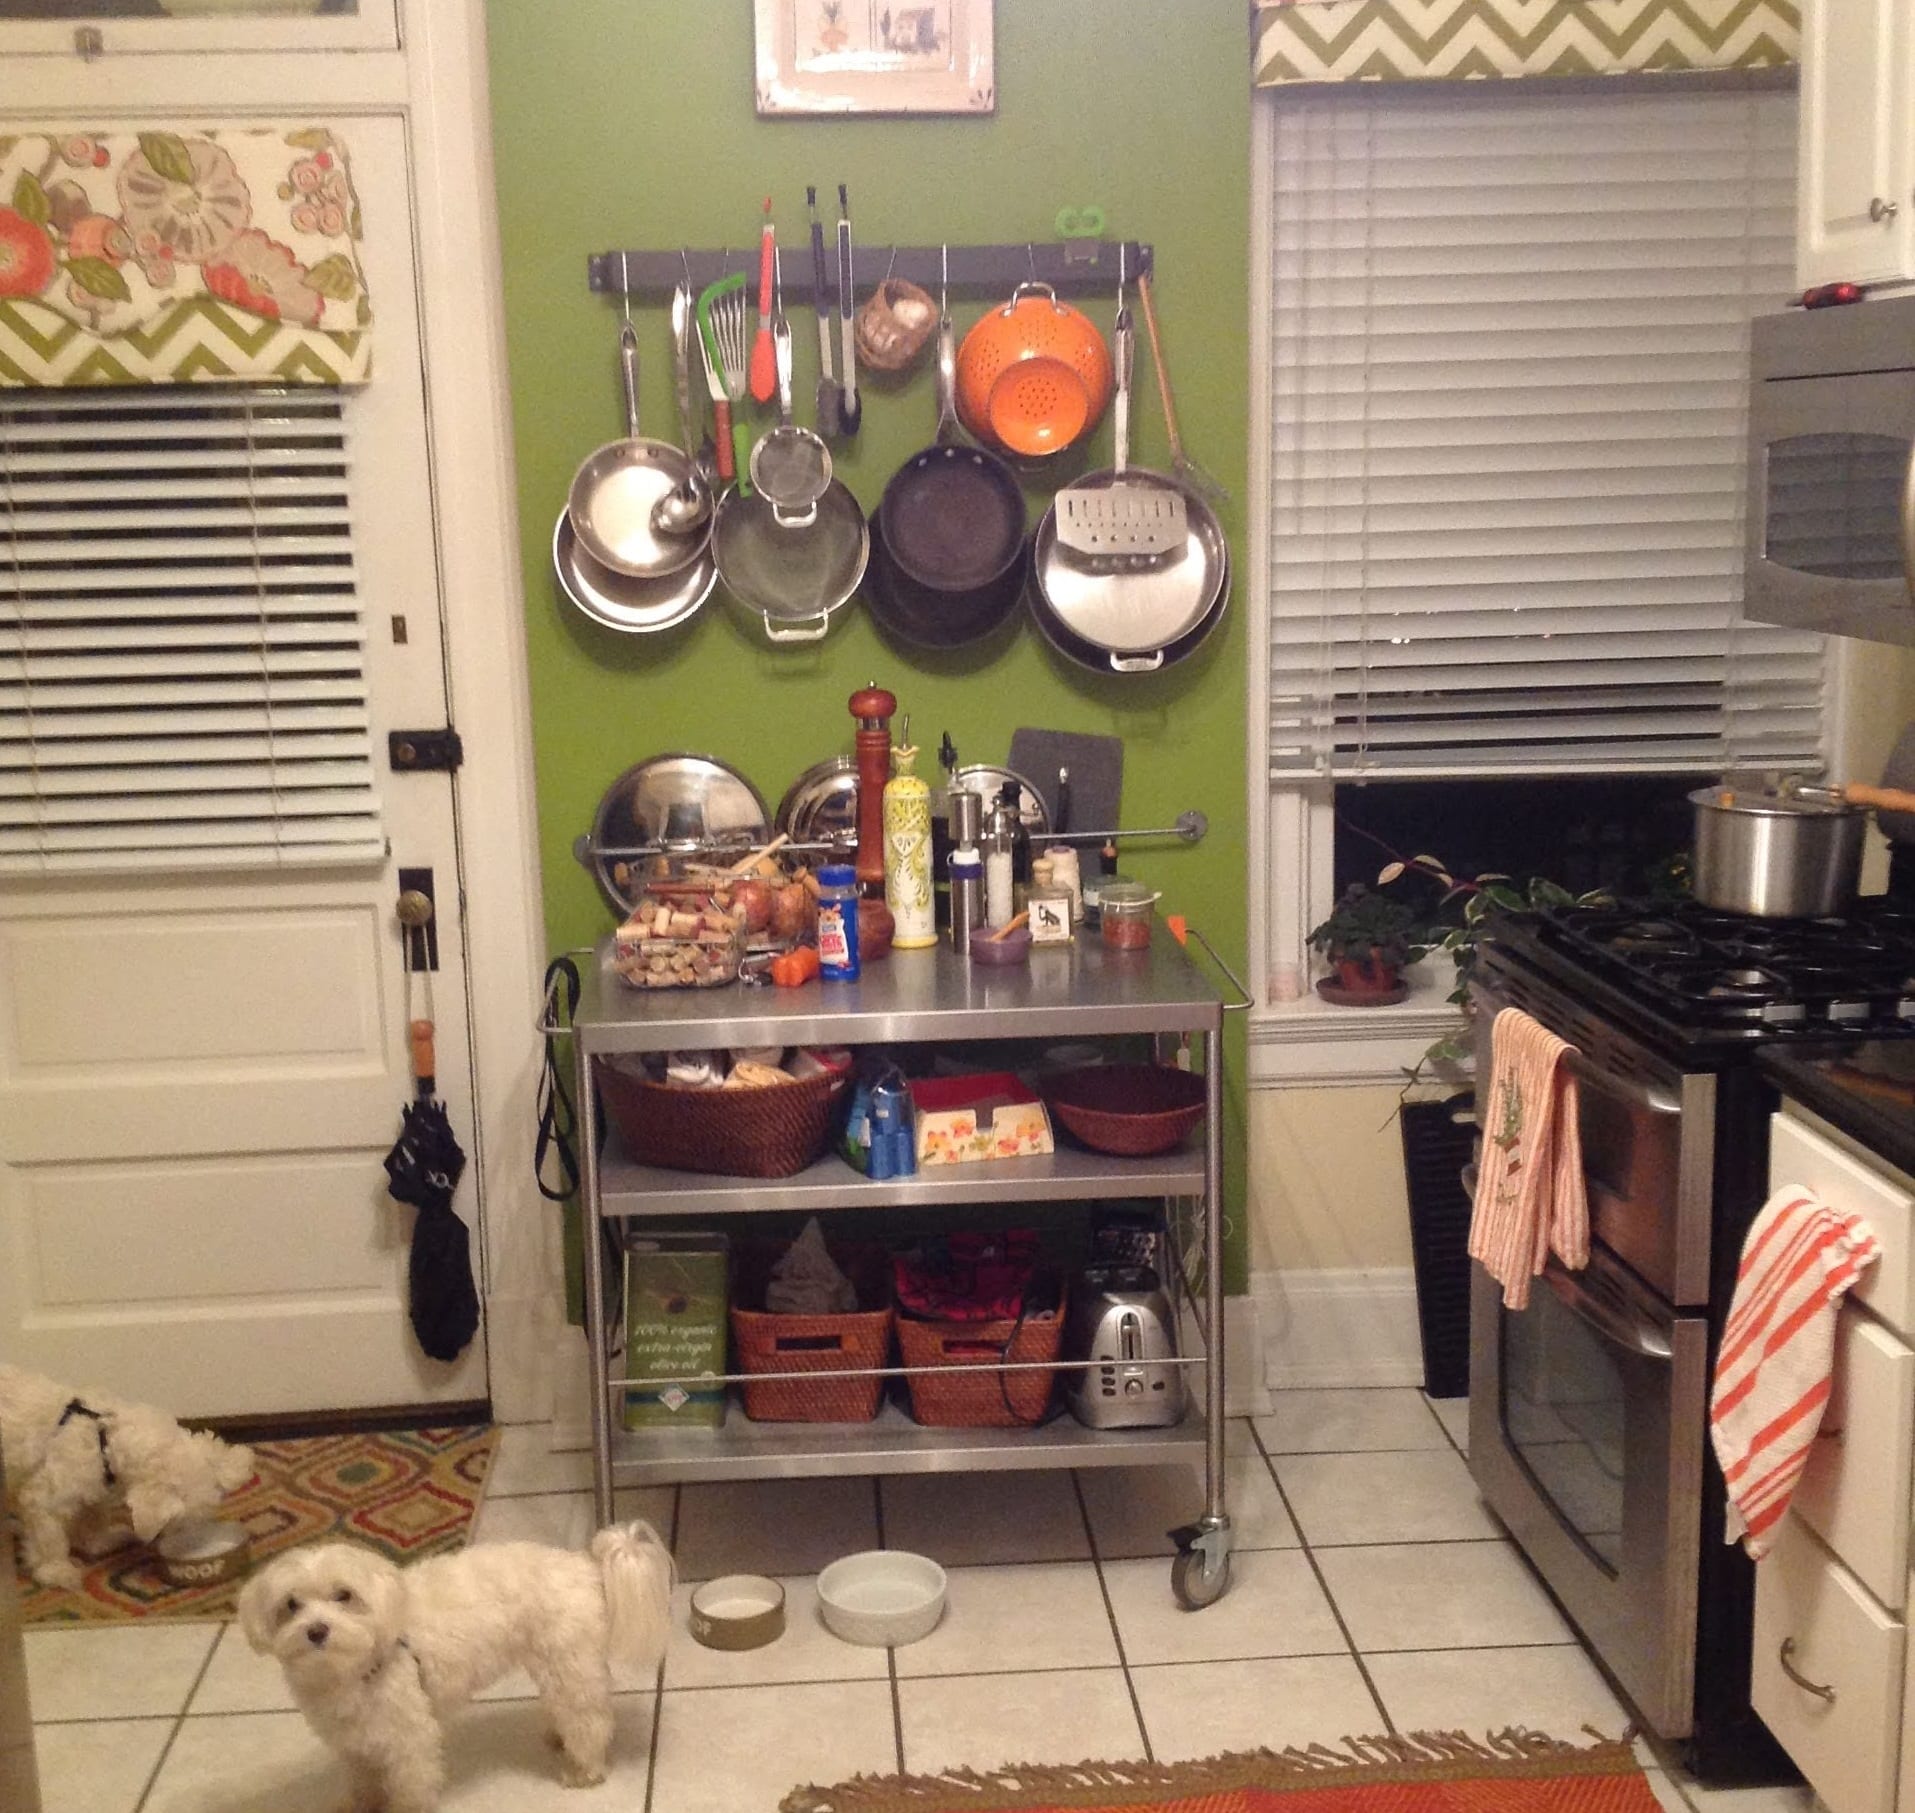
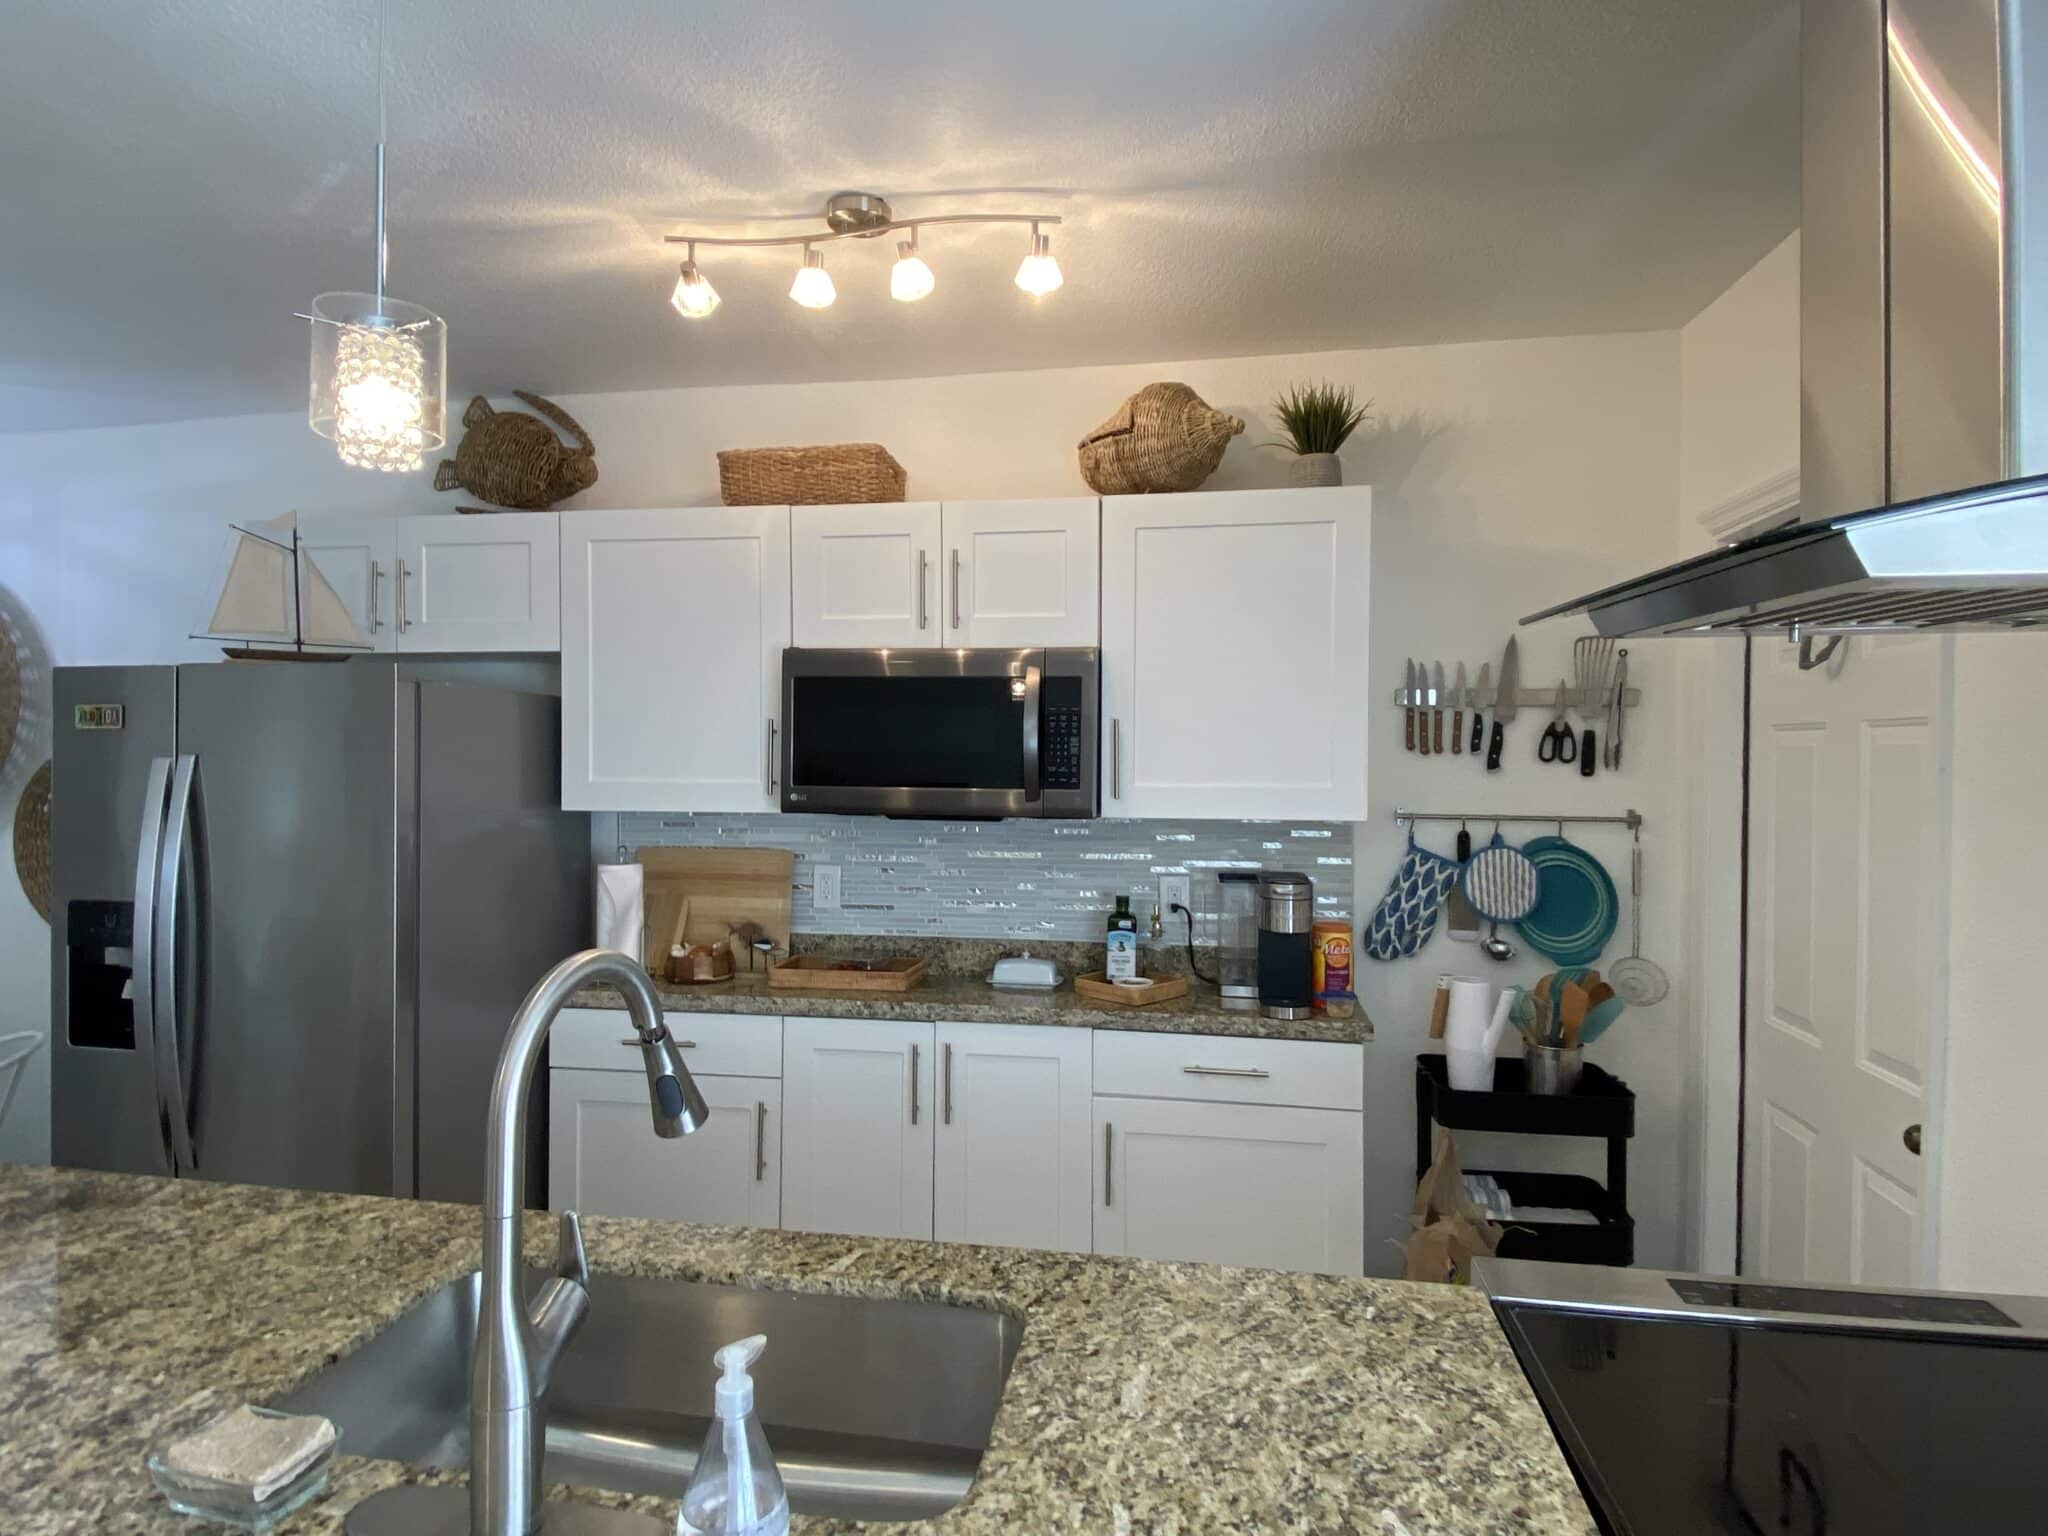
Be creative about counter space and storage
In an apartment typically without an abundance of counter space, you’ll have to make every square foot of empty surface space count. One trick is to “recruit” some of your furniture for meal prep. Seriously! You can use your dining table and chairs, coffee table, and the like as surfaces for cooling pots, pies, and other desserts.
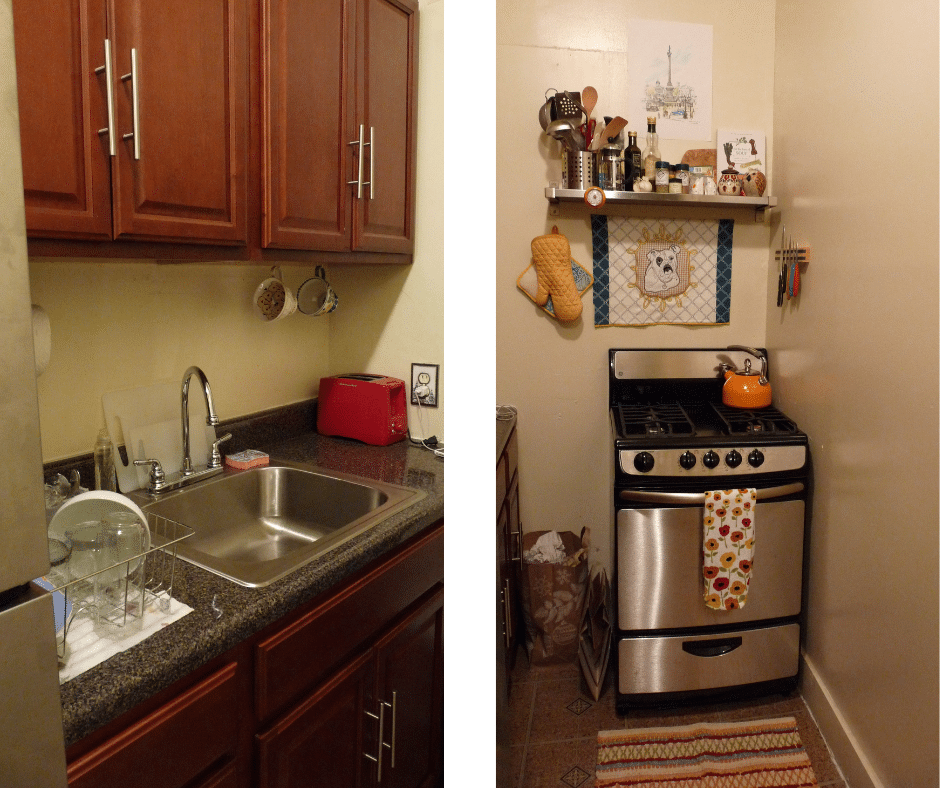
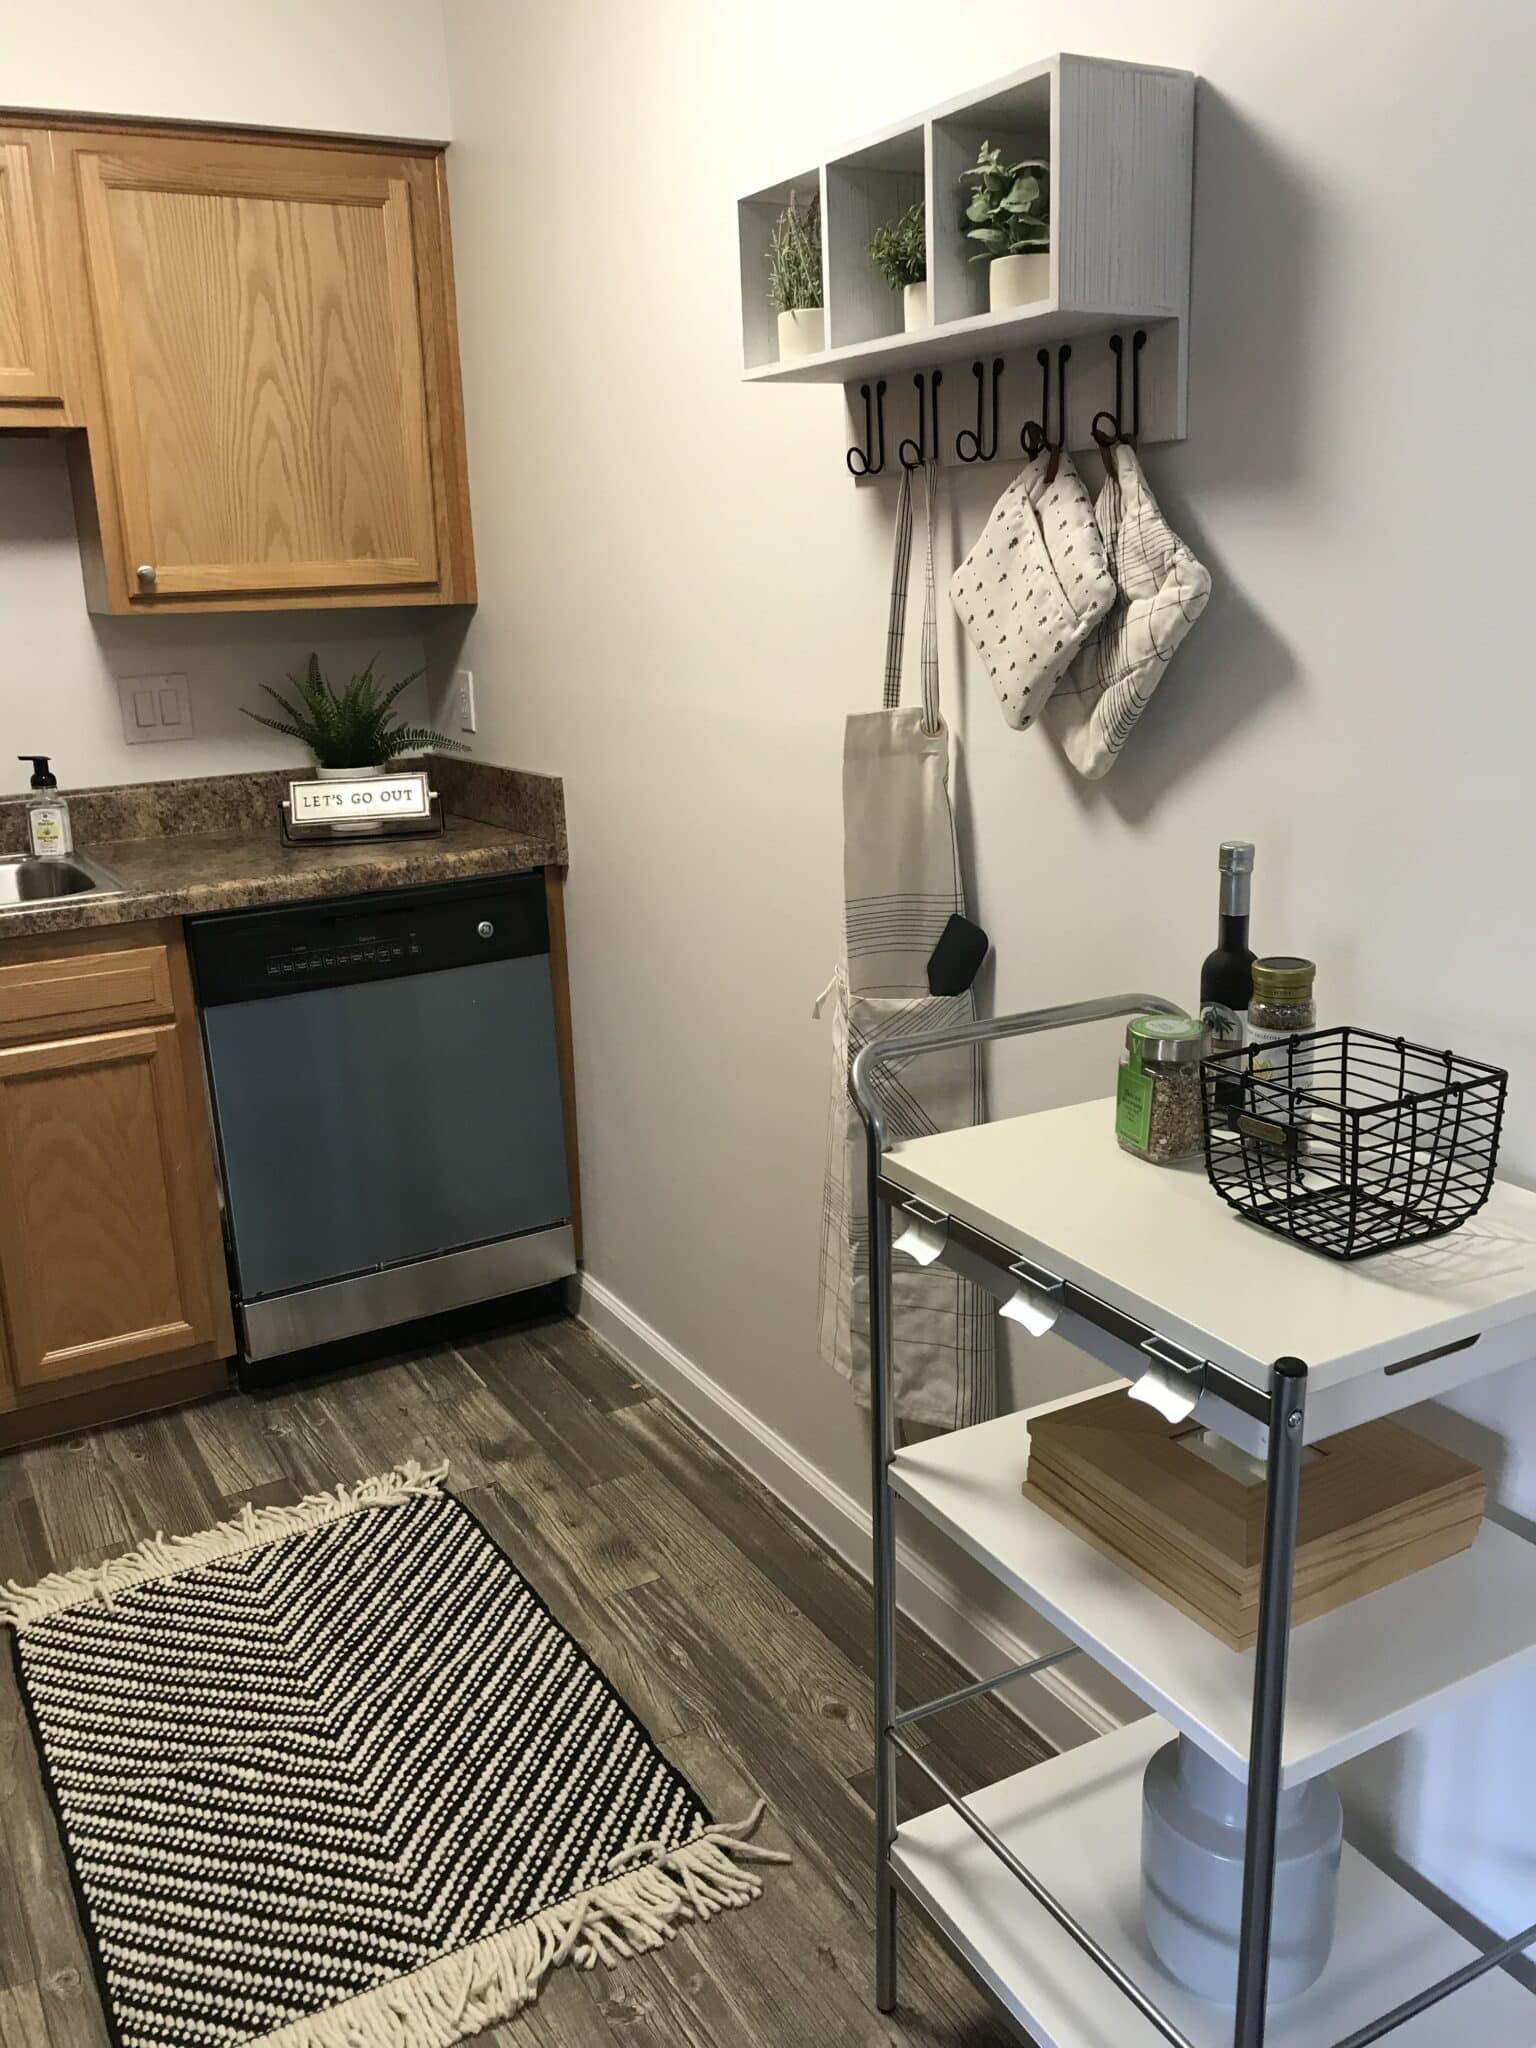
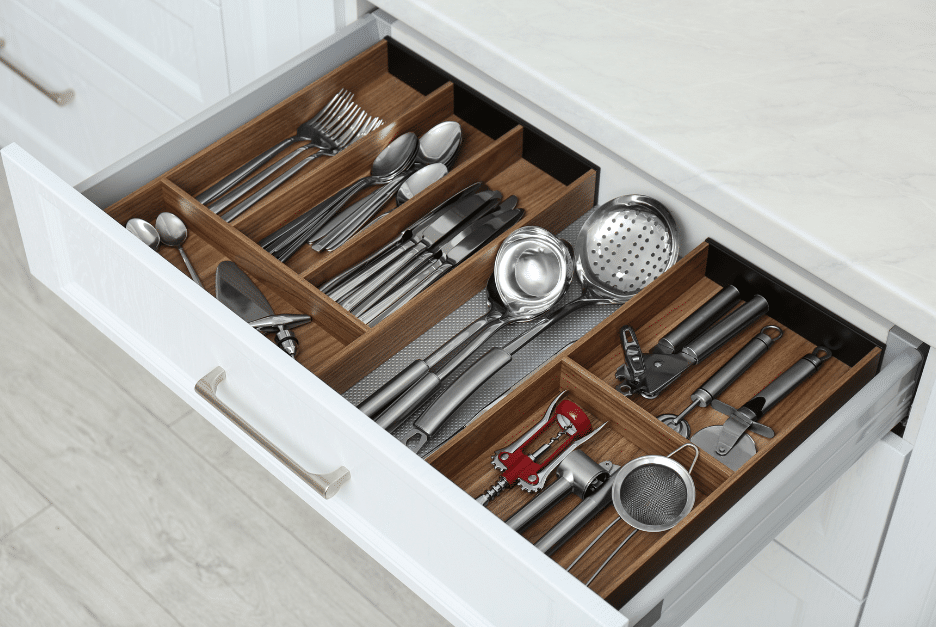
In our Create More Kitchen Storage Space post, we explored many ways to add space-saving solutions for apartment kitchens, such as installing wall hooks to hang pans and cooking utensils. When it’s time to eat, you can set up the food buffet-style in the kitchen or on a piece of furniture away from where you’ll be dining to save space on the table. If that’s not possible, try using cake stands to elevate some dishes on a crowded table, which will make room for other serve ware underneath.
Ready your fridge
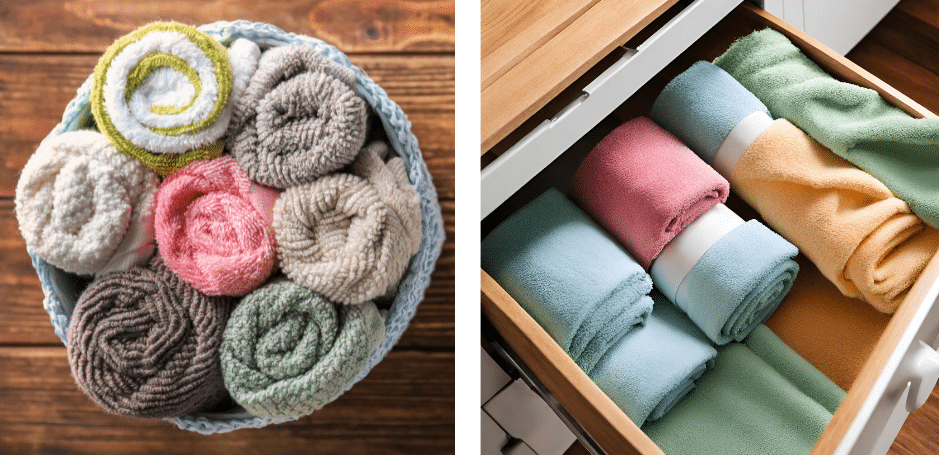
Thoroughly clean your refrigerator before you begin cooking and storing. Throw out any expired food and anything you know you’ll never eat, drink, or use again. Here’s our guide on how to do just that. Ideally, your fridge will be almost empty as you begin to prep your food. This allows for plenty of room to store everything ahead of time. Plus, one of the perks of hosting is that you’ll have leftovers to keep. When it comes to packing your fridge and freezer, don’t forget that you can probably adjust the shelves to make them more efficient. Shift them around to free up space to stack storage containers. Another creative storage solution is to store items in plastic zipper bags. They’re malleable and easy to stack up in a fridge while taking up little space, making them a great way to store things like cranberry sauce, make-ahead gravy, dinner rolls, and pre-prepped veggies.
Prepare food in advance
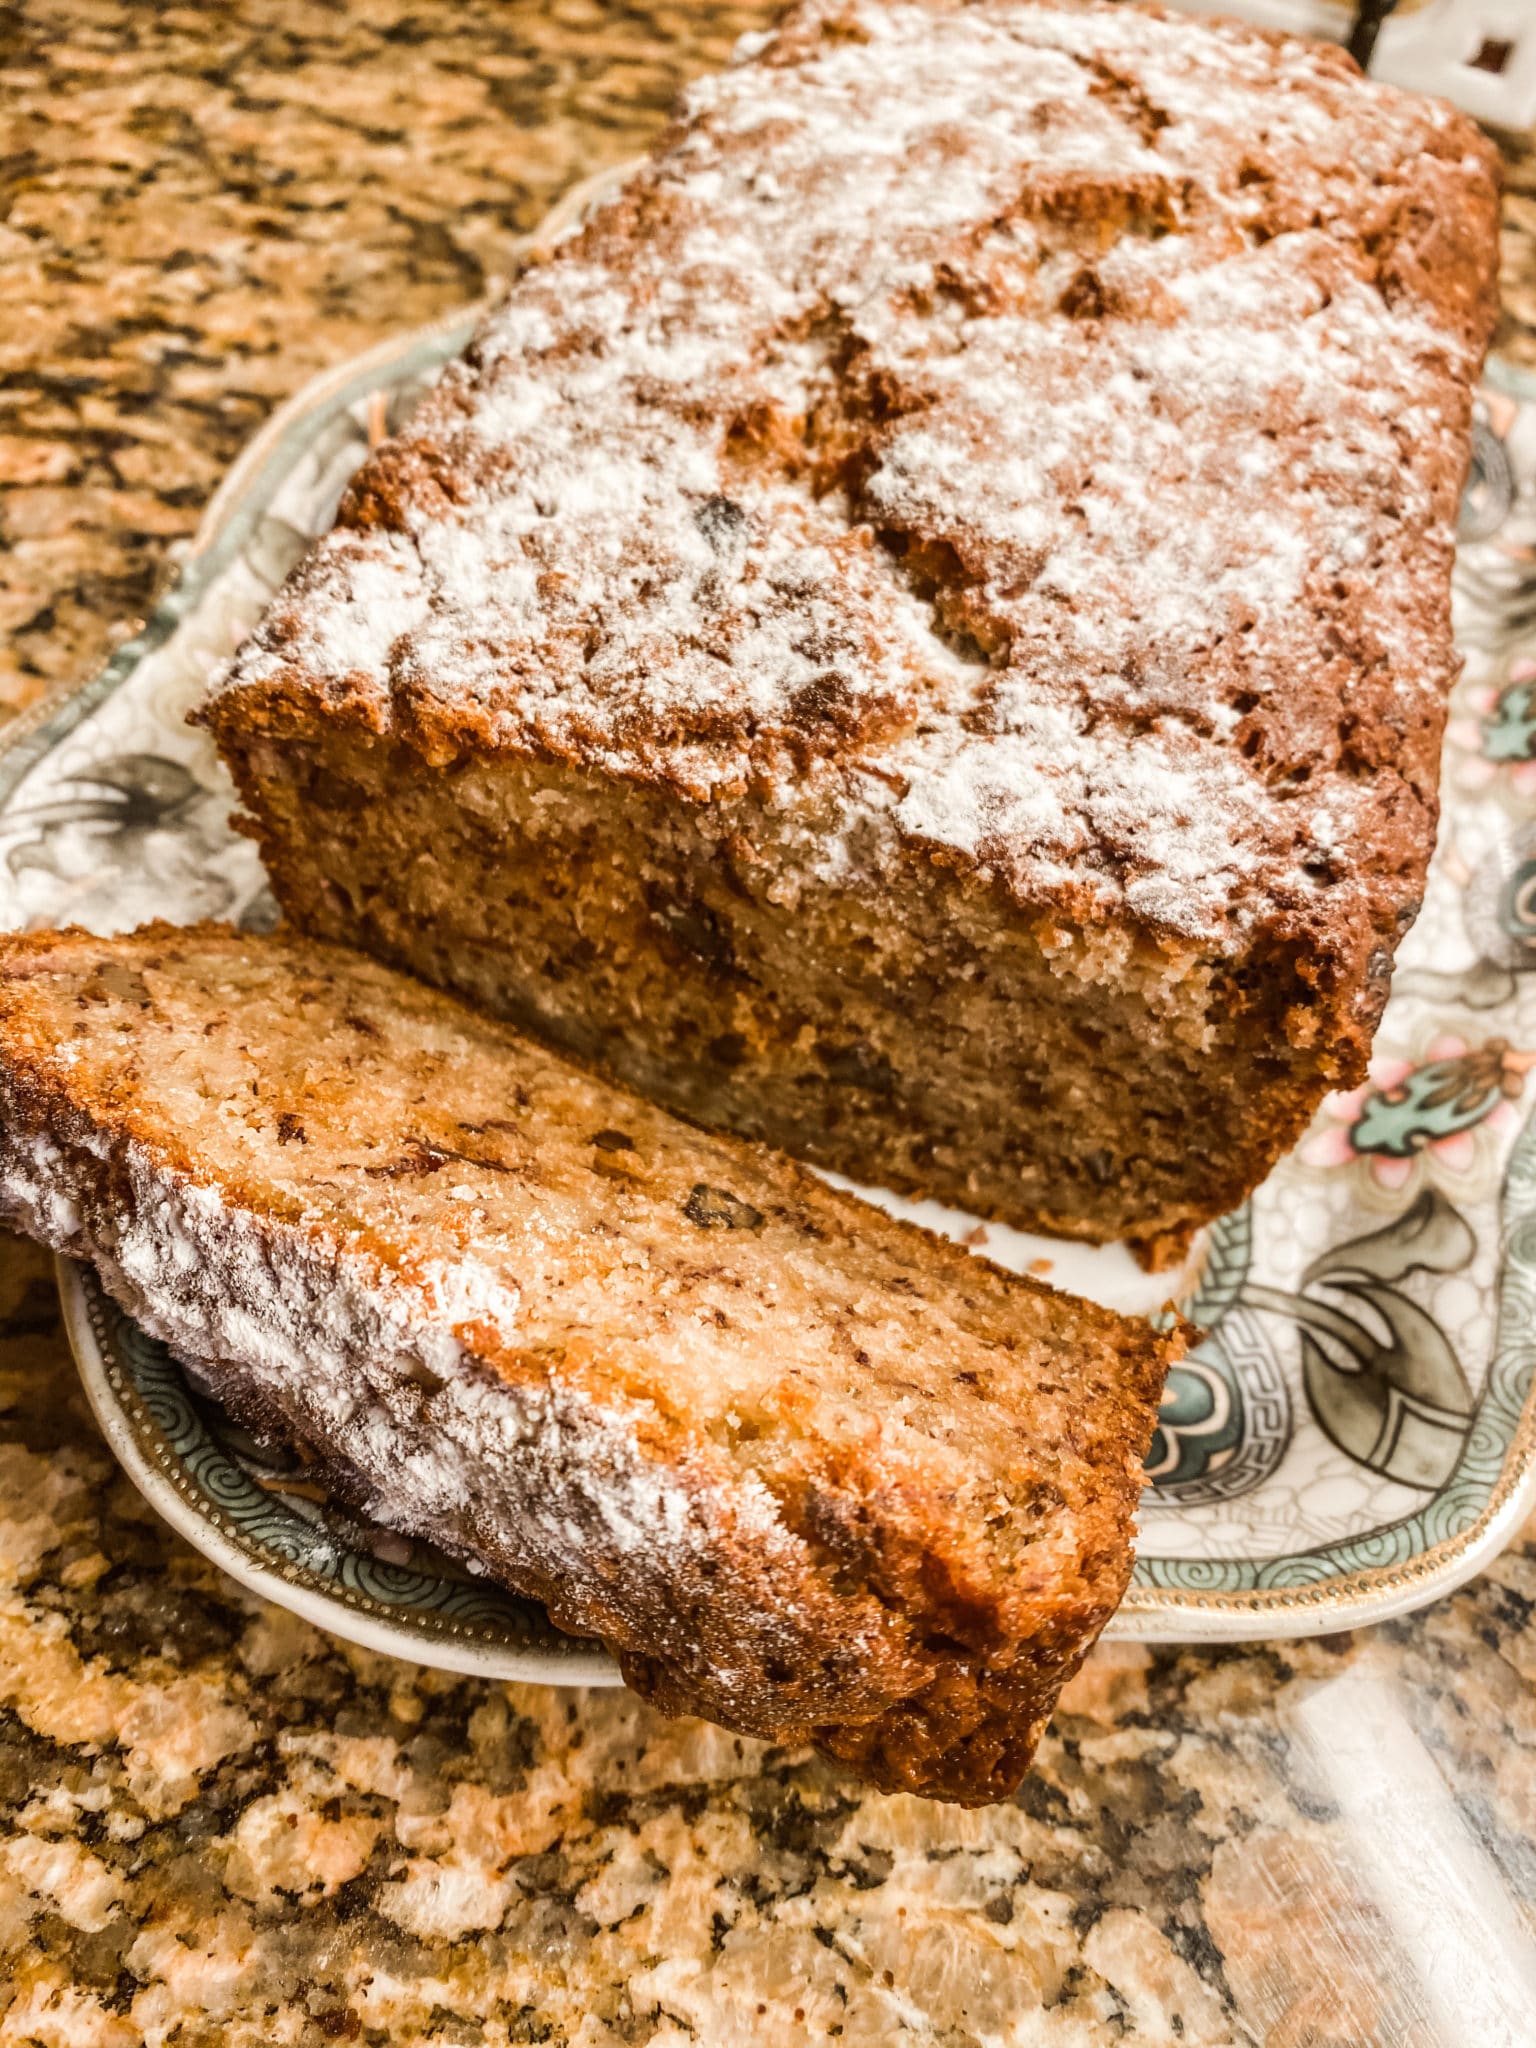
Allowing yourself plenty of time to prepare is essential when storage and counter space are tight, not to mention when you’re working with only a few kitchen appliances. Start prepping your Thanksgiving menus a full week in advance. A practical solution for making a Thanksgiving meal is to make as much as you can ahead. Figure out what can be put together the day before, and what needs to be made the day of. You can make the pies, gravy, stuffing, and mashed potatoes ahead. Sauces and baked goods can be made the furthest in advance, with most pies and cakes having a shelf life of three to four days. Some sides can be made up to two days out, such as mashed potatoes and make-ahead stuffing.
Then, on Thanksgiving Day, all you need to do is roast the turkey and make the veggies. More prep work in advance means less work and less stress on Thanksgiving Day. This will also minimize bodies in the kitchen, which helps keep your kitchen from feeling cramped and hectic.
Expand your dining table
Fitting all your guests at a table in your apartment can be tricky as most apartment dining rooms are sized for four people. And maybe this time you’ll decide to invite neighbors to your fete! Try putting several small tables together to create one long one. If possible, make sure they are all the same height and width. Then toss a tablecloth over all of them, and nobody will know the difference! If you don’t have smaller tables on hand, take this opportunity to invest in a few folding tables and chairs that can be easily stored once the holiday is over. If your space is so limited that it doesn’t allow for even a makeshift dining table, no worries. My sister-in-law rents a couple of bar-height tables and puts them in the middle of her living room. No one ever minds standing up to eat, and this dining format really encourages guests to mingle. Or maybe some people can eat at the table, some on the sofa, maybe even some on the floor. Believe me, where your guests eat is much less important than what they eat and with whom they share the holiday.
Have guests their own (folding) chairs
When I got my first apartment, I moved in with just bedroom furniture. But that didn’t stop me from throwing a Cinco Di Mayo party. The invitation noted that guests should BYOC (bring your own chair.) My friends thought that was a hoot! They each brought a folding chair, lawn chair, or stadium chair, and everyone ate with their plates on their laps. Everyone has a great time despite (or because of?) the untraditional seating.
Rearrange furniture
The dining room isn’t the only space to consider. Even if everyone fits around the table, think about after-dinner relaxation, game-watching, and mingling. Try to balance space for your guests to move with seating to accommodate everyone. This can be accomplished by temporarily removing furniture that won’t be used and shifting couches and chairs to the perimeter of the room. If the day is mild, you can also utilize your patio, deck, or balcony.
Create a place for coats and bags
Once you have finalized the guest list, decide where your guests’ coats, bags, and boots (if the weather is inclement) will go. Depending on where you live, most people will arrive in coats, and many will have bags. You don’t want these items to take up valuable space in the eating area, and if you’re lucky enough to have an entry closet, it’s probably already pretty full. Your bed can make the perfect place for everyone to lay their coats and bags. Or consider purchasing a coat tree to place by your front door. Spread out an old towel or some brown paper bags to collect any we footwear.
Buffet it
Set food up on one table, buffet style, and let everyone serve themselves. Your buffet can be on the kitchen counter, side table, dining table (if people will be sitting elsewhere), or on a rented folding table. This works especially well if you have a non-traditional seating situation.
Cold beverage storage
Since your fridge will probably be very full, fill your [very clean] bathtub with ice for cold wine, soft drinks, mixers, and beer. Consider adding a big bowl for clean ice service.
Use disposables
I’m seldom one for recommending single-use anything, but Thanksgiving dinner is an exception – especially if the number of guests exceeds your plate and flatware counts. Using attractive seasonal paper dinnerware, nice paper napkins, and plastic silverware is a very smart option. There will be plenty, even if some guests toss the first plate before going back for seconds, and the cleanup will be significantly easier. And we do want to make hosting Thanksgiving in your apartment as easy as possible.
Right after COVID, and SO READY to entertain again, I had an usually large crowd (for me) of eight for Thanksgiving. I decided to get some pretty paper and plastic products instead of using my “real” plates and cloth napkins. Everyone loved how coordinated and festive the table looked. I chose dinner, salad, and dessert plates, plus cocktail and dinner napkins. Other than the pots and pans, cleanup was a breeze.
If you prefer to use your own dishes, you can add fall- or Thanksgiving-themed appetizer, salad, and dessert plates with coordinating napkins. If that sounds like overkill, choose pretty Thanksgiving-themed dinner napkins.
Pre-clean
When you host Thanksgiving in your apartment, you will need to clean your place and clean it well. A clean apartment always feels more spacious and inviting than a dirty one. Clea out the fridge, wipe counters and floors, wipe down bathrooms, vacuum, and dust to prepare your home for your Thanksgiving Day guests. You should also guest-proof your home. This may sound paranoid, but even if you know everyone who’s coming well, advance preparations will make you more comfortable in the long run.
- Help prevent breakage. There’s always the chance some of your things can get broken, especially if children are joining you for dinner. Remove anything valuable or personally important, or that’s low to the ground. Store these things somewhere out of the way to keep them safe.
- Protect yourself from The Snoop. Some guests like to snoop. Anything you’d like to keep private like medications, mail, or personal items, consider hiding away.
Stock your bathrooms
Keep your bathrooms well-stocked with tissues, toilet paper, personal products, and soap, making sure that extra items are easy to find. Disposable hand towels will prevent one cloth towel from getting overly wet and gross. Be sure your bathroom trash can is in sight. On Thanksgiving Day, set a timer on your phone to remind you to do periodic bathroom checks. Then a quick wipe and swipe will keep your bathroom fresh (because people, as a general rule, are pigs). A thoughtful touch is placing a small bowl of mints on the bathroom counter so your guests can freshen their mouths.
Declutter
Not only is clutter unappealing to the eye, but it takes up precious real estate that could be used for a serving platter, or a few bottles of wine, or an extra chair. One of the simplest Thanksgiving solutions for small spaces is to clear your surfaces of unnecessary items. Leave out just enough décor to keep your apartment feeling cozy and festive and store the rest. You can bring it all back out the next day as you begin to decorate before Christmas. LOL.
The most important thing about hosting Thanksgiving is making your guests feel welcome, cared for, and satisfied with the food and the camaraderie. Any successful party is as much about lively conversation and laughter as it is good food. People gather during the holidays to celebrate family and friends and to enjoy the company of people they love and enjoy. No matter what size apartment you have, you can make this Thanksgiving one to remember. Just focus on what you do have to work with, and you’ll do an amazing job hosting Thanksgiving in your apartment.