When You Need A Quickie (Cleaning)
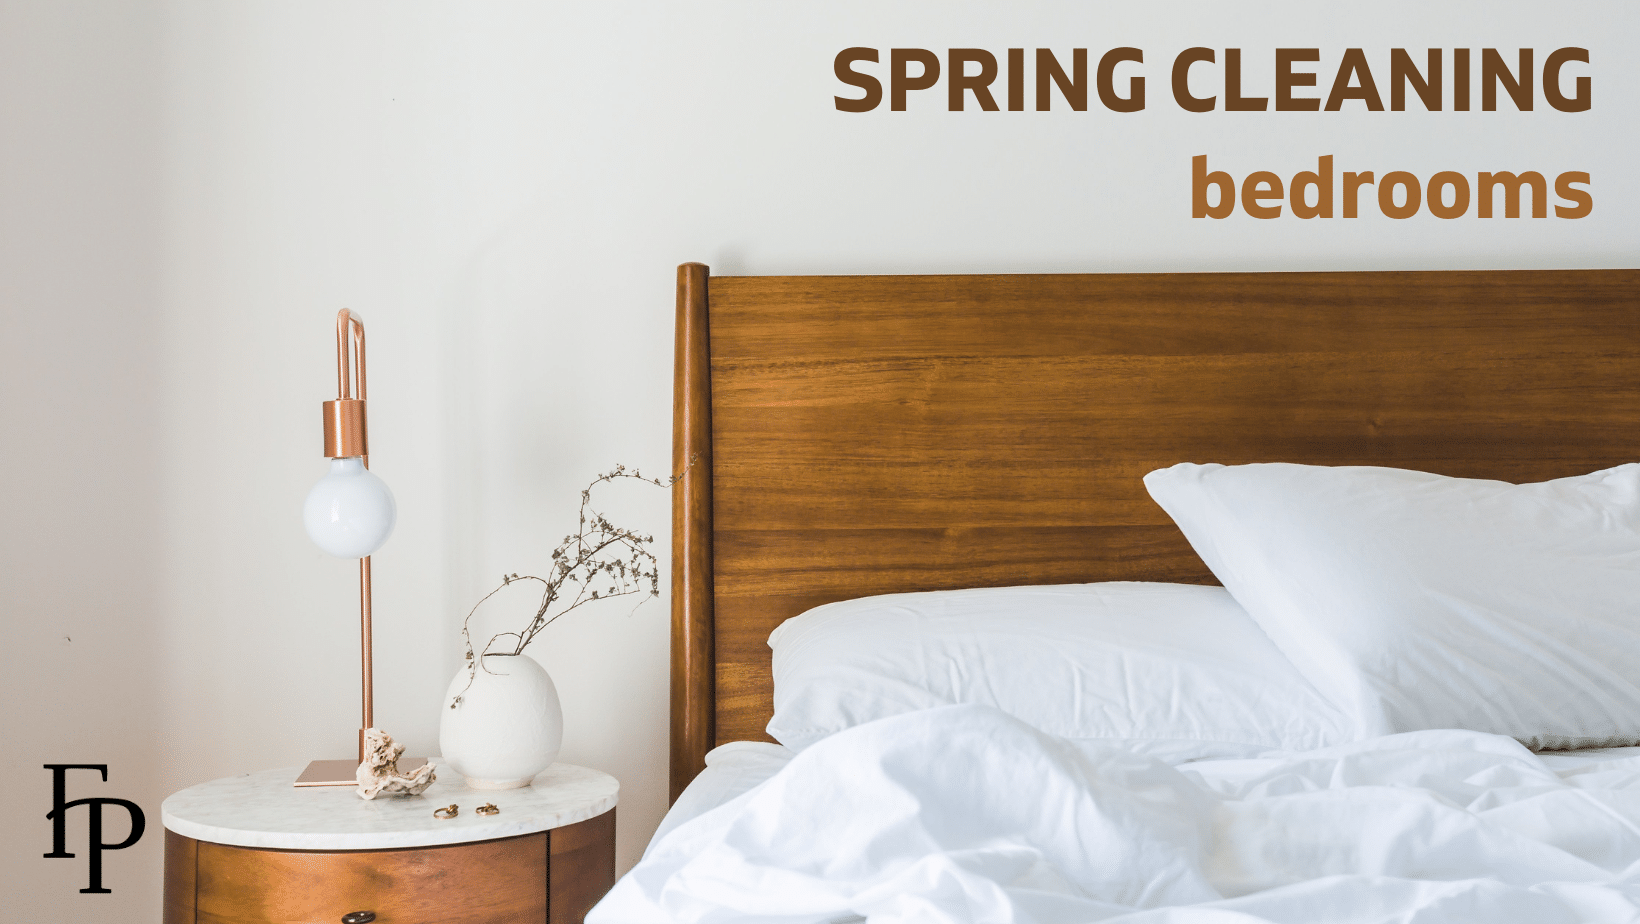
Spring is the traditional time of year when we think of deep cleaning to get rid of all the dirt we simply could not see during the dark and dreary winter. (My tried and true excuse. LOL.) Last year, we talked about spring cleaning. A lot. From cleaning windows and blinds, to dusting, to cleaning bedrooms, bathrooms, and kitchens — we covered it all. Deep cleaning your home ensures your space stays free of bacteria, allergens, crumbs, and other debris. But sometimes, “Ain’t nobody got time for that!” Today we’ll chat about what to do when you need a quickie.
Finding time to give your home a thorough spring cleaning can be challenging even in the best of times. When you unexpectedly learn you’re about to have company and your home needs tidying up, don’t panic! When you are in a time crunch, this 30-minute cleaning routine will save the day. This simple checklist will sanitize some of the highest-touch areas of your home, help you to stay focused to actually complete the spruce-up in 30 minutes, and make your space look and feel cleaner, so you can enjoy your guests worry-free.
Do the Dishes
Give your kitchen a sparkling look by cleaning dirty dishes and putting away clean ones. Including dish cleaning in your routine encourages consistency in maintaining a clean home. Consistent small efforts can prevent the accumulation of a larger mess, making it easier to manage cleaning tasks over time. But for now, just wash ’em up and put ’em away for an immediate positive impact on your kitchen.
Wipe Down Counters
Kitchen and bathroom countertops are like magnets attracting dust, crumbs, spills, and splatters. A quick wipe-down will give your space a tidier look almost instantly. Plus, you’ll eliminate bacteria and germs, and eliminate odors. Tuck any items creating clutter in a drawer or below-sink cabinet.
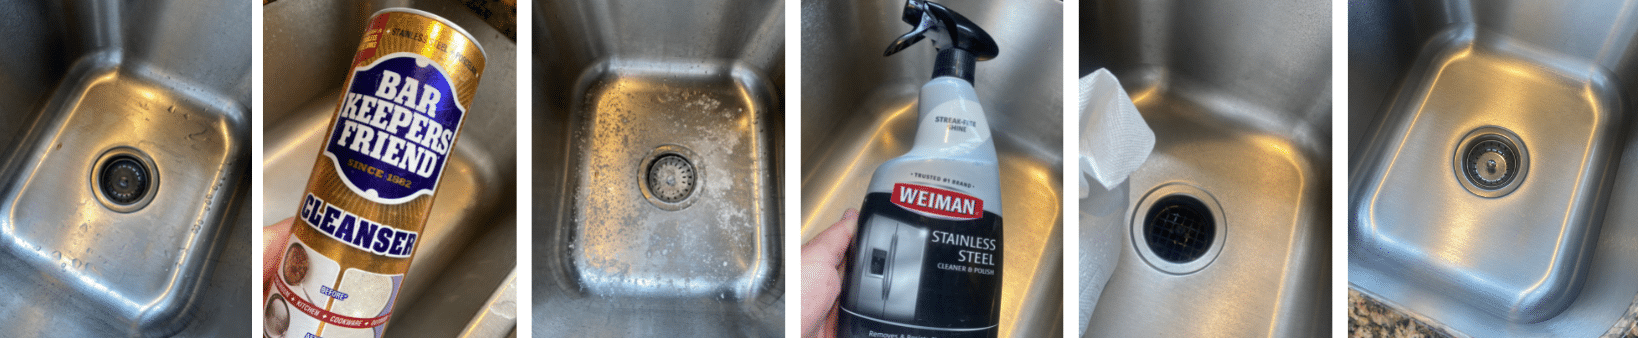
Shine Faucet Fixtures
Water stains can give your faucet fixtures a dingy, uncared-for look. Return your faucets to their former glory by giving them a quick polish. Bar Keeper’s friend applied with a wet sponge followed by a buff with a microfiber cloth will work wonders. Regular shining helps minimize water stains, keeping your faucets looking new and well-maintained.
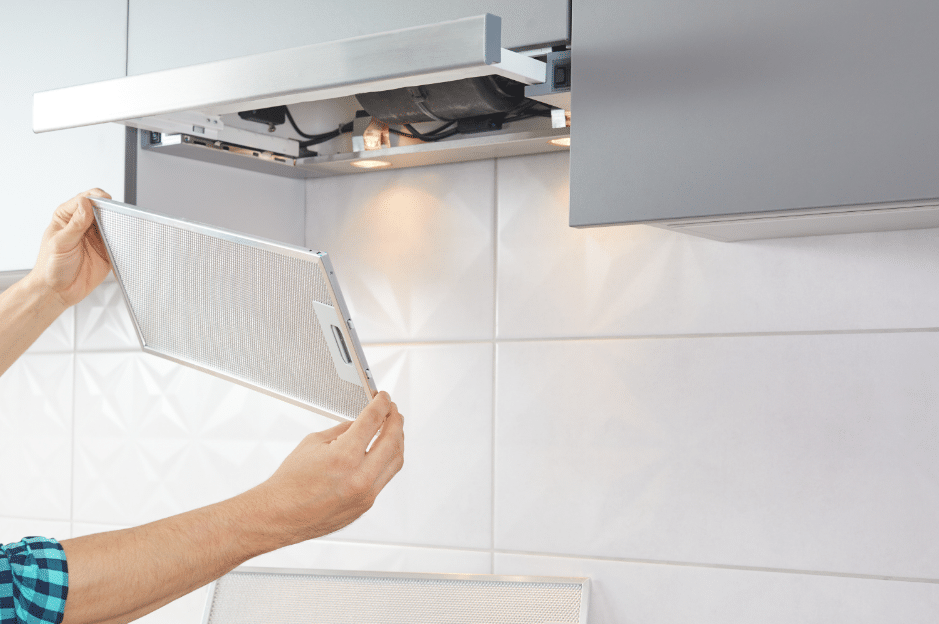
Polish Stainless Steel Appliances
From your microwave to your refrigerator, stainless steel surfaces easily show fingerprints, smudges, and water spots. Apply a stainless steel cleaner then buff with a clean, dry microfiber cloth. Polishing these surfaces regularly ensures they remain free from these marks (but also stains and corrosion), creating a visibly clean and well-maintained appearance. Polishing stainless steel appliances is a relatively quick chore that can have a big impact on the overall appearance of your kitchen, and who doesn’t appreciate a little gleaming in the kitchen?
Pick Up Clothes
Pick up your clothes, you animal! LOL. Clothes piled up on your bedroom floor, bed, or chair; left on the bathroom floor; or heaped in the laundry room can make your place look a hot mess. Put clothes back where they belong, whether in your closet or the hamper, for a quick tidying up. Not only will your space look instantly cleaner, but regularly washing and maintaining your wardrobe minimizes the presence of allergens, dust, and other particles that can affect indoor air quality and cleanliness. And it will make your mother happy.
Dust
Use a duster to clean furniture around your apartment that has accumulated a layer of dust, like your nightstands, dining room table and chairs, living room coffee and end tables, and any shelving. Don’t forget the TV! A clean and well-maintained living room creates a much more welcoming atmosphere for guests than a messy, dusty space. Plus, it will reflect your commitment to a comfortable, inviting living environment while promoting a more organized and orderly living space for you.
Empty the Trash
If your trash cans are full, use this as your opportunity to empty and clean them. Remove the bag and sprinkle baking soda in the bottom of the can. Add about two inches of warm water. Allow the mixture to sit for a few minutes, then swish it around and wipe. Rinse with clean water and let it air dry upside down. If the can itself is not dirty, just empty the trash, especially in the bathroom. No one wants to see your bathroom trash. If you, like me, are not a fan of seeing a trashcan liner around the top edge of your bathroom wastebasket, here’s a quick tip to keep the can from getting mucky: place a paper towel in the bottom and let the corners rise up the sides. This will keep any wet or damp waste from discoloring the can or trash from sticking to the bottom. You’re welcome.
Tidy Your Entryway
The entryway sets the tone for the rest of your place, so cleaning it is a quick way to make your space feel fresh and well-tended. Take a moment to organize shoes, jackets, shopping bags, and/or the dog leash. All manner f stuff can quickly accumulate in the entryway. Put it all way (or tidy it up) now, then keep it clean and organized. Regular tidying and freshening helps reduce mess and creates the appearance of a more open and spacious entryway.
Vacuum & Swiffer
A quick once-over with a Swiffer on your hard surface flooring and vacuum on your rugs and carpets is a quick and easy way to make your space look and feel cleaner. Floors, like countertops, are magnets for tracked-in dirt, dust, and debris, especially in high-traffic areas like your foyer, hallway, and entrance to your kitchen. Swiffering and/or vacuuming helps remove the dirt and dust, and prevents the grime from spreading throughout your home and settling on other surfaces. It also improves indoor air quality. Best of all, carpet vacuum tracks lend an air of tidiness to a room.
Floof
The easiest and funniest way to make your home look company-ready is floofing. You know, fluffing up all the soft surfaces. Punch the pillows, then give the sides and top a good wack to fluff up all the stuffing. I like to finish with a nice karate chop to the top. This tiny bit of effort will make them look thick, cozy, and inviting. Fluff up and straighten the sofa and chair cushions, too. Bonus: all this floofing is a great stress reliever!
Look at you! 30 minutes in and your place looks great, but don’t forget to make time for spring cleaning later. Cleaning is always a bit of a pain, but a clean and organized home turns your home into a calm retreat for you and your guests.